
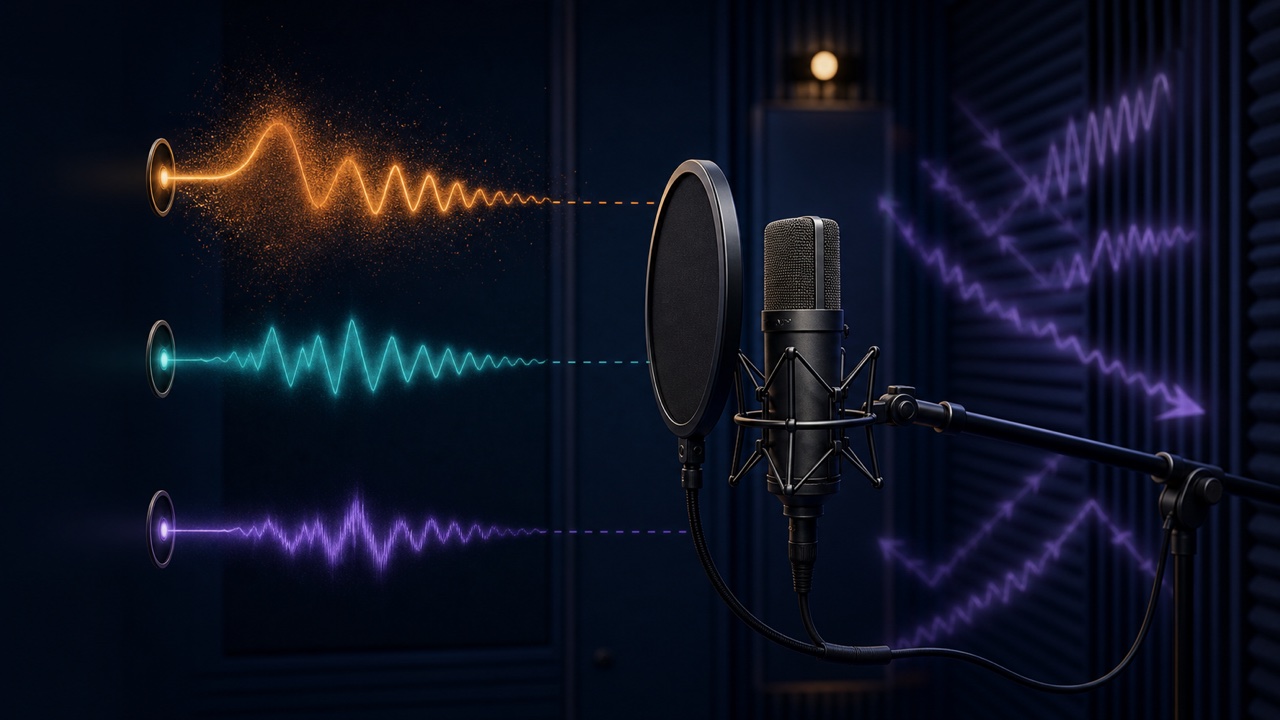
Your vocal recordings sound muffled, the low end is boomy, bursts of air hit the microphone on “p” and “b” sounds, or the room ambience makes the voice sound distant. These problems can sometimes be improved simply by changing the microphone distance and angle slightly before reaching for an EQ.
The relationship is not as simple as closer means better sound and farther away means more natural sound. Find a distance that lets the singer maintain a consistent position while matching the voice level, room, and type of microphone.
Start About 6 to 8 Inches from the Microphone
Place a pop filter in front of the microphone and start with the mouth about 6 to 8 inches away. You may move slightly closer for a quiet voice or slightly farther away for a loud voice, but large movements from phrase to phrase make the tone and volume inconsistent.
Mark the position on the floor or secure the microphone stand and chair so the singer can maintain the same distance throughout a take.
Getting Too Close Emphasizes Low Frequencies and Breath
Moving close to a directional microphone can boost the low end, making the voice sound fuller but also more prone to muddiness. Plosives on “p” and “b” sounds and mouth noises are also easier to capture, while even small body movements can cause large volume changes.
Before cutting a large amount of low end with EQ, move back a few inches or position the microphone slightly above or to the side instead of directly in front of the mouth.
A Pop Filter Also Helps Maintain a Consistent Distance
A pop filter reduces the amount of breath hitting the microphone directly and prevents the singer from getting too close. Do not place it directly against the microphone; leave space between the microphone and the mouth.
If plosives remain, do more than add another filter. Try an angle that directs the airflow away from the center of the capsule.
Moving Too Far Away Increases Room Reflections
The farther you move from the microphone, the quieter the direct voice becomes and the greater the proportion of sound reflected by walls, desks, and ceilings. Raising the level later with a compressor will also make the room sound and noise floor more noticeable.
Even without acoustic treatment, you may be able to improve the recording by changing your position relative to hard walls or windows, recording near curtains or clothing, or avoiding reflections from a desk.
Test Different Distances with Condenser and Dynamic Microphones
A condenser microphone readily captures subtle breath sounds and room ambience, so a quiet environment and consistent distance are important. A dynamic microphone is often used at a closer distance, but you still need to watch for excessive low-end buildup from getting too close.
Do not decide by microphone type alone. Record the same phrase at different distances and angles, then compare the takes in the context of the backing track.
Set the Recording Level Using the Loudest Part
After choosing the distance, adjust the input gain while singing the loudest part of the chorus. Instead of moving away while singing to avoid peaks, leave enough headroom to prevent clipping while maintaining a consistent posture.
For specific meter settings, see “How to Set Recording Levels”. For the full recording setup, also read “What to Check Before Recording Vocals in Your DAW”.
Listen to Short Test Recordings with the Backing Track
A take that seems slightly light in the low end when soloed may make the words clearer in the full arrangement. Note the distance, angle, and gain, then record and compare only about three versions of the same phrase. For reducing noise after recording, continue with “How to Reduce Noise in Home Recordings”.
