
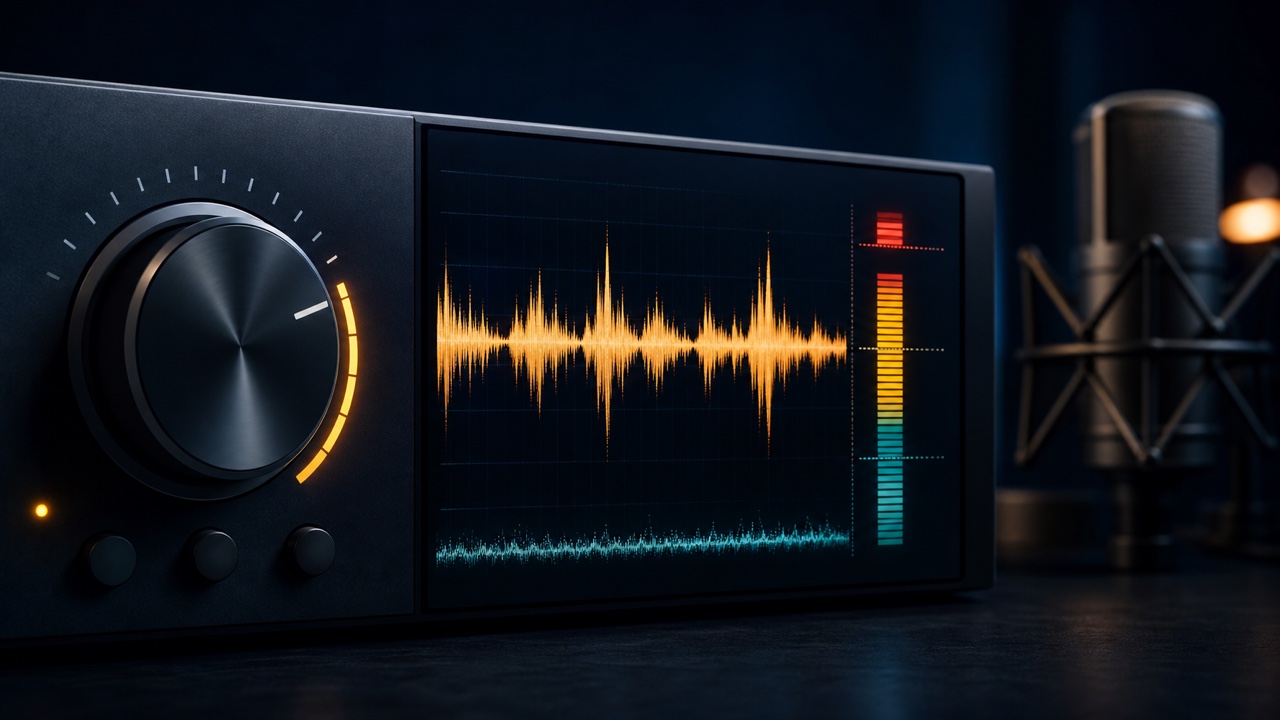
A recording level is not meant to make the waveform fill the entire screen. If it is too low, noise becomes noticeable when you raise the level later. If it is too high, a single loud moment can cause clipping. Find a setting that leaves room for the loudest moment of the performance while keeping the desired signal well above the noise.
Adjust the Input Gain, Not the Fader
Before recording, adjust the gain on the audio interface or microphone preamp. Lowering the DAW fader cannot prevent distortion that occurs at the input stage. A fader primarily changes the playback balance, so treat it separately from the level of the signal being recorded.
Identify where the input meter is moving, and make sure you know whether you are looking at the track, plug-in, or master meter.
Play Slightly Harder Than You Expect and Check the Maximum Level
Perform the loudest part you expect in the actual take: a high note in the chorus for vocals, strong strumming for guitar, or slapping for bass. If you set the level using only a quiet verse, a louder section later may suddenly clip.
Do not stop after making sound once. Test several times while maintaining the same posture and microphone distance. If the performer changes, check the setting for each person.
Leave Enough Headroom Above the Peaks
Digital recording meters display levels in dBFS, and there is no room above 0 dBFS. As a general starting point, aim for recording peaks around -18 to -12 dBFS and keep even energetic performances below about -6 dBFS. These are guidelines, not absolute targets, intended to accommodate changes in the equipment and performance.
This safety margin is called headroom. With 24-bit recording, you can maintain sufficient resolution without pushing the level close to 0 dBFS.
If the Signal Is Too Quiet, Check the Distance and Connection
If the signal remains quiet even at maximum gain, check the microphone direction and distance, the selection of microphone, line, or instrument input, phantom power, the cable, and the instrument’s output level. Raising the gain alone when the connection is incorrect will make the noise floor more noticeable.
If the microphone is too far from the source, move it closer within a safe range before increasing the amount of room reflections in the recording.
Set the Level with Plug-Ins Bypassed
If a compressor or limiter is holding down the meter, you may not notice clipping at the input. Before recording, bypass the plug-ins and check the input meters on both the interface and the DAW.
You can adjust the level after recording with region gain or a fader, but you cannot restore a waveform that was clipped at the input.
Listen to the Recorded File in Solo
Do not judge only by the waveform size. Use headphones to check for distortion, hiss, low-frequency rumble, and cable noise. If you ignore noise because it is masked by the arrangement, a compressor or EQ may emphasize it later.
For reducing noise in a home recording, see “How to Reduce Noise in Home Recordings”. For a broader production check when the overall sound is too quiet, also read “What to Check When Your DAW Project Sounds Too Quiet or Distorted”.
