
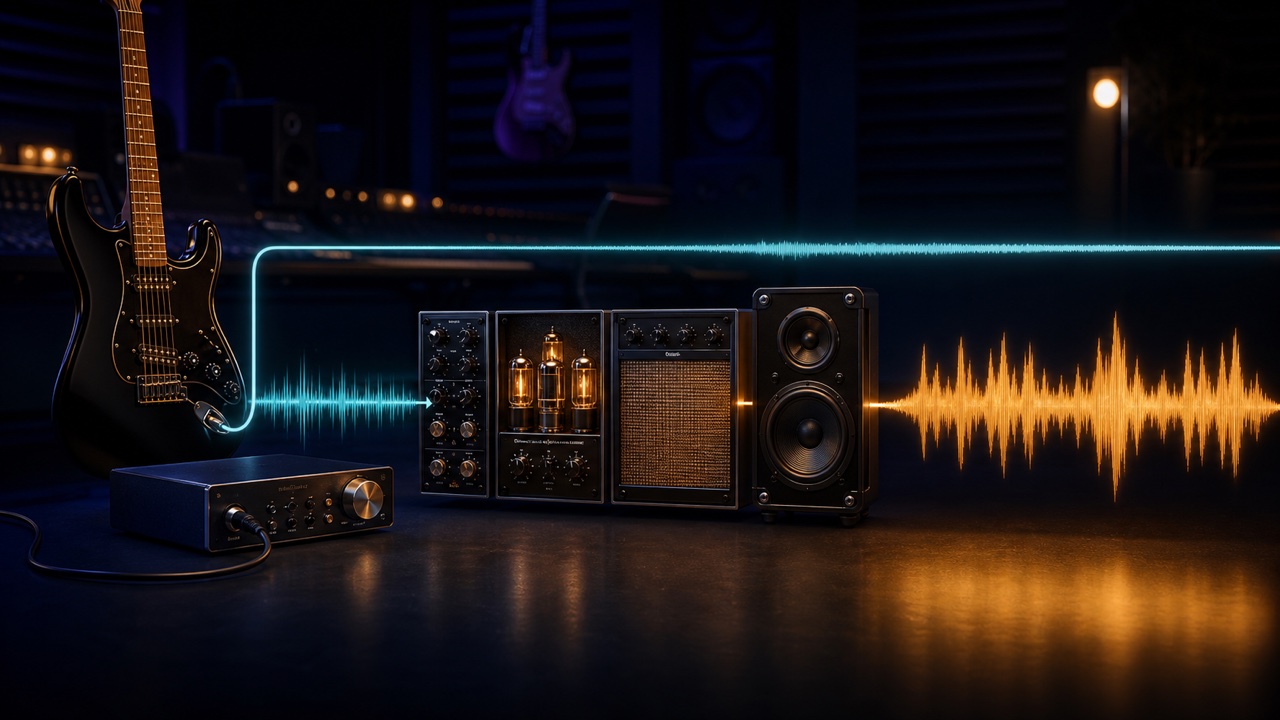
Instead of recording a guitar or bass through an amplifier, you can record the clean signal from the instrument directly into your DAW and run it through an amp simulator afterward. This mostly unprocessed signal is called a DI signal. The advantage is that you can choose the amp, cabinet, and microphone settings later without recording the performance again.
Use an Instrument Input or DI Box
Connect a guitar or passive bass to the INST or Hi-Z input on your audio interface. Plugging it directly into a line input may result in the wrong level or an altered high-frequency response.
If your interface does not have a suitable instrument input, or if you want to avoid noise over a long cable run, use a DI box and send its output to a microphone input. For the basic connection, also see “How to Connect a Guitar or Bass to a Computer”.
Set the Input Level with the Amp Simulator Bypassed
Play with strong picking or slapping and leave headroom above the peaks of the clean signal. Distorted tones are compressed and can look stable on a meter, making it easy to overlook clipping at the input stage.
Bypass the amp simulator and check that the DI waveform is not flattened. You can raise a quiet recording later, but you cannot repair a signal that clipped at the input.
Record the DI Signal While Monitoring the Amp Tone
Insert an amp simulator on the track and send the player a tone that is close to the intended final sound. Do not print the effect into the recorded file; keeping the DI signal lets you change the tone later.
If you record the clean and processed signals to separate tracks at the same time, clearly define the input paths and recording destinations so the same sound is not played twice.
Reduce Latency to a Playable Level
Because the amp simulator runs through the DAW, excessive latency creates a delay between picking and the monitored sound. Use a smaller buffer size while recording and bypass processor-intensive effects on the master bus.
Direct monitoring may let you hear only the unprocessed DI signal. If the player needs the amplified tone to perform, use software monitoring. For specific solutions, see “How to Reduce Recording Latency in Your DAW”.
Reduce Noise Before Adding Distortion
Increasing the amp gain also emphasizes pickup hum and noise from cables, power supplies, and the computer. Reduce the source of the noise before recording by changing the guitar’s orientation, moving away from lights and power supplies, and checking the cable.
Keep noise gating to the minimum necessary, because aggressive settings can remove the attack and sustain along with the noise.
Shape the Tone in the Context of the Song
Adding too much powerful low end to a soloed tone can make it compete with the bass or kick drum. Adjust the amp, cabinet, and EQ with the full arrangement playing, considering the guitar’s stereo position and the bass’s role in the low end.
Save the DI and Settings Before Finalizing
Even if you ultimately export the processed sound, keep the original DI file, the preset you used, and the amp settings in the project. When delivering files to another system, align the start positions of the processed and DI tracks and name them clearly so each can be identified.
