
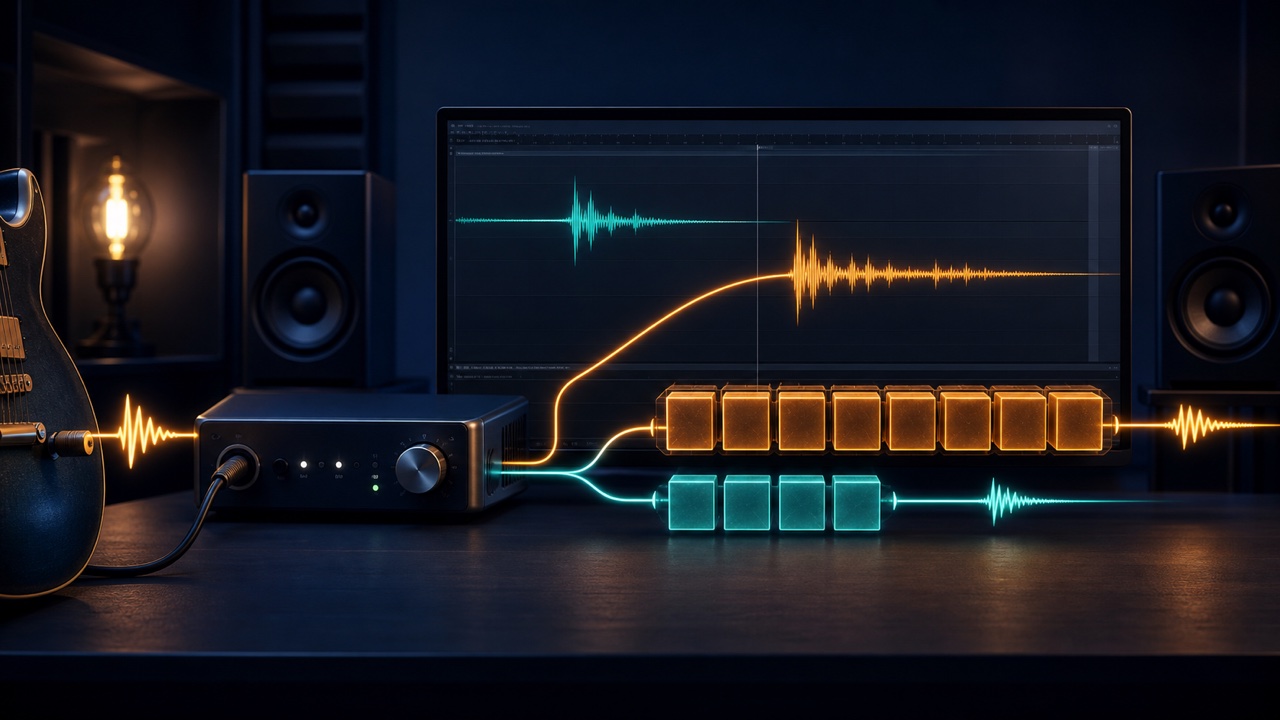
When recording vocals or guitar, the sound coming back through your headphones may lag slightly behind what you perform, making it difficult to play or sing. This delay is called latency. It is not caused by the performer’s ability; it happens because the computer needs time to capture the sound, process it in the DAW, and send it back to the output.
Rather than trying to eliminate latency completely, adjust the processing load and monitoring method during recording to make the delay small enough that it does not interfere with the performance.
First, Identify Where the Delayed Sound Is Coming From
If you hear the live voice or amplifier together with a delayed version from the headphones, software monitoring is delayed. If the recorded waveform itself is placed late, you may also need to check the hardware settings and recording offset compensation.
First, create an empty project and test with only one track and no effects. If this improves the delay, processing load within the project is the main cause.
Use a Smaller Buffer Size While Recording
Buffer size is the amount of audio the computer processes at one time. A smaller buffer improves response time but increases CPU load and makes clicks or dropouts more likely. A larger buffer makes playback more stable but delays the monitored input.
While recording, start around 64 to 128 samples and increase it one step if you hear dropouts. During mixing, immediate response is not required, so you can prioritize stability by increasing it to 256 to 1024 samples. The appropriate value varies with the computer, sample rate, and number of tracks.
Temporarily Bypass Processor-Intensive Plug-Ins
Linear-phase EQ, look-ahead limiters, noise reduction, and oversampling can introduce deliberate latency to improve sound quality. Plug-ins on other tracks, not only the master bus or recording track, can also affect delay compensation.
Create a lightweight recording version of the project, or freeze processor-intensive tracks and bypass master bus processing. Keep only the effects needed for the performance, such as an amp simulator or lightweight reverb used to shape the monitored sound.
Use Direct Monitoring
Direct monitoring sends the input directly from inside the audio interface to the headphones without making a round trip through the DAW. It lets you perform with almost no perceptible delay when recording vocals or acoustic instruments.
However, you will not hear amp simulators or vocal effects running inside the DAW. Enabling both the direct input and the DAW return creates a doubled sound, so use only one monitoring path.
Check the Waveform Position After Recording
Even if monitoring feels comfortable, the recorded sound may be placed behind the grid. Perform a simple test by recording a click from a speaker into a microphone, or compare a short percussive input with the recorded waveform, to see whether the offset is consistent.
If the offset is the same every time, check the DAW’s recording offset compensation. If it varies, review the performance environment and processing load. It is also important not to move every naturally performed note mechanically onto the grid.
Use Separate Settings for Recording and Mixing
- While recording: small buffer, lightweight plug-ins, and direct monitoring when needed
- While mixing: large buffer, high-quality modes, and processor-intensive effects enabled
For guitar and bass connections, see “How to Connect a Guitar or Bass to a Computer”. For vocal recording preparation, also read “What to Check Before Recording Vocals in Your DAW”.
