
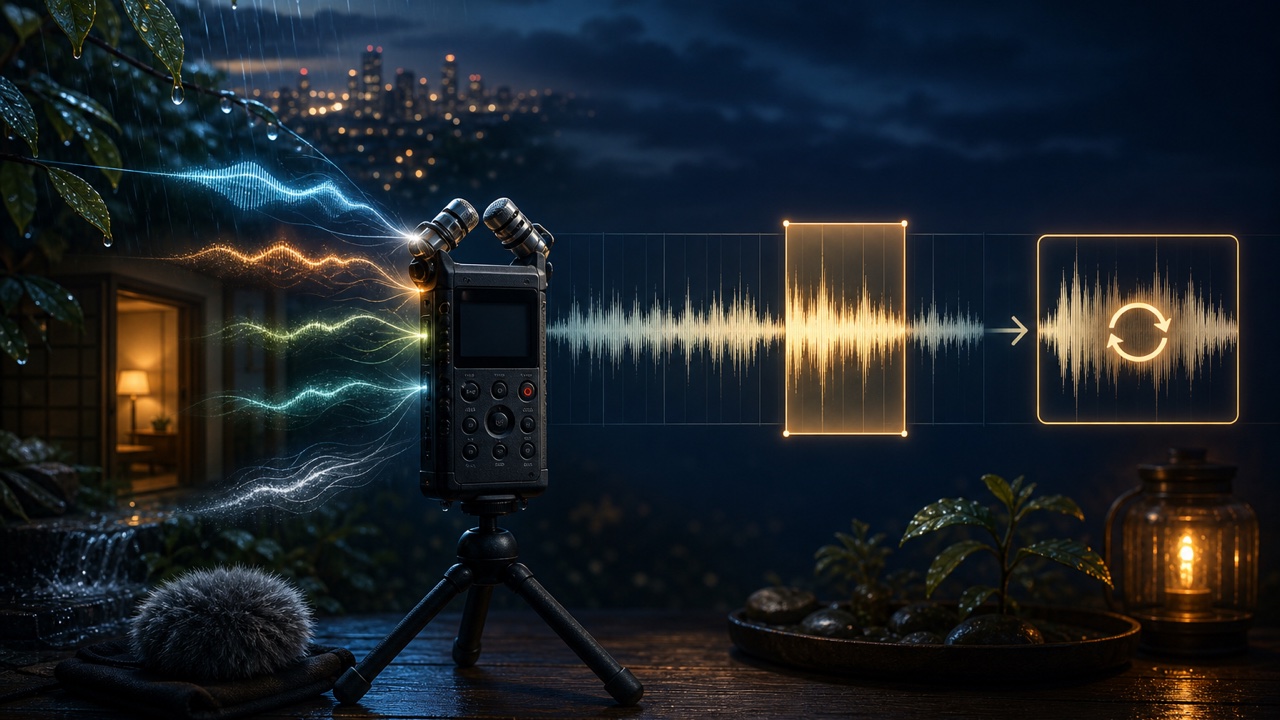
Rain, waves, trains, city ambience, room ventilation, doors, dishes, and other everyday environmental sounds can add atmosphere to a song or serve as sound-effect material. However, the boundary between the sound you want and unwanted noise can be unclear, and these recordings easily capture wind, handling vibration, and other people’s voices.
Rather than relying only on processing after recording, make small adjustments to the location, microphone direction, and recording level to create natural, usable material.
Decide Which Sound Is the Main Subject
Define a specific subject, such as a train arriving at a platform, an electronic ticket-gate chime, or the movement of a crowd, rather than simply “station sounds.” The distance and direction of the microphone will depend on whether you are recording an entire space or one nearby sound.
Listen for several dozen seconds before recording and check for cars, ventilation, birds, speech, and other sounds that will be difficult to remove later.
Confirm That Recording Is Permitted There
Recording may be restricted on private property, in stores and facilities, or at event venues. Obtain permission from the person in charge when necessary, and do not obstruct foot traffic or business operations.
Publishing a recording that contains other people’s conversations, personal names, addresses, announcements, or music being performed may create privacy or copyright issues. Recording a file yourself does not necessarily mean you are free to publish every sound it contains.
Reduce Wind and Handling Vibration Before Recording
Even a light breeze outdoors can create a low popping or buffeting sound. Use a windscreen and avoid pointing the microphone directly upwind. When holding a smartphone or recorder, watch for sounds caused by changing your grip, operating the screen, or letting a cable strike the device.
If the location is safe, place the recorder on a tripod or stable surface, and wait several seconds after starting the recording before moving away.
Leave Headroom and Record Longer Than You Need
Leave peak headroom to avoid clipping when a sudden loud sound occurs. Raising a recording that is too quiet will also make the noise floor more noticeable, so make a test recording and find a distance that captures the main sound clearly.
Record extra time before and after the section you need rather than capturing its exact length. Leaving about 30 seconds of background with no event can help you bridge the ambience during editing and evaluate noise.
Choose Mono or Stereo Based on the Intended Use
Stereo works well when you want to preserve the width of a space or movement from side to side. Mono may be easier when you want to place a specific sound in the center and decide its panning later.
Stereo recording can provide a stronger sense of place, but each side may capture different unwanted sounds, and the result may change when played in mono. Choose based on where you plan to place the sound in the song.
Trim the Section You Need and Refine It Naturally
Use the audio trimming tool to make a selection with extra time on both sides, then listen to ensure you have not cut off the attack or decay. To gently standardize the silence, steady noise, and levels across multiple assets, you can also use the batch audio finishing tool.
If you need extended background audio, find a section of the recording with minimal change and use the seamless loop maker to check the transition. A repeated bird call, passing car, or other conspicuous event makes the loop easy to detect, so careful source selection is important.
Manage the Original Recording and Edited Files Together
Include the date, location, subject, and recording method in the filename. If you plan to publish or sell the material, also note the recording location, whether you had permission, and any third-party sounds it contains. These records will help with later rights checks.
For instructions on creating assets from long recordings, see “How to Extract Only the Audio You Need from a Long Recording or Video.” For final checks when exporting short assets, see “How to Finish Sound Effects and Other Short Audio Assets After Exporting.”
