
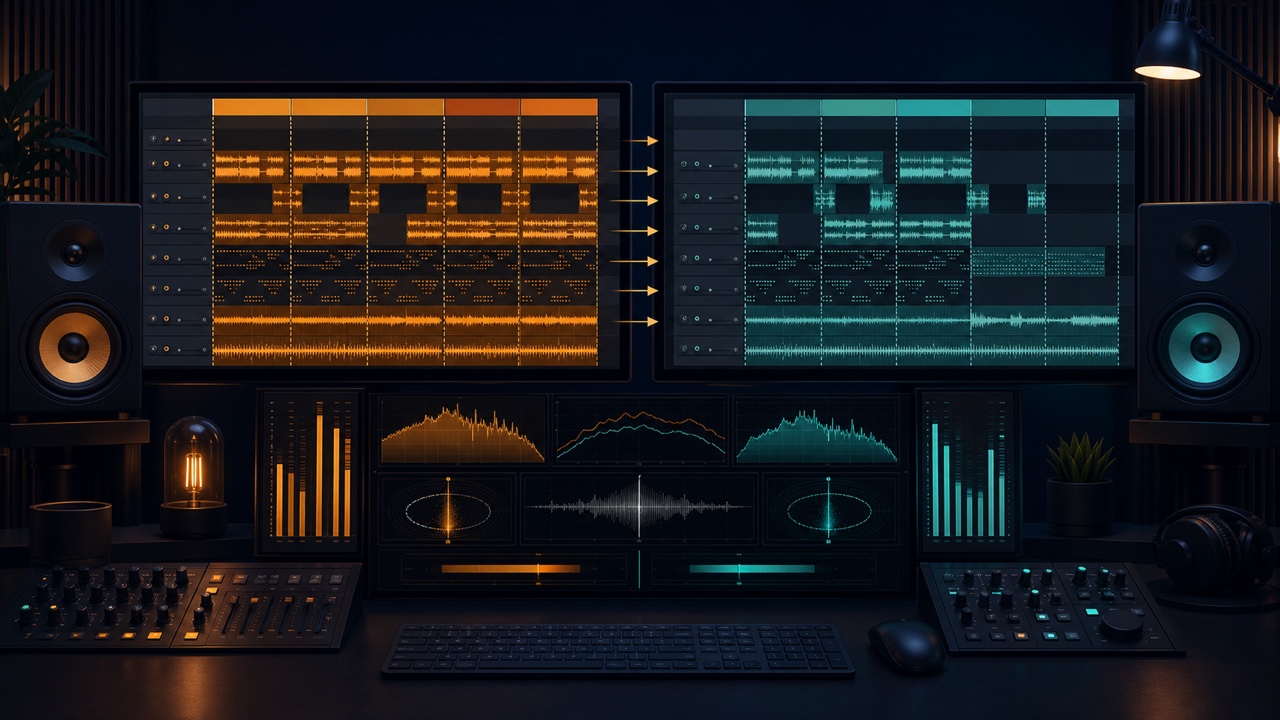
Importing a reference track into your DAW lets you break down impressions such as “it sounds louder” or “it has more bass” into arrangement, loudness, frequency balance, and stereo image. The goal is not to copy the reference track’s measurements exactly, but to turn the differences from your own song into specific adjustments.
Use a legally obtained recording for analysis, and do not publish or redistribute it.
Import the Reference onto a Dedicated Track
Create a dedicated stereo track for the reference in your DAW project and place it at the beginning of the timeline. Comparisons are easier if you route the reference directly to the output so it bypasses the master processing used for your song.
Clearly identify its track name, color, and output destination so you do not accidentally include it in the mix.
Check the BPM and Key
Use “Find the BPM and Key” to identify possible BPM and key values for the reference. Setting the DAW to that tempo lets you compare the arrangement by measure.
A live performance or song with tempo changes will not align perfectly with the grid. Instead of forcing a fixed value, place markers at the start of each section.
Document the Song Structure and Part Transitions
Add markers at the start of the intro, verse, chorus, bridge, and outro. In each section, note when the drums, bass, chords, melody, vocals, and effects enter or drop out.
When analyzing the arrangement, examine not only the number of sounds but also their register, rhythmic detail, and changes in dynamics.
Match the Listening Levels Before Comparing
A louder sound can seem more powerful and appear to contain more high and low frequencies simply because of its level. Match the perceived loudness of the reference and your song before switching between them.
LUFS provides a useful guide, but its reading changes when you measure only a short section. Compare sections with the same role, such as chorus to chorus or verse to verse, and also check the impression at a quiet listening level.
Examine the Role of Each Frequency Range
Insert a spectrum analyzer on the reference track and observe the overall tendencies of the low, mid, and high frequencies. Instead of focusing on a single instant, examine the average balance over a consistent section, such as the entire chorus.
- Low frequencies: Does the kick or the bass support the deepest range?
- Mid frequencies: How do the vocals, guitars, and keyboards divide the range?
- High frequencies: Are the hi-hat, breath, and brightness consistently too prominent?
Do not use EQ simply to match the reference curve. Use the analysis to find why the main element in your own song is difficult to hear.
Switch Between Stereo and Mono
In stereo, distinguish the centered kick, bass, and vocals from accompaniment and reverb that spread to the sides. Switch to mono and check whether any area suddenly becomes thin or any element disappears.
A wider mix is not automatically a better mix. Examine how the stable center and the space at the sides change from one section of the song to another.
Use Stem Separation for a Deeper Arrangement Analysis
Use the “Stem Splitter” to separate the vocals, drums, bass, and other parts. This makes it easier to identify the register and rhythm of parts that are hard to hear.
AI-separated audio differs in quality from the original mix, so do not use it as a frequency or loudness reference. Use it only to help identify a part’s presence, phrases, and entry and exit points.
Turn Observations into Changes to Your Song
Replace a vague observation such as “the reference chorus is wide” with the actual elements involved, such as “the chorus adds backing vocals and a high pad, making it wider than the verse.”
Do not change too many things at once. Set priorities such as the low end, the level of the main element, or the contrast between sections. The analysis in “Optimize Loudness” can help you begin comparing final loudness, but make the final decision on several playback systems.
For analysis using separated parts, see “How to Listen to a Reference Track One Part at a Time”. Before publishing, also see “Checklist for Finishing and Releasing a Song Made in Your DAW”.
