
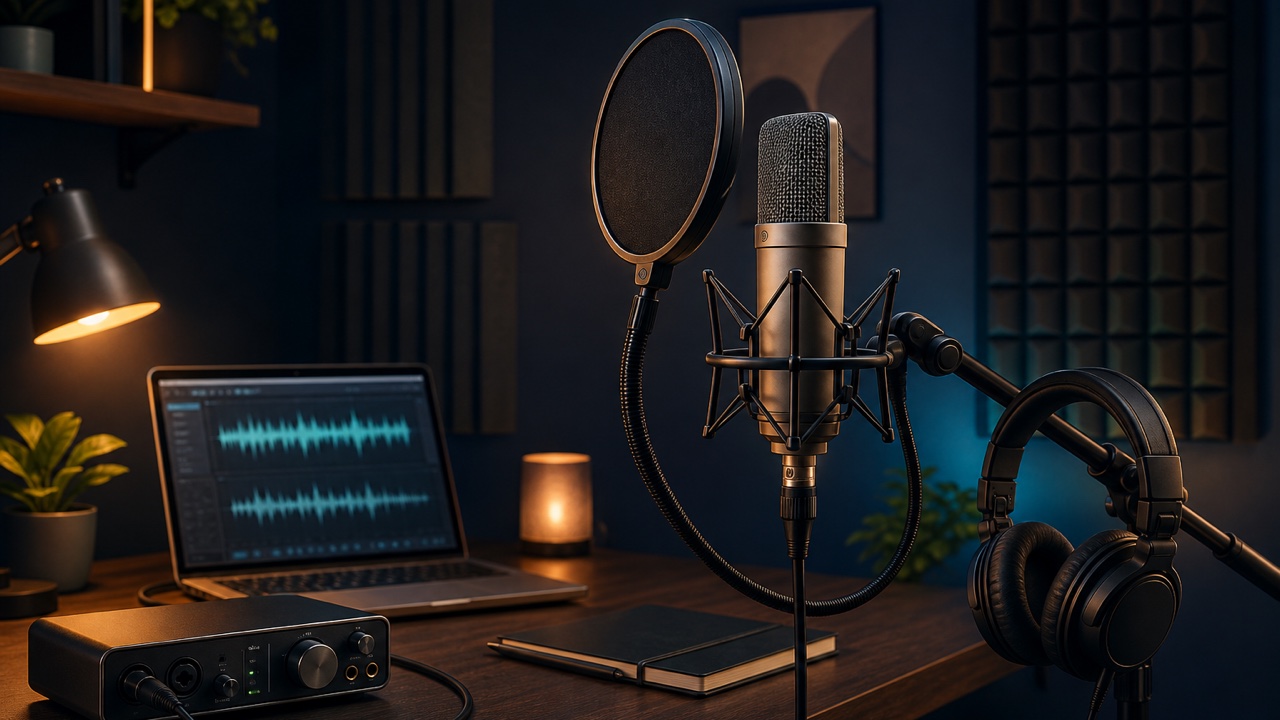
Successful vocal recording requires more than a good microphone. It is important to prepare the microphone type, connections, input gain, monitoring for hearing your own voice, and room environment in order.
Some issues can be corrected during editing, but noise, clipping, and strong room reflections can be difficult to remove completely afterward. Check the basic setup before you press the record button.
Dynamic vs. Condenser Microphones
A dynamic microphone is durable and easy to handle, and it tends to pick up less surrounding sound. It can be a practical choice in a room without sound isolation or when recording powerful vocals.
A condenser microphone can capture subtle details in breath and high frequencies, but it also picks up computer fans, outdoor noise, and room reflections more easily. Do not assume that a condenser always provides better sound quality. Choose according to the recording space and the voice.
Connect the Microphone to an Audio Interface with XLR
Most recording microphones use a cable with XLR connectors to connect to an audio interface. Instead of plugging directly into the computer’s headphone jack, you need to amplify the microphone’s low-level signal appropriately before sending it to the DAW.
A condenser microphone may require phantom power. For safety, connect the microphone and cable before turning on 48V, then turn it off and wait briefly before disconnecting them.
Set Input Gain Without Clipping
Test at your actual singing volume and adjust the audio interface’s gain. If you set the gain using only a quiet test, the signal may clip as soon as you sing loudly during the real take.
Avoid settings that keep the meter near its maximum. Leave enough room even when you sing loudly. You can adjust a slightly conservative recording level later as long as the noise remains unobtrusive.
Hear Your Voice Without Delay
It is difficult to sing when your own voice sounds delayed during recording. Using the audio interface’s direct monitoring lets you hear your voice with less of the delay caused by routing it through the DAW.
Also make sure the backing track is not so loud in the headphones that you cannot hear your voice. Lower the accompaniment slightly and create a balance that lets you monitor yourself comfortably.
Check Room Reflections and Household Noise
Before recording, capture a few seconds of silence and check for noise from air conditioning, the computer, traffic, desk vibrations, and other sources. Low frequencies and reflections can become stronger near a wall or in a corner of the room. Simply moving to a place with sound-absorbing materials such as curtains, bedding, or clothing may improve the recording.
Using a pop filter and maintaining an appropriate distance from the microphone can reduce plosives and the sound of breath hitting the capsule directly. Rather than relying entirely on post-processing, recording a clean source is the shortest path to a natural-sounding vocal production.
