
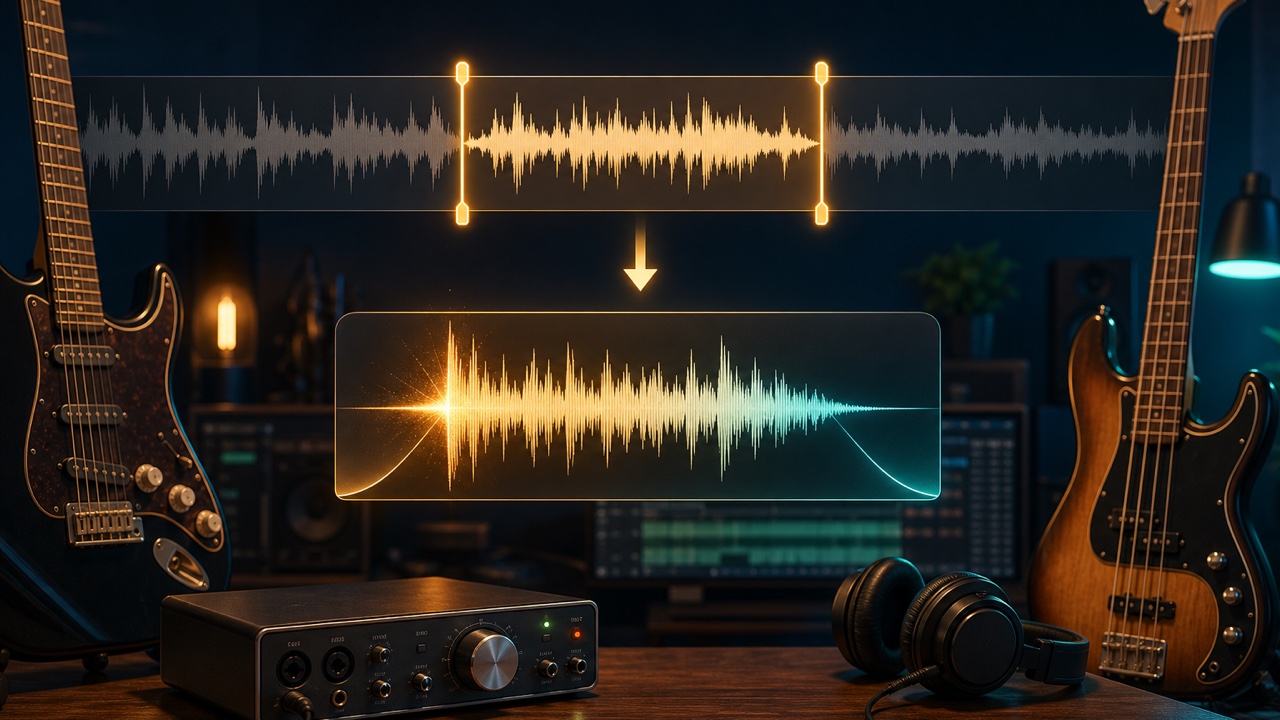
When you record a long guitar or bass performance, you can later reuse improvised phrases, cleanly played chords, pick noise, muted notes, and other sounds that emerged by chance. However, if you mechanically trim only the largest parts of the waveform, you may cut off the attack or decay and end up with an unnatural-sounding sample.
Keep the original recording and select the parts you want to use from a copy.
Decide How You Will Use the Sample First
Your edit points will differ depending on whether you are making a loop that repeats for several measures or a one-shot that plays a chord or muted note once.
For a loop, the measure length and downbeat are important. For a one-shot, prioritize the performance’s natural onset and decay, and do not make it shorter than necessary.
Select Good Takes with Some Audio Before and After
Check not only the pitch and mistakes, but also the picking intensity, noise, and connection with the surrounding chords. If you recorded the same phrase several times, temporarily place each take where it will appear in the song and compare it with the accompaniment.
For recordings made with punching in and out to rerecord a section or with overdubbing to layer performances, also check that the tone and background noise do not change abruptly around the edit points.
Do Not Cut Off Too Much of the Attack
The transient created when a pick or finger first touches the string communicates the speed and definition of the performance. If you cut exactly where the waveform becomes large, you may lose the quieter attack immediately before it.
Audition from slightly before the desired start and trim only the unnecessary silence. When aligning the timing, match the actual attack to the DAW grid rather than the beginning of the file.
Listen for the Boundary Between the Decay and Amp Noise
At the end of a chord or sustained note, leave enough time for the strings to decay naturally. Find the point where noise from the amp or effects pedals begins to stand out, then apply a fade-out as appropriate for the intended use.
When joining multiple takes, use a short crossfade to prevent clicks. Be careful not to overlap the attacks too much, or the picking may sound doubled.
Trim the Audio While Viewing the Waveform
With the Trim Audio to Any Range tool, you can audition the start and end points and save the section you need as a WAV file. Choosing a natural cut adds short fades at both ends to reduce clicks at the edit points.
If you only need to remove long stretches of silence, use the Trim Silence from Audio tool. To adjust the padding and volume of several short samples at once, use the Batch Audio Finisher tool.
Check a Loop by Repeating It Several Times
A section may sound natural once but jump rhythmically or cut off the decay when it repeats. Arrange several copies in your DAW and play them back to check the measure length, changes in noise, and the transition from the end back to the beginning.
Names such as “guitar_chord_C_take02” and “bass_phrase_120bpm_Am” make finished samples easier to reuse because they include the instrument, content, BPM, key, and take number. For recording connections, see How to Connect a Guitar or Bass to a Computer. For a final check of short audio samples, also see How to Finish Sound Effects and Other Short Audio Assets After Exporting.
