
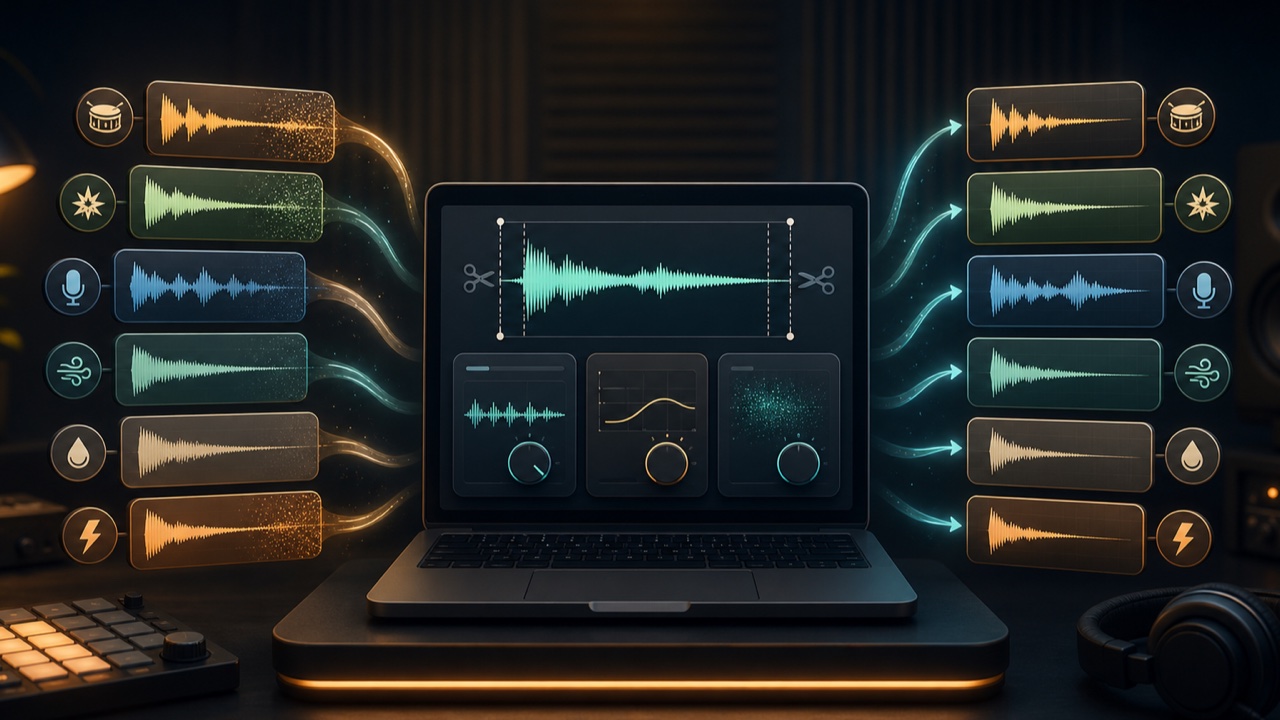
Simply exporting sound effects, drum hits, voice clips, or short phrases created in a DAW does not always make them easy to use as assets. Cleaning up long silence at the beginning, truncated tails, inconsistent levels, and background noise produces audio assets that are ready to import into a video editor or game project.
Small editing mistakes are especially noticeable in short sounds. Do not rely on the waveform alone; play each asset repeatedly and listen carefully.
Leave Only the Necessary Space at the Beginning
A long silence at the beginning of a one-shot asset makes the sound occur later than where it was placed. On the other hand, trimming right up to the start of the waveform can damage the attack or create a click.
For kicks, snares, impacts, and similar sounds, preserve the transient at the onset while reducing the padding enough that playback does not feel delayed.
Do Not Cut Off the Tail
A sound effect with reverb or delay continues to decay even after the waveform becomes small. Cutting the end too short makes the sound disappear unnaturally.
When the asset will be used by itself, keep it through the point where the tail fades naturally. If the same sound will be triggered repeatedly in a game, also check whether an overly long tail builds up.
Decide Why You Are Matching Levels
Matching only the maximum peaks of multiple assets does not always make them sound equally loud. A short impact and a long ambience can have the same peak value while sounding very different.
Use LUFS and True Peak as references, then audition assets intended for the same purpose in sequence. Do not make everything as loud as possible; leave headroom for adjustment during editing.
Check Recorded Assets for Background Noise
Recorded voices, Foley, and acoustic instruments may contain air conditioner noise, computer fan noise, or hiss. Listen to the sections before and after the sound through headphones and check whether the noise floor is noticeable.
Applying heavy noise reduction to a finished synth sound or music asset can also alter its high frequencies and decay. Use only the necessary amount on recorded material.
Process Multiple Assets at Once with Tadaoto
The Batch Audio Finisher tool can trim silence from the beginning and end and apply gentle level adjustment to two to ten audio files at once. For recorded material, you can also enable a setting that gently reduces steady background noise.
You can choose a target loudness of -16 or -14 LUFS-I, and the files are adjusted so their True Peak does not exceed -1.0 dBTP. The output is 16-bit PCM WAV at the original sample rate and channel count.
Use a Separate Process When You Only Need to Match Volume
If you have already edited the padding at both ends and do not want to alter the tone or noise, select the option to adjust volume only. For matching longer files such as finished songs or background music, the Batch Loudness Normalizer is better suited to the task.
Checklist Before Saving an Audio Asset
- Is the attack intact and free of delay at the beginning?
- Does the tail end naturally without being cut off?
- Are the level differences between assets reasonable?
- Is the recording free of unwanted noise and clicks?
- Does the file name clearly describe the contents?
- Does the format and sample rate meet the requirements of its destination?
To convert several files to another format, see the related article How to Convert Music Made in a DAW to Different Audio Formats. After finishing the assets, import them into the video editor or game engine where they will be used and check them in context.
