
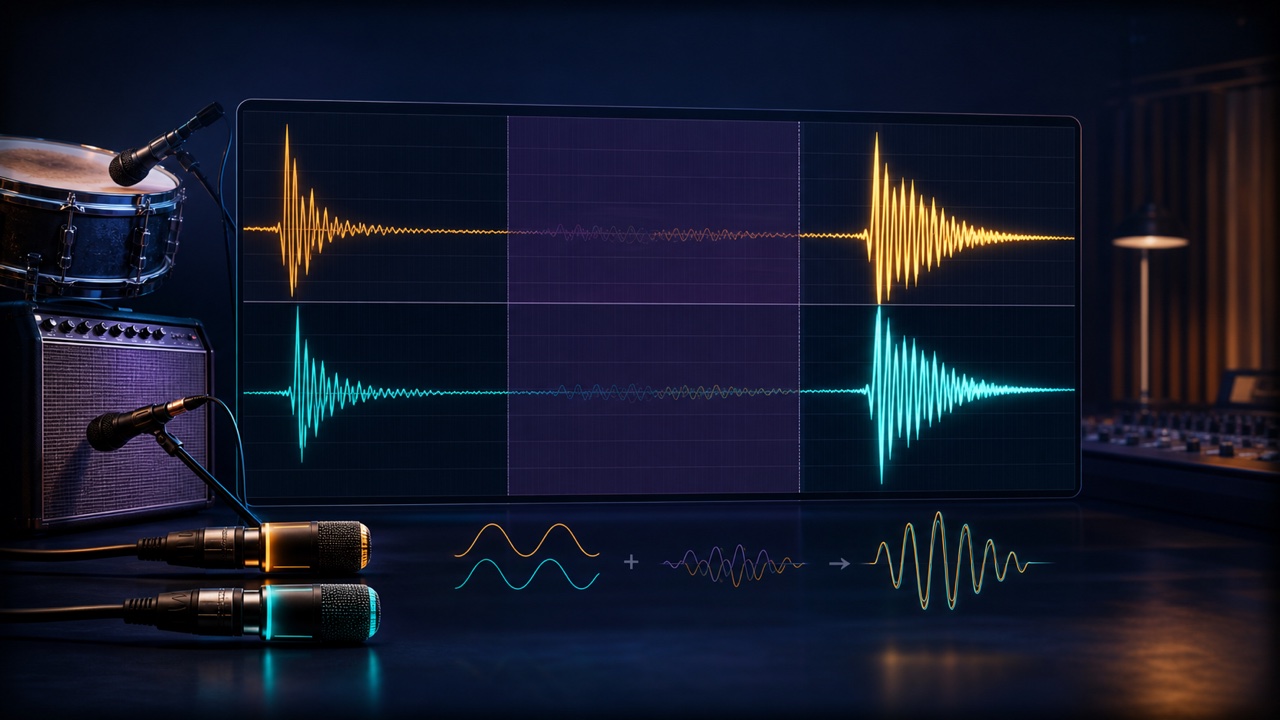
If you record the same source through multiple microphones or signal paths and the combined sound suddenly loses low end, lacks a solid center, or changes in tone with position, a phase offset may be involved. Each track can sound fine on its own, yet some frequencies may cancel when the waveforms are combined.
Different Distances Change the Arrival Time of the Same Sound
The distance from the source differs between a close snare mic and overheads, or between a close guitar-amp mic and a room mic. The slight delay before the sound reaches the more distant microphone creates frequency-dependent reinforcement and cancellation.
The arrival time also differs between a DI signal and a miked amplifier signal because one of them passes through the amp, speaker, air, and conversion stages.
Distinguish a Phase Offset from Polarity Inversion
A phase-invert button generally works as a polarity switch that flips the waveform vertically. It can help when the relationship is close to 180 degrees, but when the timing difference is complex, one button will not align every frequency.
Try the switch to see whether the sound improves. If it does not, check the microphone positions and timing differences.
First Listen for Changes in Weight and Stereo Position
Play the two tracks at the same level and listen for whether combining them reduces the low end, makes the center feel hollow, or causes the sound to sway across the stereo field compared with hearing either track alone. Raise one fader gradually and note the point where the sound begins to thin out.
Large level differences make this difficult to judge, so match the perceived loudness rather than relying only on peak levels.
Zoom In and Compare the Waveform Attacks
Zoom in on a clear transient, such as a snare hit or pick attack, and examine how far apart the onsets of the two tracks are. If necessary, move one track by a few samples to a few milliseconds and compare the result.
Perfect visual alignment can remove the natural depth or stereo character. Choose the position that sounds full while preserving the intended sense of distance.
Before Recording, Solve the Problem by Moving the Microphones
When possible, move a microphone a few centimeters before relying on editing, and listen through the monitors to find the most natural position. For drums, note the distances among the microphones. For guitar, record the microphone’s distance and position relative to the center of the speaker.
If you need to recreate the same sound later, document the stand positions and distances with photos and notes.
Check for Cancellation in Mono
A mix may sound wide in stereo but lose specific sounds when the left and right channels are summed to mono. Do not rely only on a phase meter to determine whether the recording is safe. Switch to mono and check the solid center of the kick, bass, and vocals.
For more on choosing between mono and stereo, see “When to Use Mono or Stereo Recording”.
You Do Not Need to Correct Every Timing Difference
Timing differences also create width and a sense of distance. If the sound holds together in mono and has the intended tone in the full song, you do not need to align the waveforms perfectly. Correct only the places where you can hear a problem, comparing polarity, level, timing, and microphone position in that order.
