
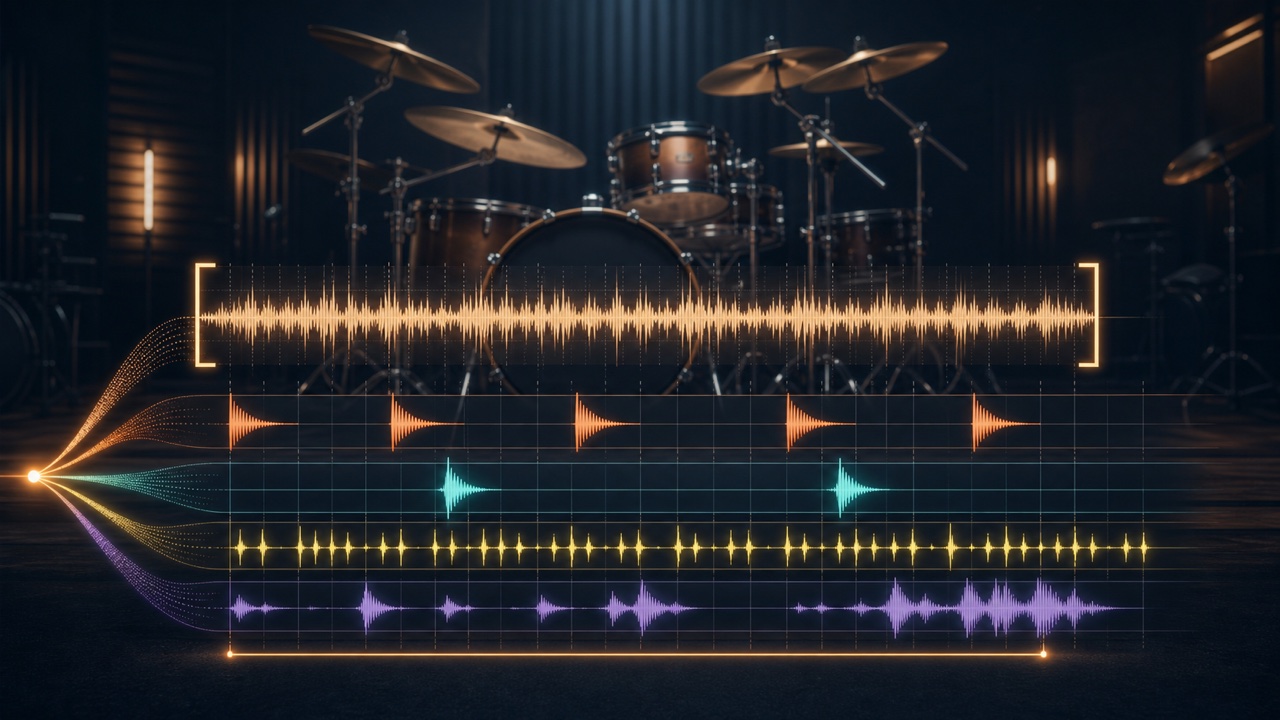
Kick, snare, hi-hat, toms, and cymbals play at the same time in a drum part, so trying to hear everything at once can be confusing. Divide the sounds by role—low end, accents, and subdivisions—and layer them one at a time to organize the transcription.
Prioritize capturing the rhythmic foundation before searching for exactly the same drum tones as the original.
Identify the Song’s BPM and Beat Positions
First, use “Find the BPM and Key” to identify possible BPM values. If it reports half or double time, such as 70 and 140, choose the value that is easier to count with the hi-hat or snare.
Import the original track into your DAW and mark beat one and the start of each measure. For a live performance with tempo variations, do not force the entire song to a fixed tempo. Count the beats separately in each section you transcribe.
Focus on a Short Section and Repeat It
Prepare a section of about one to four measures with “Trim Audio to Any Range” and play it as a loop. Instead of starting exactly on the first kick, leave a little preceding audio so you can anticipate the entrance.
Patterns change between the verse, chorus, and fills. Do not transcribe the entire song at once; begin with a representative pattern.
Use the Kick to Establish the Rhythmic Foundation
First, focus on the low end and enter only the kick positions in your DAW. If the bass masks the kick, do not rely only on the low-frequency attack or speaker vibration; verify it later using other methods.
Note the difference between strong and light kicks instead of giving them all the same intensity. At the initial stage, however, prioritize their positions rather than fine-tuning the velocity.
Use the Snare to Confirm Beat Accents
Many songs in 4/4 place the snare on beats two and four, so begin by finding the strong backbeats. Then check for quiet ghost notes, layers with claps, and hits placed slightly ahead of or behind the beat.
Listen for the transient, the initial attack of the sound, so you do not mistake the snare’s decay or room ambience for a separate hit.
Capture the Subdivisions in the Hi-Hat and Cymbals
Determine whether the hi-hat plays eighth notes or sixteenth notes, then distinguish open and closed hits and their accents. Listening only to the high frequencies can make you mistake guitars or noise for the hi-hat, so play the kick and snare while checking the overall groove.
Crashes often mark the start of a section, while ride cymbals frequently appear in a chorus or during a change in the arrangement. Document them together with the song structure.
Break Down Fills in Detail Last
For tom runs and snare rolls, first identify the number of hits and their general high-to-low movement. After recognizing a contour such as “descending to lower sounds” or “repeating the same sound,” determine the specific toms and sticking.
If the fill is too fast, use “Change Tempo” to slow it to about 70–90% while preserving the pitch. Extreme slowing blurs the attack, so return to the original speed after checking it.
Use Stem Separation to Focus on the Drums
The “Stem Splitter” can separate the original into stems so you can focus on the drums. Alternating between a version with the non-drum parts turned down and a drums-only version is also effective.
AI separation can remove parts of a sound or cause other parts to bleed through. Always confirm subtle ghost notes and cymbal lengths in the original recording as well.
Program the Part in Your DAW and Layer It with the Original
After programming a drum instrument, play it with the original and listen for places that sound doubled like a flam. Once the positions match, adjust the velocity, tone, and degree of hi-hat openness.
A perfect copy is not the only possible goal. For performance practice, a playable sticking pattern is enough; for arrangement analysis, it is enough to understand how the drums support the song. For the overall process, see “A More Efficient Workflow and Tools for Transcribing Music by Ear”. For programming fundamentals, also see “Drum Programming Basics in Your DAW”.
