
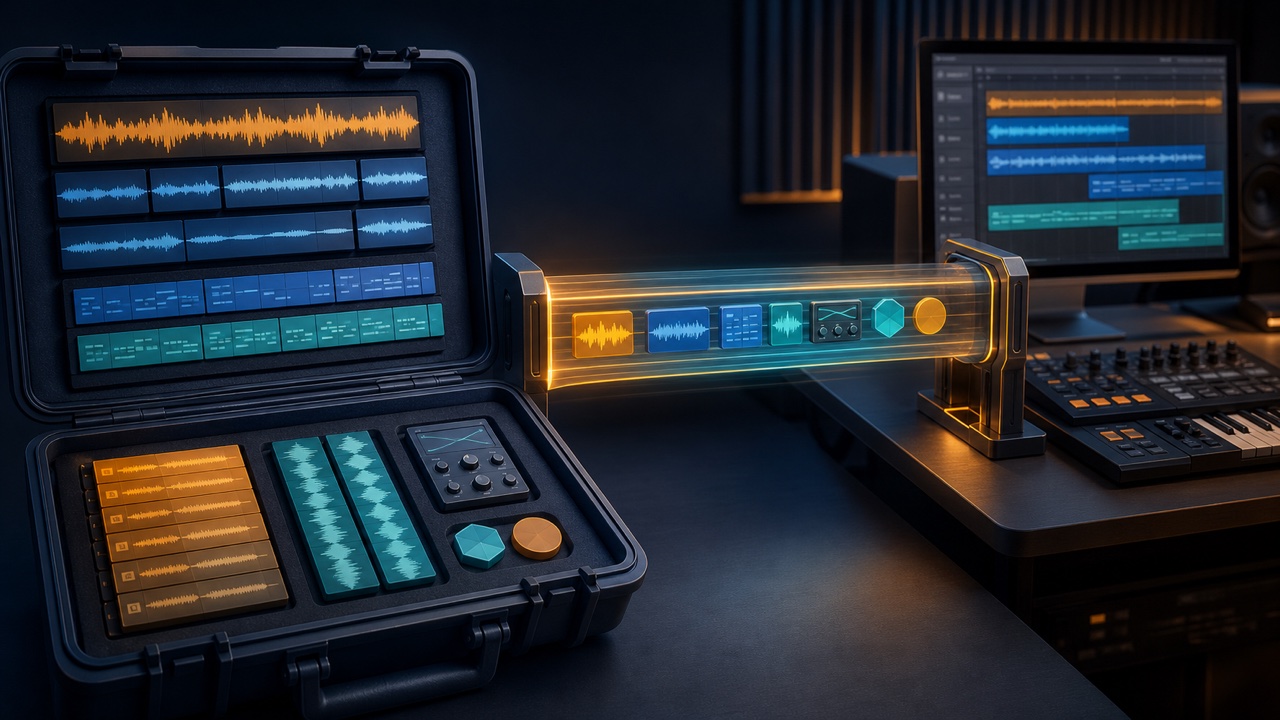
When a collaborator opens your DAW project and finds missing audio, unavailable plug-ins, or shifted start positions, recovery work can take longer than the musical discussion. Before sending the project, prepare both what can be reproduced in the other person’s setup and fallback files that let them continue even when it cannot.
Do not clean up the original project directly. Make a duplicate first so you can return to the working production if you delete or consolidate anything.
Create a sharing copy and collect every asset
Create a folder named something like “SongTitle_Date_Shared,” then use your DAW’s “copy files into project” or “collect all assets” command. Do not leave the project referencing an external SSD or Downloads folder.
Delete unused takes only inside the sharing copy. Move the project to another location, open it again, and check that no missing-file warning appears.
Align all audio to a common start point
When exporting audio, start every file at the beginning of the song or the same bar. Include silence before tracks that enter later so the recipient can reconstruct the arrangement simply by placing all files at the same position.
If the song begins with tempo changes or a count-in, note the BPM, time signature, and starting bar. Export a separate click track when needed.
Keep both MIDI and processed audio
MIDI preserves editable notes and rhythm, but it cannot reproduce the timbre without the same instrument. For software-instrument tracks, provide the MIDI file and an audio render of what you hear.
For amp-sim guitars, supply the processed audio and DI. For vocals, provide the dry recording and, when useful, an effected reference. Make the reference version clear in each file name.
Use stems and individual tracks for different purposes
A stem combines tracks into groups such as drums, bass, instruments, and vocals. Stems are convenient for overall balance checks and simple edits, but detailed mix revisions require individual tracks.
Choose the files according to the collaborator’s role. Provide stems for overview and individual tracks for the parts they need to edit rather than sending every track without context.
List the instruments and plug-ins used
Record the instruments, amp models, important plug-ins, versions, and preset names. If the recipient may not own something, include audio created with freeze or rendering.
You do not need to document every setting. Separate what is essential to reproduce the sound from what can be replaced.
Use a consistent sample rate and bit depth
Match the project’s sample rate and the export settings. Unless the project specifies otherwise, use an uncompressed format such as WAV for collaboration and confirm the bit depth with the recipient.
If sources use different settings, decide when conversion will happen. MP3 is useful for quick reference, but keep it separate from the editing masters.
Make names and folders explain the contents
Organize files into folders such as “Audio,” “MIDI,” “Stems,” “Reference,” and “Notes.” Use short, consistent names such as “Drums_ST,” “Bass_DI,” and “Vocal_Dry,” and avoid names like “audio_1_final_new.”
Place a text file at the top level with the song title, BPM, key, version number, and notes, including which file the recipient should hear first.
Test the package using the recipient’s workflow
Copy only the shared folder to another location, open the project, import the audio into an empty DAW, and play from the beginning. For export choices, see WAV or MP3? A Beginner’s Guide to DTM Export Settings. For delivery checks, see BGM Delivery Checklist.
In collaboration, it is safer to provide both editable data and audio that will definitely play than to require everyone to have an identical production environment.
