
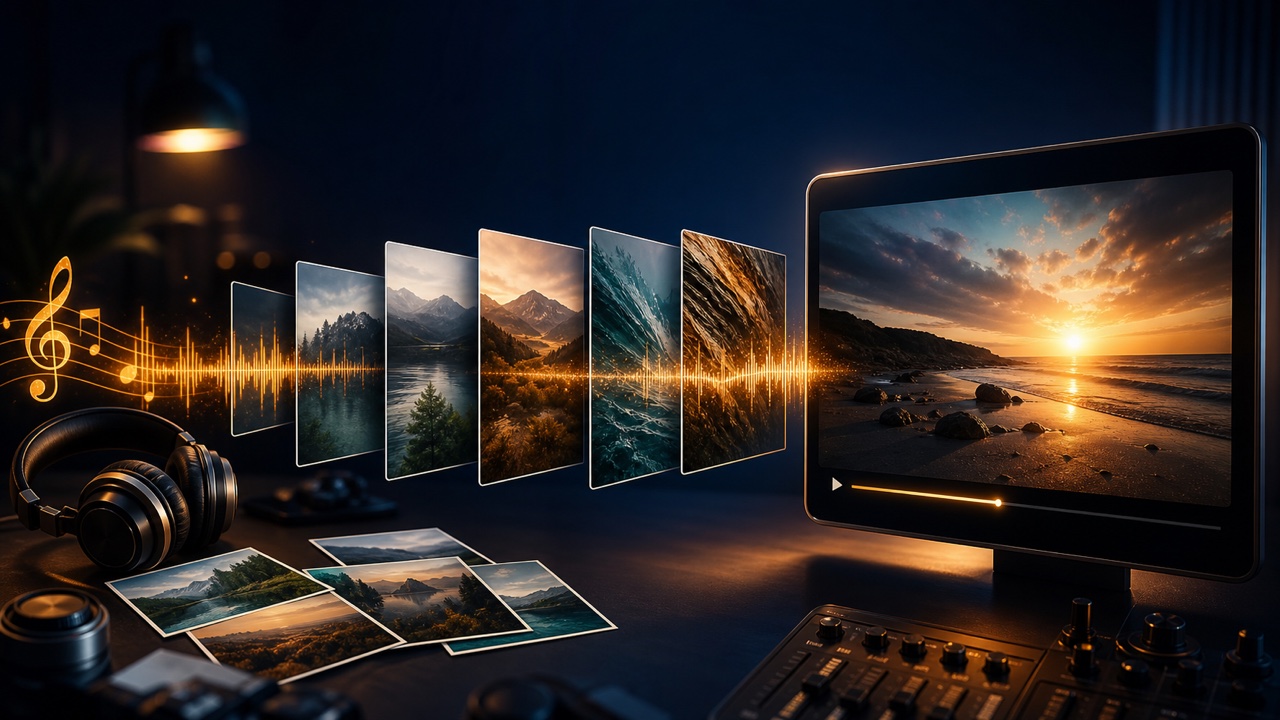
If you want to publish your original music on YouTube or social media but do not have video footage, you can create a slideshow using cover art, production photos, landscapes, and other still images. Switching images at fixed intervals is enough to make a functional video, but matching the visuals to the song’s structure communicates the character of the music more effectively.
Choose the Video’s Purpose and Aspect Ratio
Different publishing platforms call for different aspect ratios, such as widescreen for YouTube, vertical video for smartphones, or a square frame. Decide where the video will be used first and select images that will not crop out important subjects.
If you plan to create versions in several aspect ratios, keep people and text away from the edges and leave a safe area near the center.
Divide the Song into Sections and Assign Photos
Mark the positions of the intro, verse, chorus, instrumental break, and outro, then decide what role each photo will play in each section. Match visual changes to the song’s arrangement, such as switching to a brighter photo for the chorus or using an image with more negative space during a quiet instrumental passage.
Changing images on every beat can feel restless. Use four or eight measures as a general guide, with faster changes reserved for distinctive sounds and transitions.
Vary Image Display Times
Do not simply divide the song into five equal sections because you have five photos. Adjust the duration of each image to suit the song’s development and the photos you want to emphasize. Give detailed images more time and use shorter durations for similar shots to make the slideshow easier to follow.
If the video must match the song’s duration precisely, finalize the beginning and ending of the audio first.
Create a Slideshow with Tadaoto
The tool for creating a slideshow video from multiple images lets you arrange images, set their display times, add audio, and export the result as a video. For an efficient workflow, first export a short test at a low-quality setting to check the order and transitions, then create the final version.
If you want the song itself to be the focus, you can also create an audio waveform video or create an audio spectrum video.
Match the Color and Brightness of the Photos
If color temperature and brightness vary dramatically from one photo to the next, each transition can feel like a switch to a different project. The processing does not have to be identical, but keep the direction of black levels, saturation, and brightness consistent.
Enlarging a low-resolution photo will make it blurry, so prepare images at least as large as the final publishing dimensions.
Check the Volume and the Beginning and End of the Video
Make sure converting the audio to video has not introduced additional clipping, cut off the beginning, or truncated the reverb tail at the end. Leave some peak headroom to account for recompression by the publishing platform.
Check the Rights to the Photos and Audio
Even photos you took yourself may contain other people’s faces, stores, artwork, logos, or other protected material. For borrowed photos, check the conditions for modification, video use, and attribution. If your original song uses third-party samples, confirm that video publishing and monetization are permitted as well.
For the basics of publishing a video, see “How to Make a Music Video for Posting Your Song on YouTube and Social Media.”
