
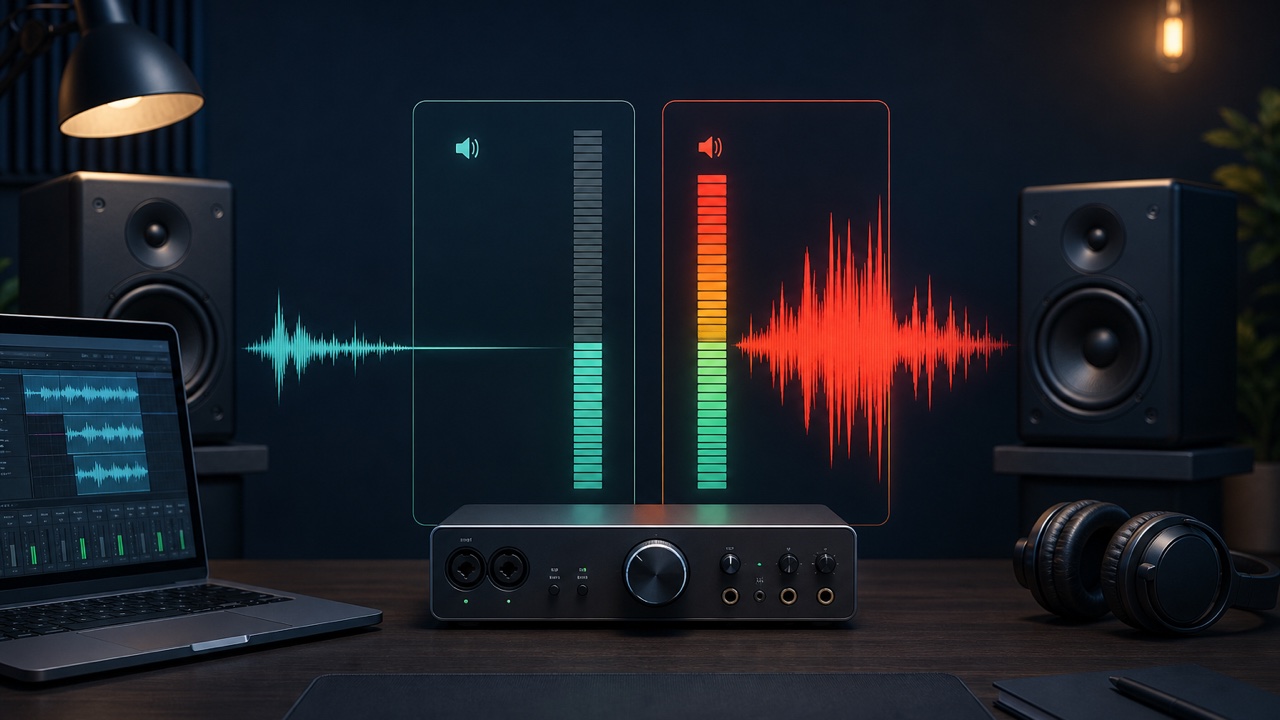
Problems such as raising a fader because a track sounds too quiet only to make it clip, seeing the master meter turn red, or hearing a low volume after export are common in music production. To find the cause, it is important to trace the signal flow in order through the recording input, individual tracks, buses, and master.
Distinguish Low Overall Volume from a Wide Dynamic Range
The solution differs depending on whether the entire song is quiet or only certain phrases are quiet. If the whole song is quiet, check the track and master levels. If only part of a performance is quiet, you can even out the level with automation or a compressor.
Trying to make everything louder with a limiter from the outset can make the underlying cause harder to identify. First, find the stage at which the signal becomes too quiet.
Check the Input Gain While Recording
When recording vocals or guitar, check the gain on your audio interface. If the input is too quiet, raising it later will also make the noise floor more noticeable.
On the other hand, if the input gain is too high, the signal will clip during recording and the distortion will remain. Test the loudest part of the actual vocal or instrumental performance and leave enough room below the peak.
Check Gain Before and After Plugins
The volume can change when a signal passes through a plugin such as an EQ, compressor, or saturator. Sometimes processed audio seems better simply because it is louder, not because the processing improved it.
When switching a plugin on and off, compare it at levels that are as close as possible. Also check the compressor’s makeup gain and any frequency ranges that you have boosted substantially with EQ.
Layering Tracks Raises the Master Level
Even if no individual track is clipping, combining multiple sounds raises the total level at the master. If the master reaches 0 dBFS, lower the faders on the individual tracks or groups.
Leaving enough headroom at the master makes adjustments easier during mixing and mastering. Lowering a fader does not reduce sound quality.
What to Watch on the Meter
On a level meter, check both the momentary maximum peak and the perceived loudness. A song with only brief, high drum peaks requires different processing from one that remains loud throughout.
For the final export, True Peak, which checks peaks after digital conversion, and LUFS, which is used to compare loudness for distribution, can also be useful references. However, you do not need to force your song to meet a target value while you are still composing it.
What to Check When Audio Is Too Quiet or Clipping
- Check whether the recorded material itself is clipping
- Check whether the input gain was set too low
- Check for sudden level changes before and after plugins
- Check whether any individual track or bus is clipping
- Check whether too many sounds are accumulating at the master
- Check whether a limiter is being used to push the level excessively
Volume problems cannot be solved solely at the final master stage. By tracing where the signal enters and where it becomes louder, you can safely adjust only the stages that need correction.
