
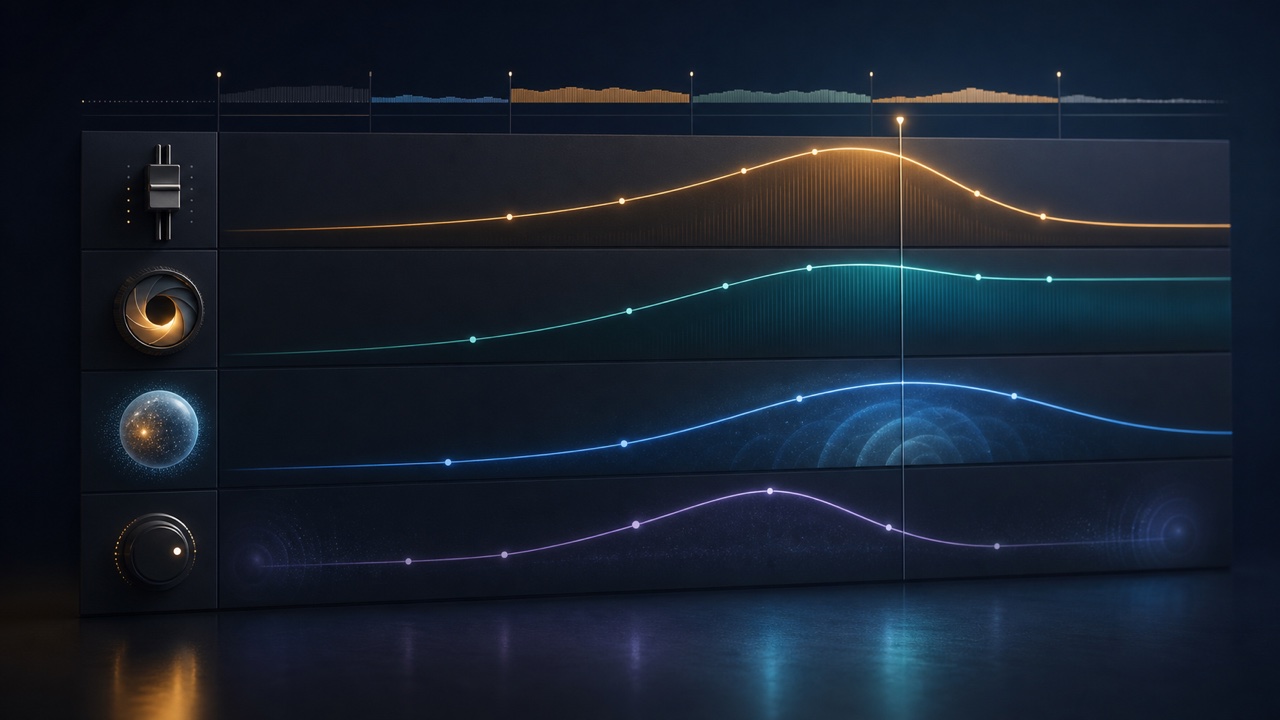
Automation changes volume or effect parameters automatically as playback moves through a song. It can do more than correct a mix: it can gradually brighten a repeating phrase or widen the space before a chorus, becoming part of the arrangement itself.
Many parameters can be automated, but begin with three categories: volume, filters, and space. Make sure you can hear each change on its own before combining them.
Define the start and end of the movement
Choose the range and purpose, such as “build gradually across the eight-bar pre-chorus” or “move away for only the final beat before the chorus.” Drawing automation without a purpose creates a mix that never settles.
Place three points—start, middle, and end—listen to a straight line first, and then shape the curve if needed. Fewer points are easier to revise.
Bring parts in and out with volume
Fader automation can fade a pad or noise layer in over several bars instead of switching it on suddenly. It can also refine a performance, for example by raising only the ends of lead phrases by 1–2 dB.
Set the track’s basic level with the fader first, then write relative movement. If automation must correct a very large difference, review the source and arrangement as well.
Move brightness and anticipation with a filter
Moving the cutoff frequency from a closed, dark sound toward an open one can build anticipation toward the chorus even when the pattern stays the same. Compare a low-pass filter with bypass because it may also change perceived level.
Limit this movement to pads, noise, or arpeggios rather than applying it identically to every track, so the lead stays stable.
Change distance with reverb sends
Increasing the send to reverb only at the end of a phrase lets the sound disappear into the background and connect to the next section. Return the amount at the chorus so the lead seems to move forward.
Automating a send rather than the reverb’s master wet control makes it easier to preserve a shared space across multiple tracks.
Use delay to emphasize selected words or notes
Instead of leaving delay on constantly, send only a vocal ending or the last synth note. The repeats occupy a gap and are less likely to collide with the next phrase.
Long feedback may continue over the next chord, so check harmony as well as tempo synchronization.
Keep pan movement small and purposeful
Moving pan draws attention, but continuously moving the lead or low end makes the image unstable. Use it for short gestures, such as a rising effect converging on the center or decorative notes passing from side to side.
Do not judge extreme movement on headphones alone. Confirm that the important information remains on speakers and in mono.
Make several changes point in the same direction
If a filter opens during a build while the volume falls and the reverb suddenly becomes dry, the intention is difficult to read. Choose a direction such as “moving closer,” “moving away,” or “intensifying,” then move two or three parameters toward that goal.
For the basics, see Automation Basics. For transitions, see How to Connect Song Sections Smoothly.
Close your eyes and decide whether each move is necessary
A clean-looking curve is not useful if the change is inaudible or unnatural. Disable all automation once, then restore only the lanes that genuinely improve the song’s development.
Automation gives static material meaningful change over time. Its purpose is clearest when it is reserved for moments that tell the listener a new section is approaching.
