
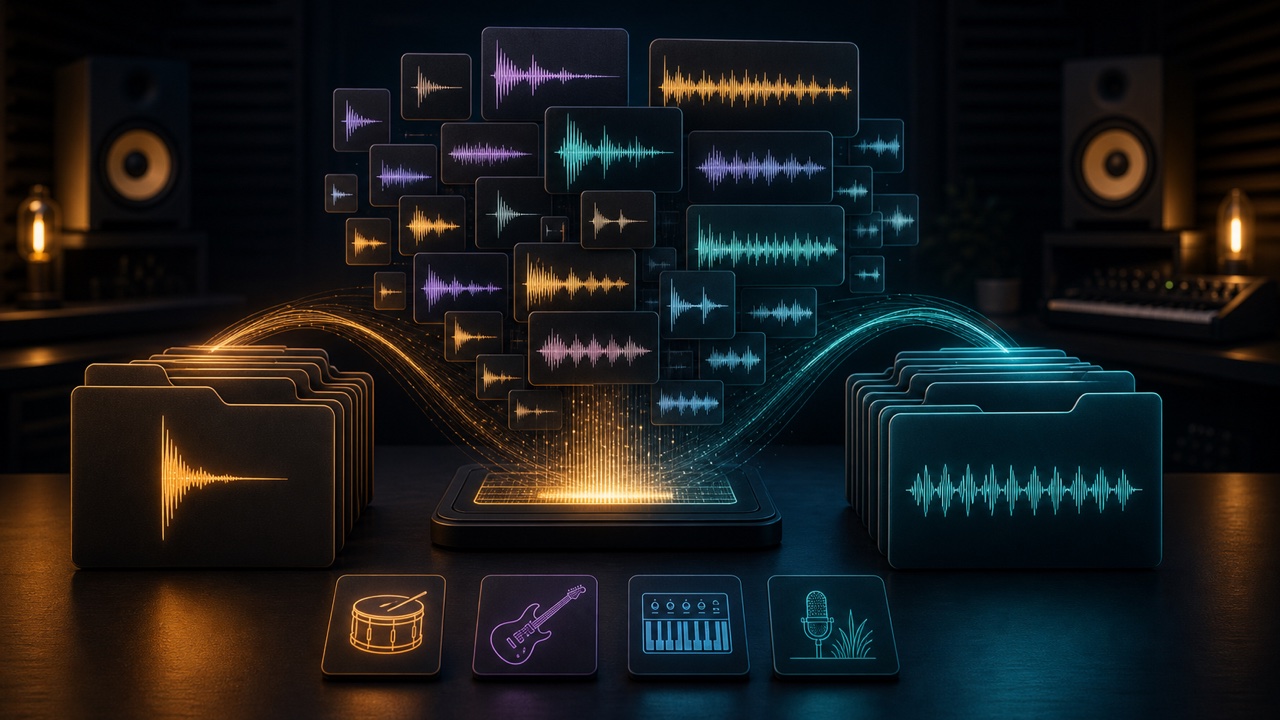
As your collection of recorded drums, single guitar notes, synth phrases, ambient sounds, and other audio grows, organizing it into your own sample packs by purpose makes the material easier to reuse. Simply placing the sounds in folders, however, leaves you with inconsistent levels, padding, and names, creating a collection that is difficult to browse while producing music.
The important goal is not to increase the number of sounds, but to make it immediately clear which material can be used and under what conditions.
First Define the Purpose and Scope of the Pack
“Drum samples” is too broad, so narrow the theme to something like “dry kicks and snares,” “metal impact sound effects,” or “120 BPM guitar loops.” Separate one-shots that play once from loops designed to repeat for a fixed duration so you never have to guess which is which.
Instead of keeping many nearly identical sounds, select takes with clear differences in intensity or tone. Remove exact duplicates, failed takes, and sounds whose purpose you cannot describe.
Trim Each Sound Without Damaging Its Attack or Tail
Do not cut off the attack of a one-shot, and preserve the ending until its natural tail has decayed. When removing long silence, placing the start point exactly where the waveform becomes large can cut away the definition of the performance.
Audition the beginning and ending with the tool for trimming any range from an audio file, and add a short fade if needed. The batch audio finishing tool is useful when preparing multiple files at once.
Check the Beat and Transition of Looping Material
Choose the BPM and number of bars for a loop, then trim it precisely from the start of the beat. Place several copies of the same file in sequence in a DAW and check that the rhythm does not jump and the tail does not cut off abruptly at each transition.
For material with reverb or delay tails, the seamless loop maker can smooth the transition more effectively than simply cutting the end. If the BPM or key is unknown, start with the BPM and key analyzer.
Do Not Match Every Level by Numbers Alone
Adjust similar materials to levels that make them easy to compare, but do not erase the dynamic difference between softly and strongly played sounds. Do not normalize the peaks all the way to 0 dBFS; leave room for later processing.
If you have many files of the same type, use the batch loudness normalizer, then always use your ears to check the final relationship between softer and louder sounds.
Use WAV as the Standard for Editing
Use uncompressed WAV as the standard if the material will be edited again. When in doubt, saving at the sample rate of your production environment and at 24-bit will generally be practical. If the distribution platform has specific requirements, match its sample rate and bit depth.
You may create MP3 previews, but keep the original WAV files. The audio format converter can help standardize formats.
Make the Contents Clear from the File Name Alone
Instead of “audio_001,” use a consistent order for the type of sound, character, intensity, BPM, key, and sequence number, as in “kick_deep_hard_01” or “guitar_loop_120bpm_Am_04.” Some distribution platforms do not accept symbols or non-Latin characters, so using only ASCII letters, numbers, and underscores makes the files easier to move between systems.
Check Rights and the Contents List Before Distribution
Even material you recorded yourself may contain third-party conversations, existing music, or sounds that cannot be redistributed under a software instrument’s terms. Confirm that each sound may be redistributed on its own, and include a list describing the BPM, key, format, number of files, and terms of use.
After finishing the pack, load it into a new empty project and check for missing files, duplicate names, and incorrect loop timing. For final processing of short samples, also see “How to Finish Sound Effects and Short Audio Assets After Exporting”.
