
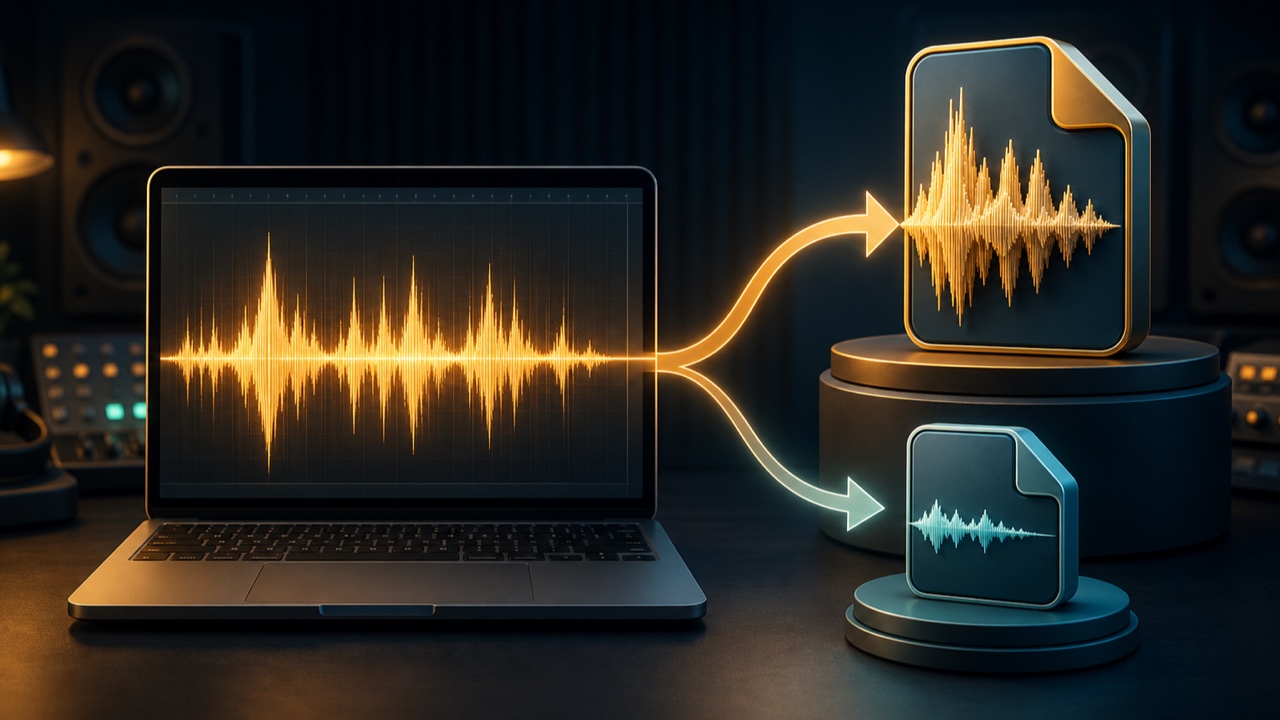
Exporting a finished song from a DAW as an audio file is called bouncing or rendering. Export screens contain many options, including WAV, MP3, sample rate, and bit depth, which can be confusing for beginners.
A simple rule is to use WAV for archiving and delivery, and MP3 for email and review copies.
WAV Preserves High-Quality Audio
WAV is a file format commonly used to store uncompressed PCM audio. Because it does not discard large amounts of audio data, its files are bigger, but it is well suited to mixing, mastering, video editing, and deliverable source material.
It is a good idea to export a WAV first as the master copy of your finished song. You can convert it to MP3 or another format later.
MP3 Reduces File Size
MP3 uses lossy compression to reduce sounds that people are less likely to notice, creating a smaller file. This makes it convenient for email attachments, checking a mix on a smartphone, and casual sharing.
Information lost when audio is compressed to MP3 cannot be restored by converting the file back to WAV. For that reason, avoid keeping only an MP3 as the final archival copy.
What Is Sample Rate?
Sample rate indicates how many times per second a sound is sampled for recording. Common rates include 44.1 kHz and 48 kHz.
44.1 kHz is often used for music distribution and audio CDs, while 48 kHz is common in video production. If the recipient specifies a format, prioritize those requirements. Avoid changing the rate unnecessarily during production, and keep the project and export settings consistent.
What Is Bit Depth?
Bit depth relates to how precisely audio levels are recorded. A depth of 24 bits is practical for recording, editing, and archiving, while 16 bits is used for formats such as audio CDs.
A 24-bit WAV is the common choice for pre-mastering files or multitracks delivered to another mix engineer. Convert it as needed for the final destination.
MP3 Bitrate
Bitrate is the amount of data an MP3 uses per second. A higher value retains more information and produces a larger file.
For quality checks or distribution, choosing 256 or 320 kbps helps limit audible degradation. You can use a lower value when file size is the priority, but high frequencies and reverb tails are more likely to change.
Check the Export Range and Reverb Tails
If the end of the song contains a reverb or delay tail, setting the export range too short will cut it off. Extend the range until the final sound has faded completely.
Also check for unnecessary silence at the beginning and excessive silence at the end.
Recommended Settings by Use
- Archival master: 24-bit WAV at the same sample rate as the project
- Delivery for video editing: generally 24-bit WAV at 48 kHz; follow the recipient’s specifications
- Email and review copy: MP3 at 256–320 kbps
- Mastering submission: unprocessed 24-bit WAV; ask the engineer whether to include a limiter
If you are unsure about the export settings, the safest approach is to save a high-quality WAV first and create an MP3 for sharing. Check the intended use and delivery requirements, then prepare the necessary formats from the same finished song.
