
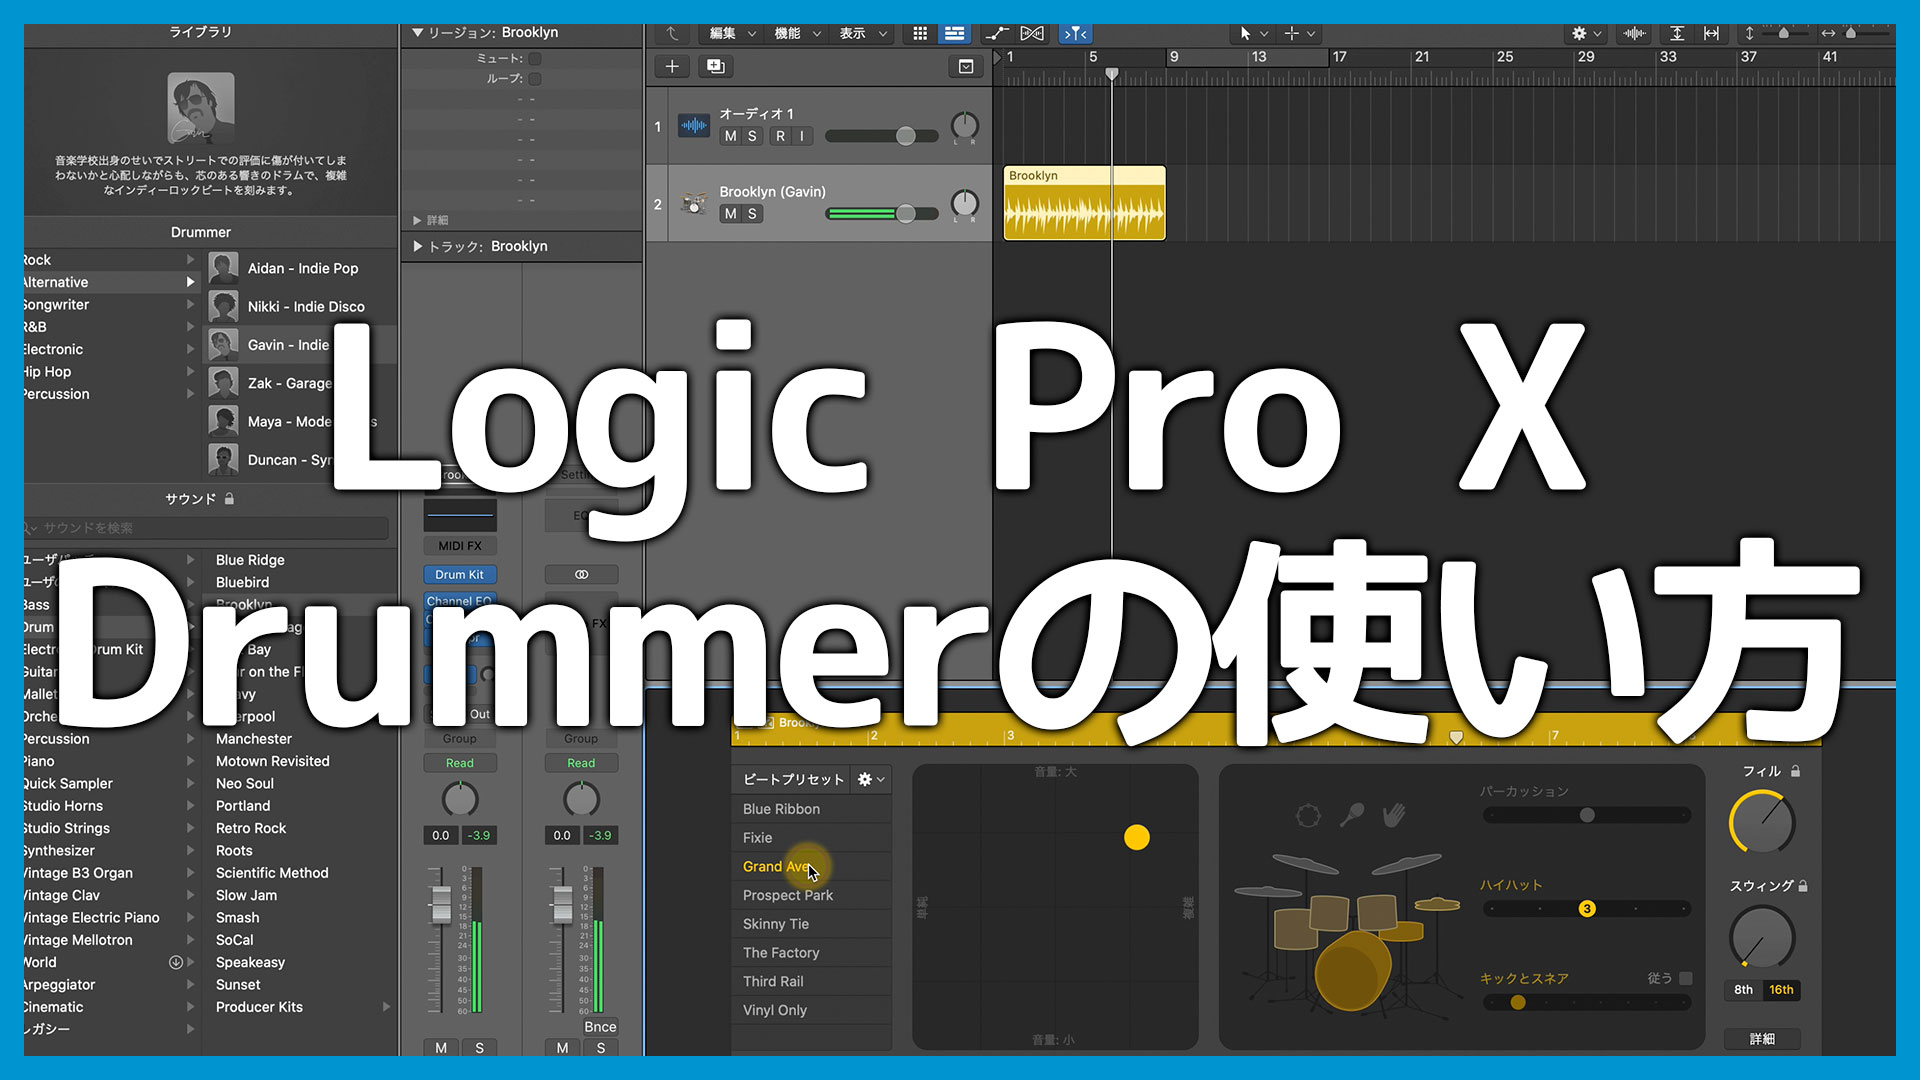
Logic Pro includes Drummer, a feature that automatically performs drum parts for you.
It is especially useful if you find drum programming difficult or want to spend less time building rhythm tracks.
Basic Drummer Workflow
This guide covers only the basics. Drummer offers plenty of detailed control, so once you understand the workflow, experiment with its other settings.
Choose a Drummer
Start by creating a Drummer track.
Click the plus button at the upper left of the main window.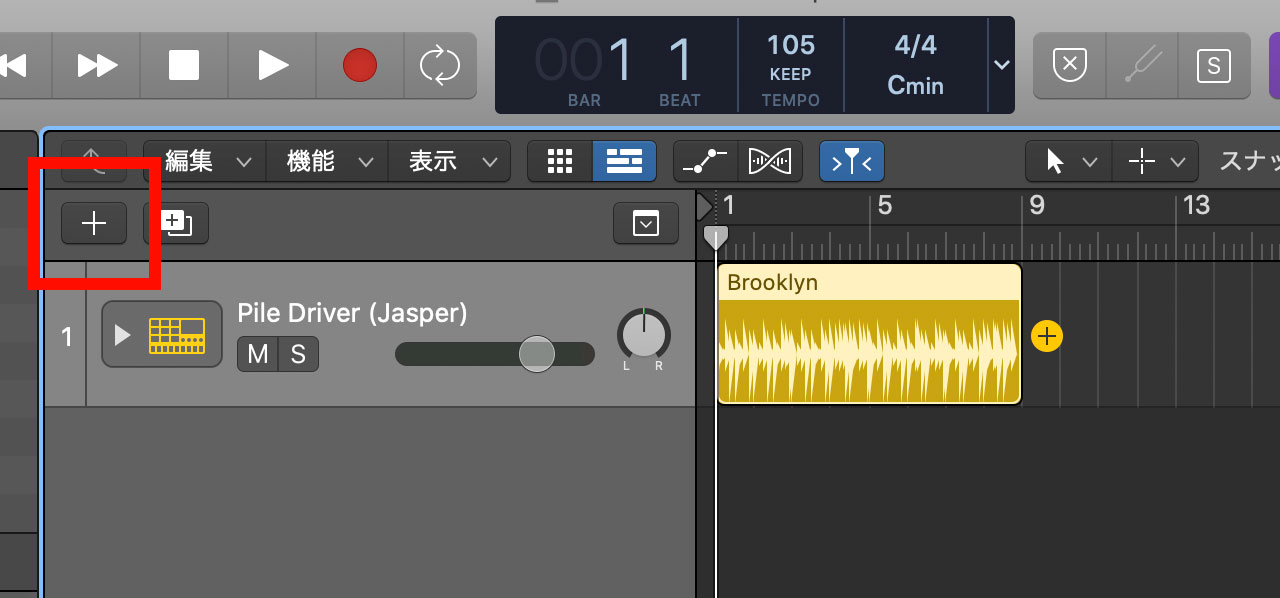
Select Drummer.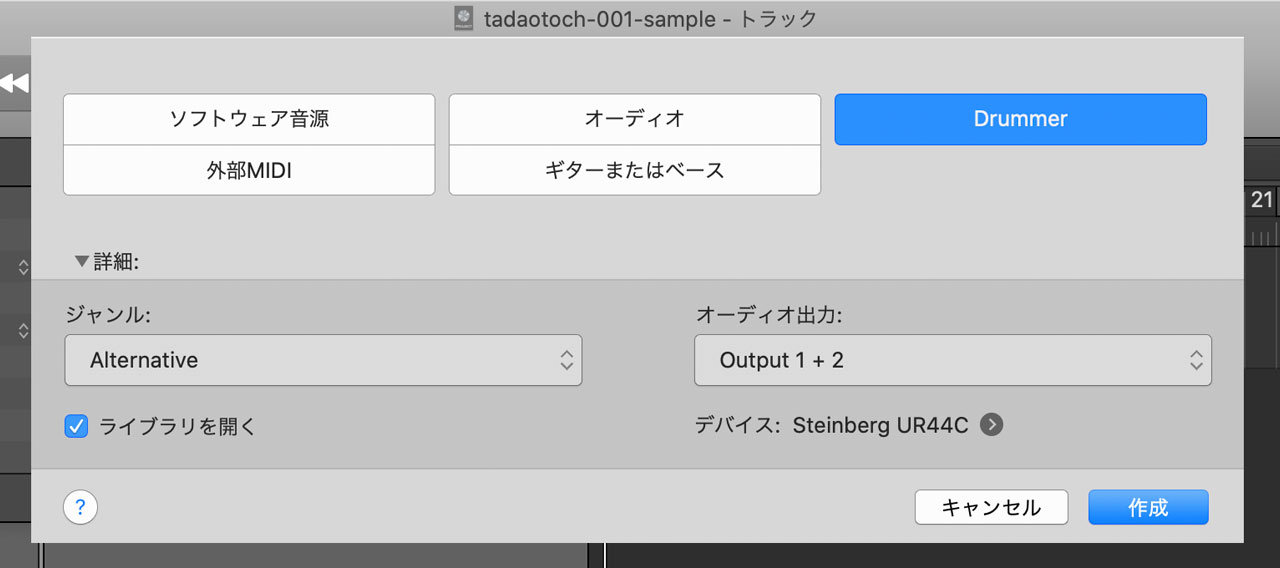
A list of drummers appears on the left. Use the genre and description to choose one. You can change the drummer later.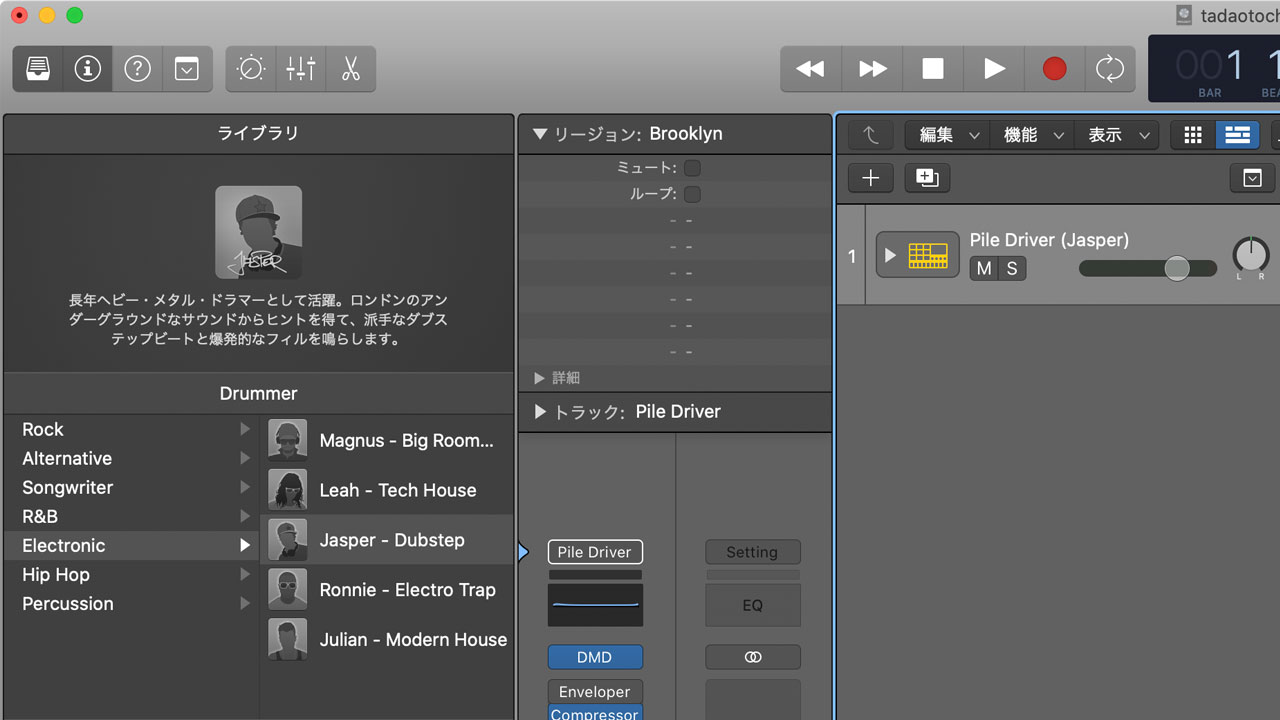
Shape the Performance
Once Drummer is ready, shape the phrase. The basic process is very simple.
The controller shown below appears at the bottom. Choose a beat preset for the general direction, then move the puck in the pad on the right. The X-axis controls complexity and the Y-axis controls loudness.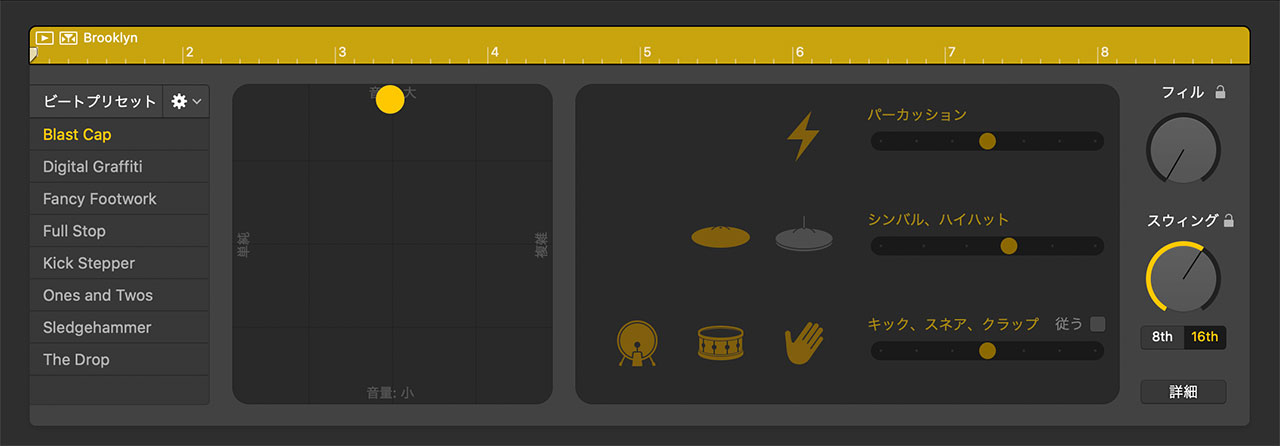
Click Details at the lower right to reveal more settings for refining the performance.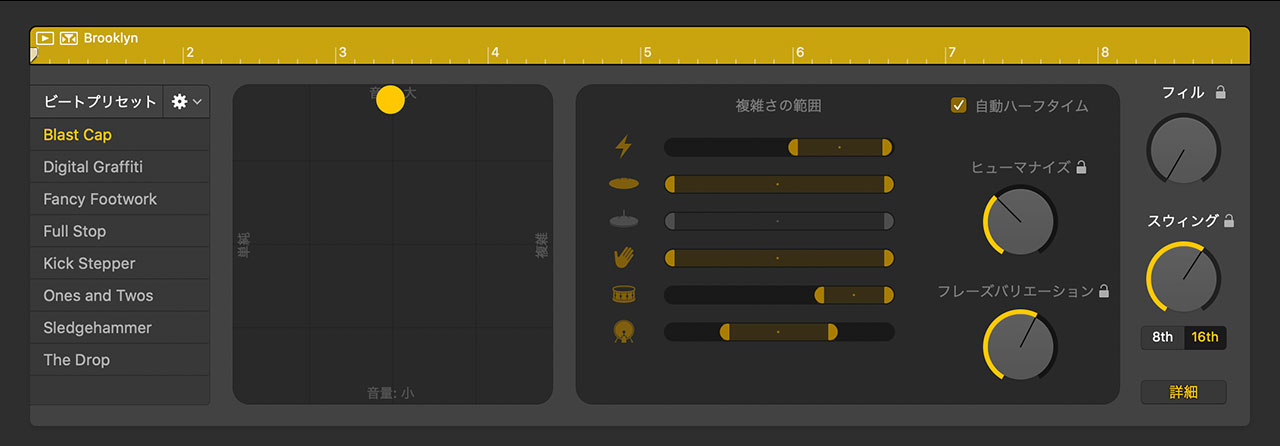
Choosing a beat preset, positioning the puck, and adjusting the fill amount is often enough to create a convincing drum track.
Convert the Performance to MIDI for Editing
For more detailed control, convert the Drummer performance to MIDI and edit the notes directly.
Add a software instrument track.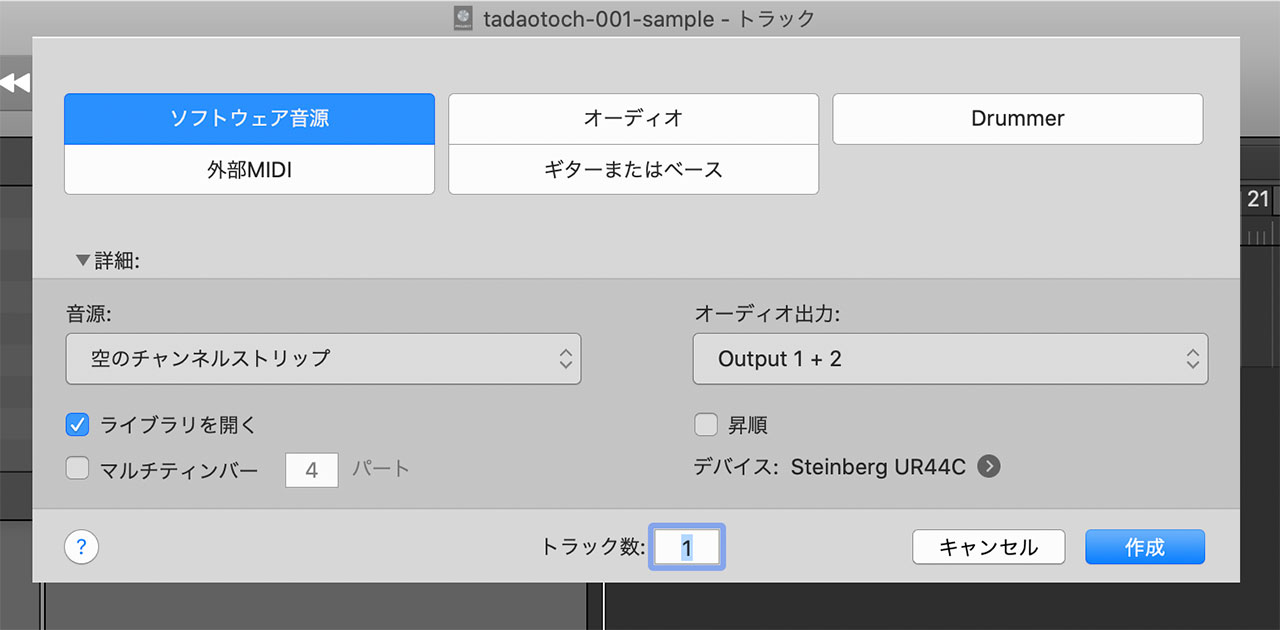
Hold Option and drag the Drummer region onto the software instrument track.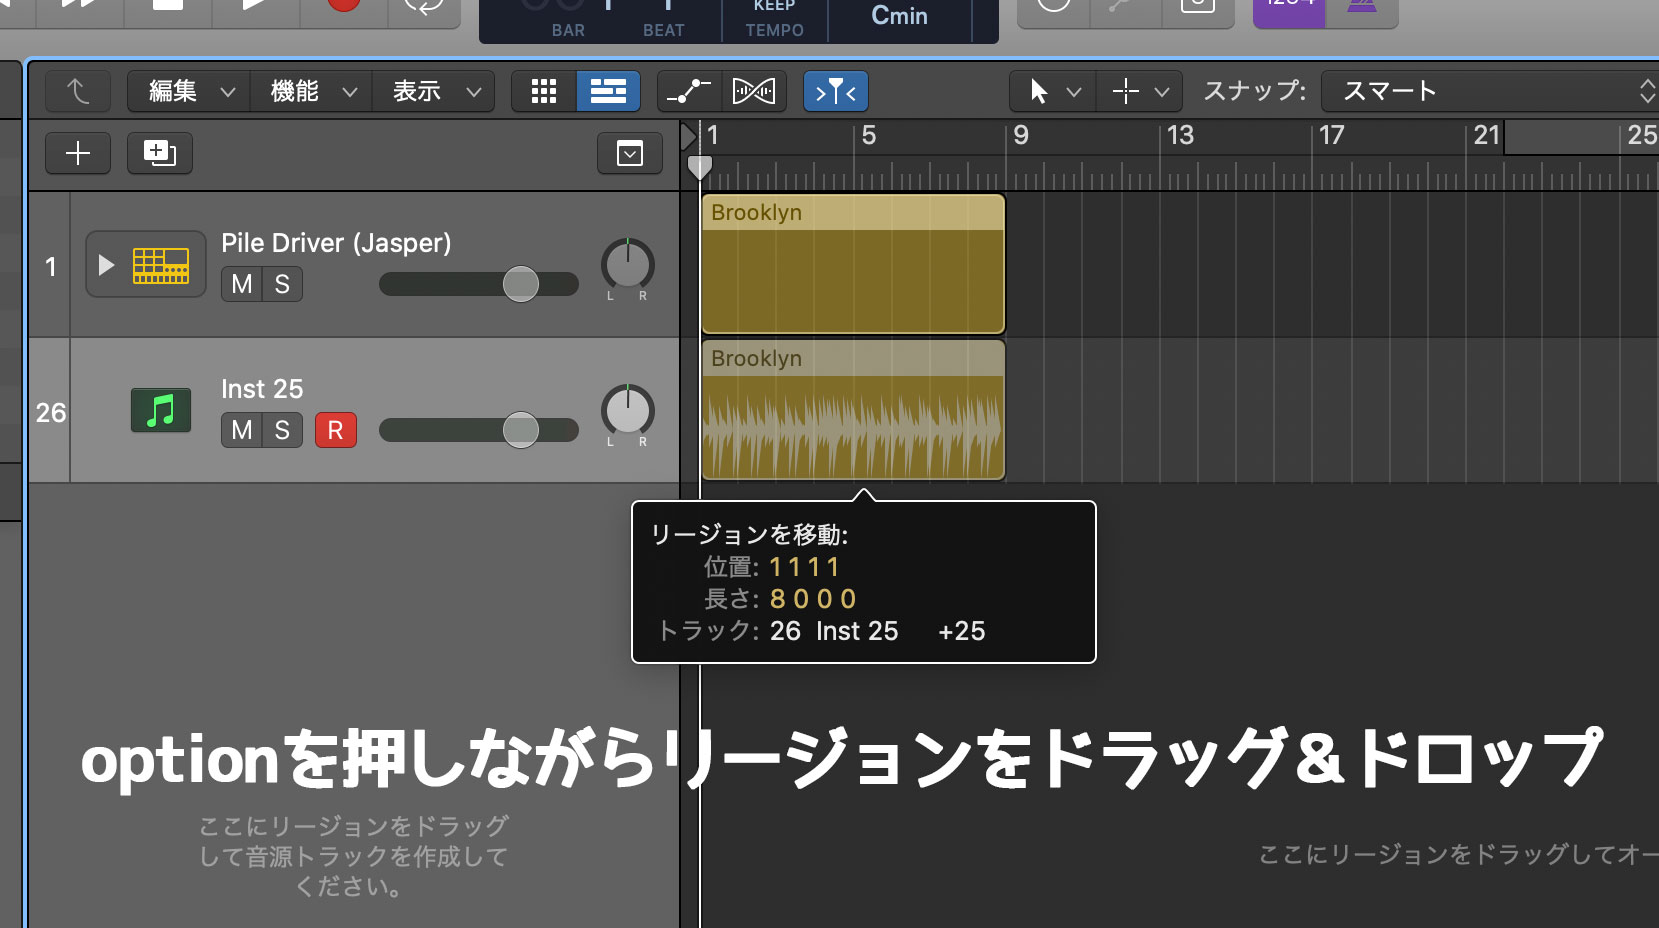
That single operation converts it to MIDI. You can now change the phrase, replace the drum instrument, and customize it however you like.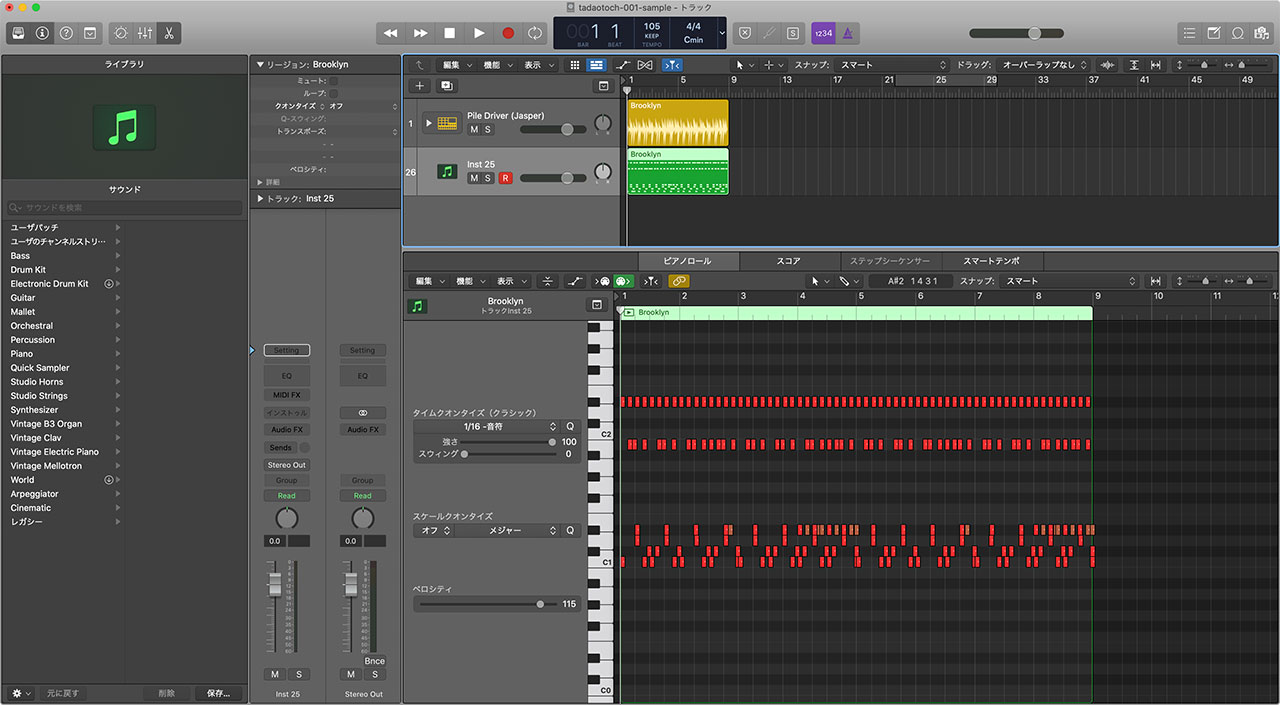
Arranging Audio Files Can Be Useful Too
Drummer makes drum tracks remarkably easy, but in some situations it is better to arrange individual audio files.
When producing EDM, for example, choosing a single kick sample you already like can be faster than designing one from scratch.
See the following article for details.
関連記事のIDを正しく入力してください