
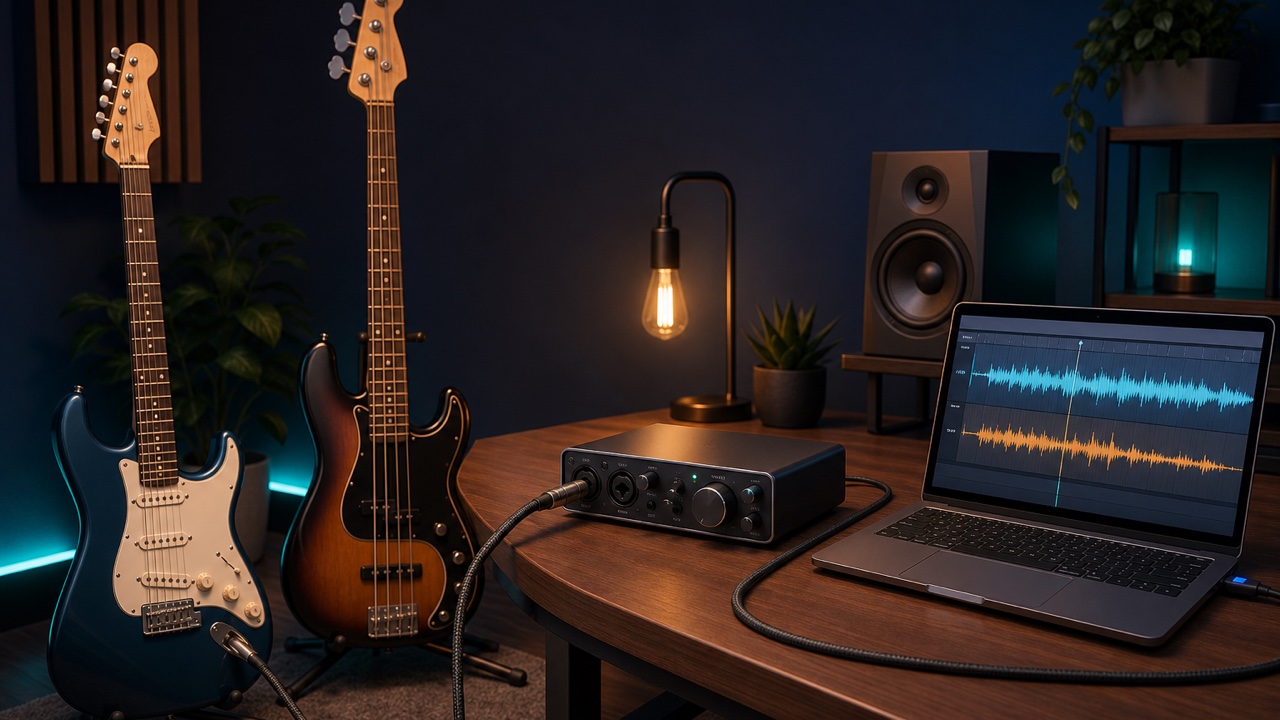
Many people who want to record guitar or bass in a DAW wonder where to plug the instrument into the computer, whether an audio interface is really necessary, or what the difference is between INST and LINE.
The standard setup is to connect the guitar or bass to an audio interface, then send the audio from the interface to the computer through USB or a similar connection. An audio interface converts the instrument’s analog signal into a digital signal the computer can process, and it lets you adjust recording levels and monitoring volume.
Why Not Connect Directly to the Computer?
A computer’s headphone jack is generally an output designed to play sound. Even if a computer has a microphone input, it may not be designed for the signal from a guitar or bass. Connecting with only an adapter can cause problems such as low volume, excessive noise, sound from only one side, or an inability to record.
An audio interface provides an instrument-appropriate input, stable recording, low-latency monitoring, and volume controls for headphones or speakers in a single device.
What You Need
- An electric guitar or electric bass
- A shielded instrument cable
- An audio interface with an instrument input
- A USB cable or other cable for connecting the interface to the computer
- Headphones or studio monitors
- A DAW for recording
Connecting the Guitar to the Interface
Guitars and basses generally use a standard-size phone connector for their output. Most instrument cables use a TS plug, which has one insulating ring near the tip.
Plug the cable into the instrument and connect the other end to an input on the audio interface. To prevent a loud noise during connection, turn down the speaker or headphone volume before you begin.
Turn On INST or Hi-Z
If the interface input has a switch labeled INST, Hi-Z, GUITAR, or something similar, turn it on when connecting a guitar or bass directly. This setting matches the instrument’s instrument level and high output impedance.
Leaving the input set to LINE may result in an improper level or tone. Conversely, use the LINE setting when connecting the line output from a keyboard or external mixer. The labels vary by model, so also check the input instructions in your device’s manual.
Set the Input Gain
Create an audio track in your DAW and select the input number to which the instrument is connected. While playing with your normal intensity, gradually raise the interface’s gain.
If a red indicator lights when you play hard or the DAW meter hits its maximum, the signal is clipping. This records distorted audio, so lower the gain and leave some room. You do not need to force a quiet signal all the way to the maximum.
When the Sound Is Delayed During Recording
If the sound processed through an amp simulator or another plugin arrives late, you are experiencing latency. Reducing the DAW’s buffer size can improve it, but this increases the load on the computer.
If you can perform while hearing only the clean input, another option is the interface’s direct monitoring. However, this method may not let you hear the amp simulator inside the DAW. Choose the option that suits both the sound you want to record and your comfort while performing.
A DI Box Is Not Always Necessary
If your interface has an INST or Hi-Z input, a DI box is not always necessary for home recording. A DI is useful in situations such as running a long cable at a live venue, sending a balanced signal to a mixer, or splitting a bass signal.
Start by correctly setting up the simple signal path of instrument to shielded cable to INST input to USB to computer. Checking the connection, input selection, gain, and monitoring in that order also makes it easier to find the cause when you hear no sound.
