
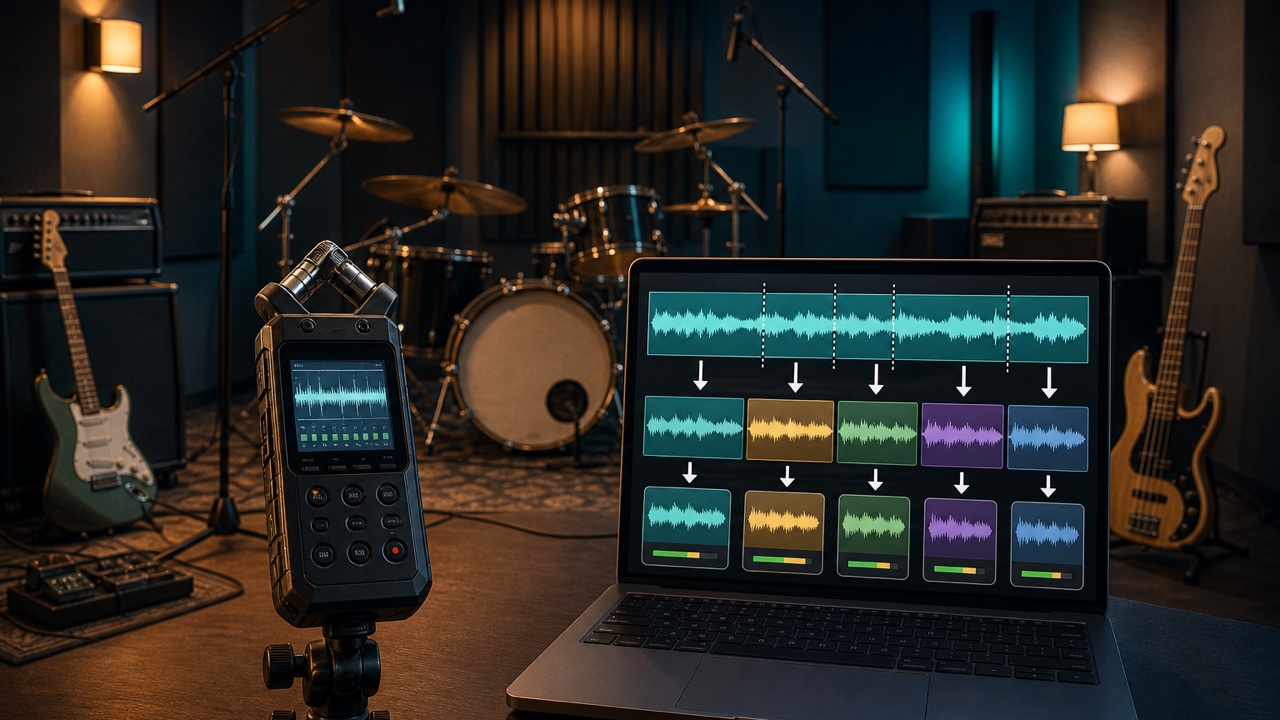
Even if you record a band rehearsal in a studio, sharing a two-hour file as is makes it tiring just to find a particular song or take. Splitting the recording by song and cleaning up the names and levels afterward makes it easier to review the performance and prepare for the next rehearsal.
The goal of the recording is not to create a finished release. It is to objectively check the tempo, arrangement, performance cues, and balance between the parts.
Keep the Original Long Recording and Edit a Copy
First, create a folder whose name includes the recording date, studio name, and band name, then save the original file there. Perform all trimming and level adjustments on a copy so you do not lose conversations or alternate takes that you may want to revisit.
Saying the song title and take number at the start of the recording or between songs makes it easier to identify material that cannot be recognized from the waveform alone.
Trim the Required Range for Each Song and Take
Load the long recording into the Trim Audio to Any Range tool and select from just before the performance begins until the decay ends. Depending on your needs, keep the count-in or cues from the band members because they can help you understand how the performance started later.
Use a consistent naming format such as “date_song-title_take01.” If you name files only “good” or “failed,” you will have to reorganize them when your assessment changes. It is better to put objective facts in the filename and keep opinions in separate notes.
Match the Volume Across the Trimmed Songs
If the volume differs from song to song because of the recorder position or performance level, the Match Loudness Across Multiple Audio Files tool can make comparisons easier. However, completely eliminating the difference between a quiet song and an intense one can make the performance’s dynamics harder to evaluate.
Apply light leveling to the review copies you share, and keep the original recording untouched. Audio distorted by clipping during recording cannot be restored simply by turning it down afterward.
Use Stem Separation to Help Check Buried Parts
If a bass line, backing vocal, or other part is buried in the full mix, a stem splitter may make it easier to hear. Because the separated audio may contain missing or smeared sounds, use it as an aid for analyzing the performance rather than as a final mix.
The BPM and Key Detector can also provide a starting point for checking whether the tempo is rushing or dragging. Rehearsal recordings often fluctuate in tempo, so compare the beginning and end of the song instead of relying only on the displayed number.
Write Down the Next Action, Not Just an Impression
Instead of writing “the guitar is bad” or “the chorus feels off,” describe the location and issue specifically, such as “everyone enters at a different time after the break before the second chorus” or “the vocal is hard to hear in the verse.”
- Song title and take number
- Timestamp or measure to review
- What worked well
- Change to try next time
- Section that requires individual practice
Turn Rehearsal Recordings into Pre-Production Material
Once the performance order, tempo, key, and song length have taken shape, you can use the recording as pre-production material. Separate the purpose of a rehearsal, which runs through the show with the live performance in mind, from a dress rehearsal, which is a final check using the same sequence and equipment as the actual performance. This distinction will also clarify what you need to evaluate in the recording.
