

When you record MIDI notes roughly on a keyboard, their velocities can end up varying too much.
Logic Pro provides several ways to adjust velocity. This guide covers the method I use most often: changing the velocity of every selected note at once.
Set Multiple Notes to the Same Velocity
Suppose you have MIDI data like this. I edited a keyboard performance, so only the velocity variations remain.
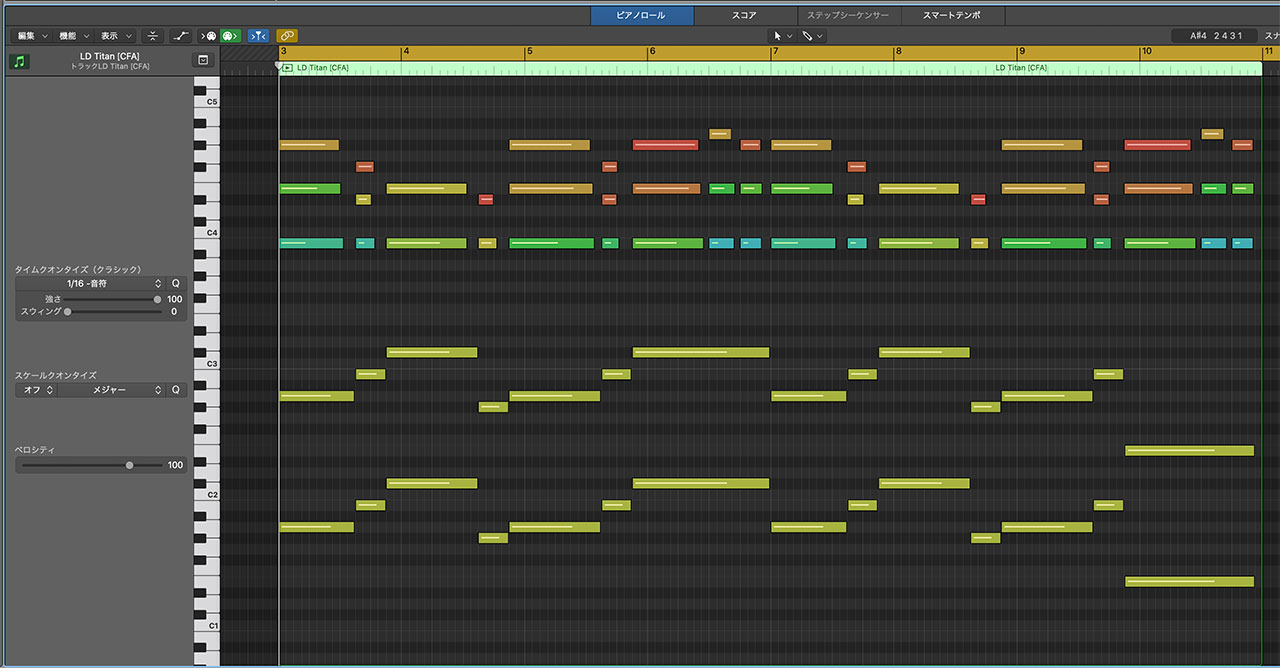
This amount of variation sounds natural and is not necessarily a problem. Sometimes, however, you may want perfectly consistent velocities. The following method is useful in those situations.
Switch to the Velocity tool and select the notes you want to adjust. If you want to select every note, press Command-A.
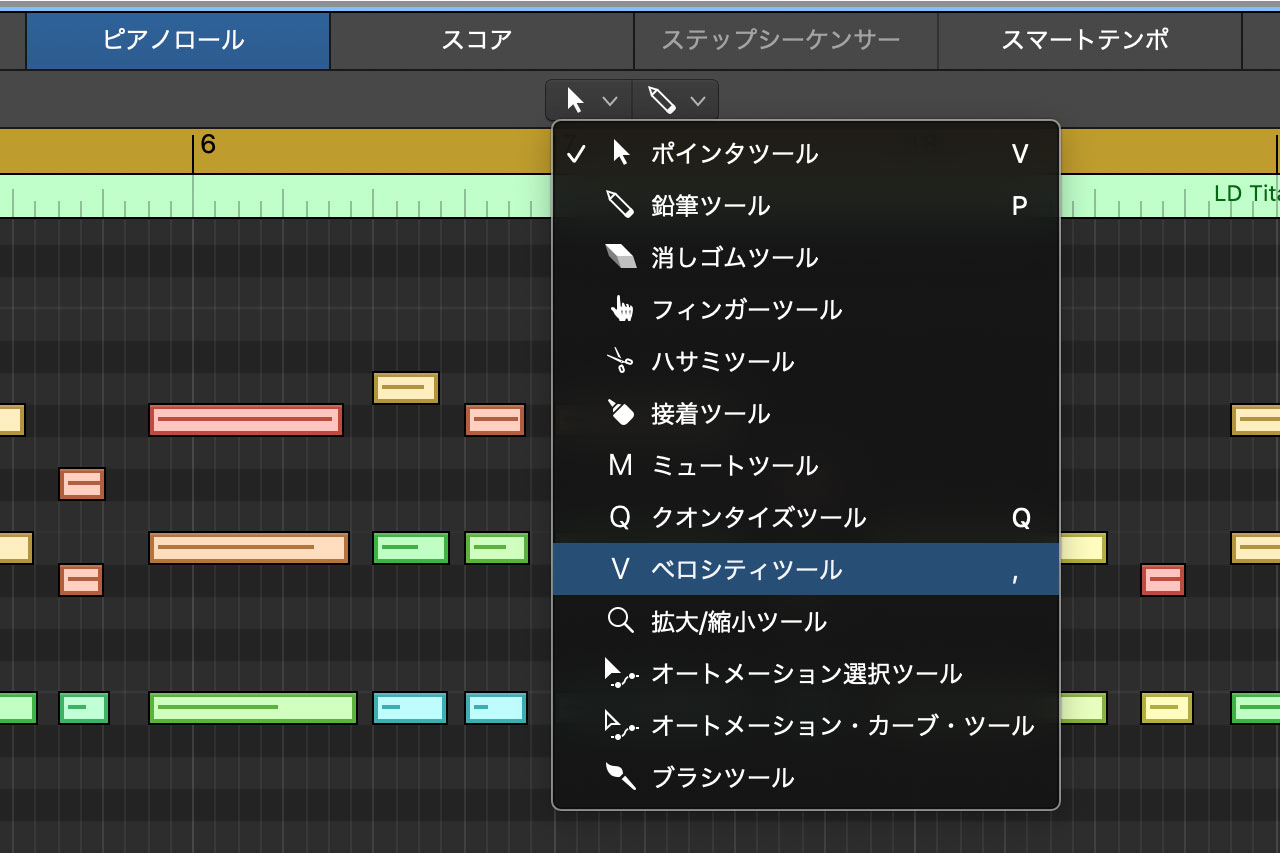
Hold Shift and Option while dragging up or down,
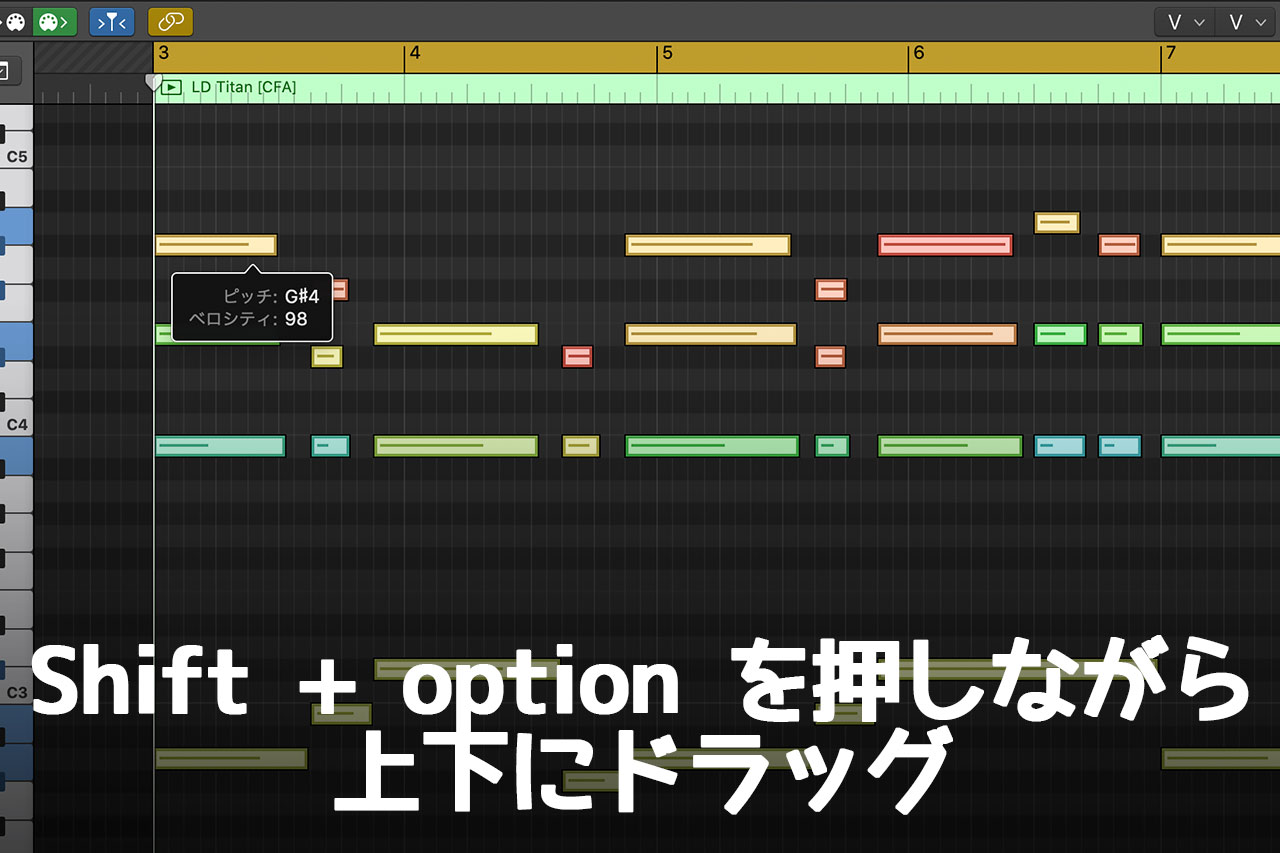
and every selected note will be set to the same velocity.
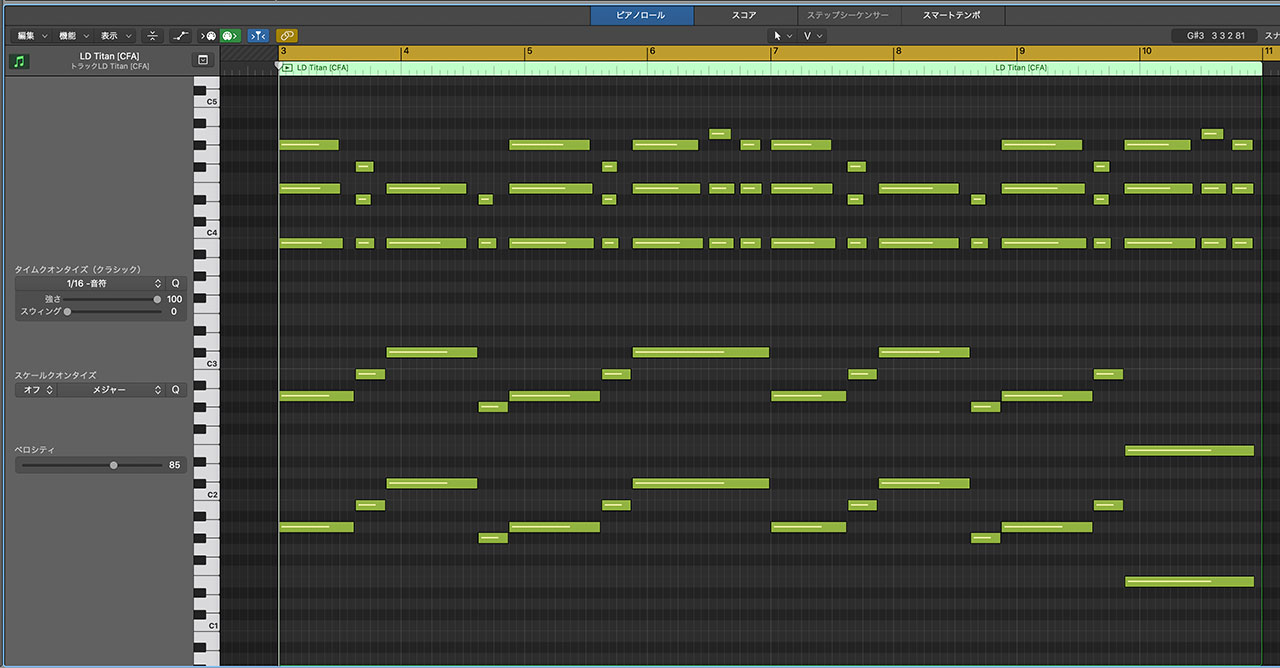
Adjust Velocities Without the Velocity Tool
There is also a way to do this without switching to the Velocity tool.
Use the Velocity control on the left side of the Piano Roll. Hold Shift and Option while dragging it to set the selected notes to the same velocity.

This method is convenient when you do not want to change tools.
Assign the Velocity Tool as the Command-Click Tool
There are two tool menus at the top of the Piano Roll. The menu on the right sets the tool that becomes active while you hold the Command key.
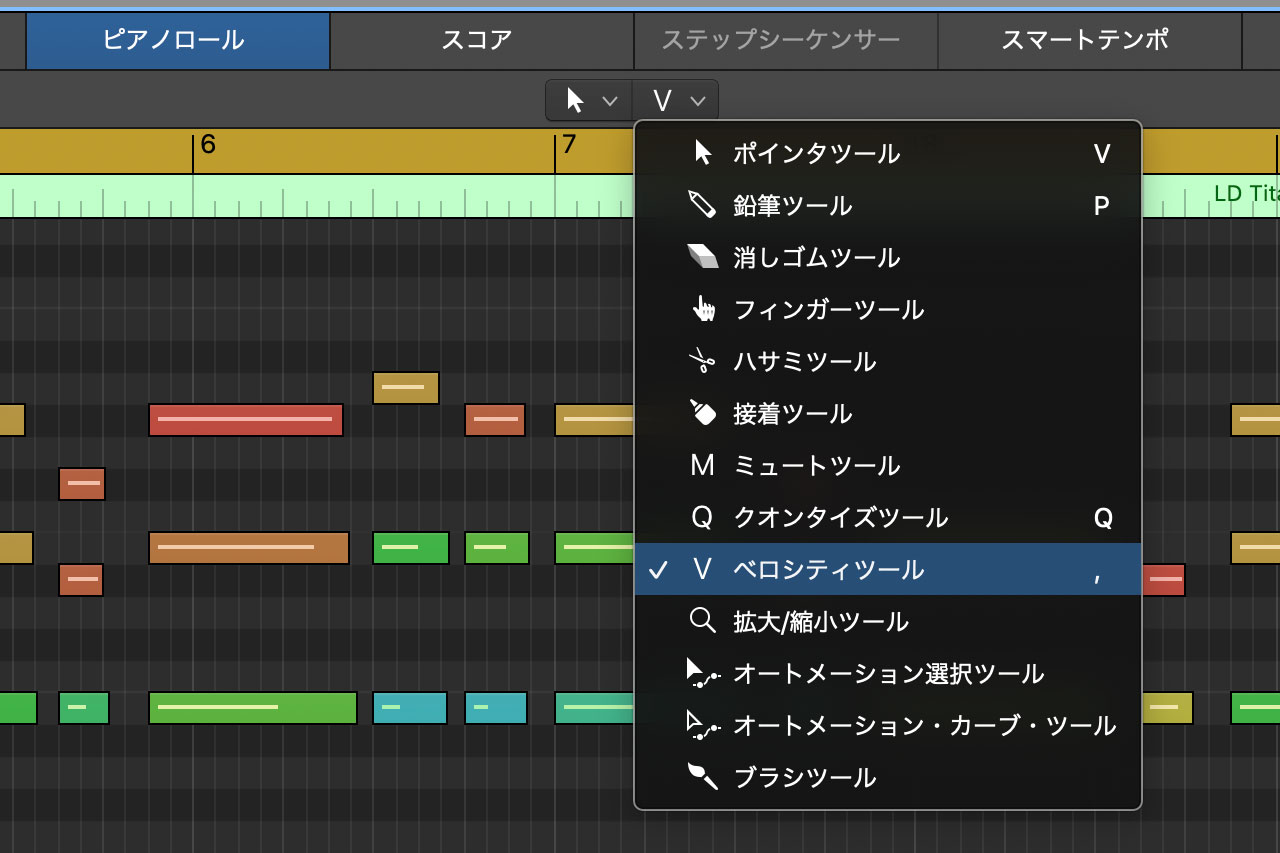
Assigning the Velocity tool here is useful when switching tools feels cumbersome. Simply hold Command and drag a note to change its velocity.
You can combine this setup with the method for giving every selected note the same value.
Even while another tool is active, if the Velocity tool is assigned as your Command-click tool, hold Shift, Option, and Command while dragging up or down to set every selected note to the same velocity.
The following article explains Command-click tools in more detail.
関連記事のIDを正しく入力してください