
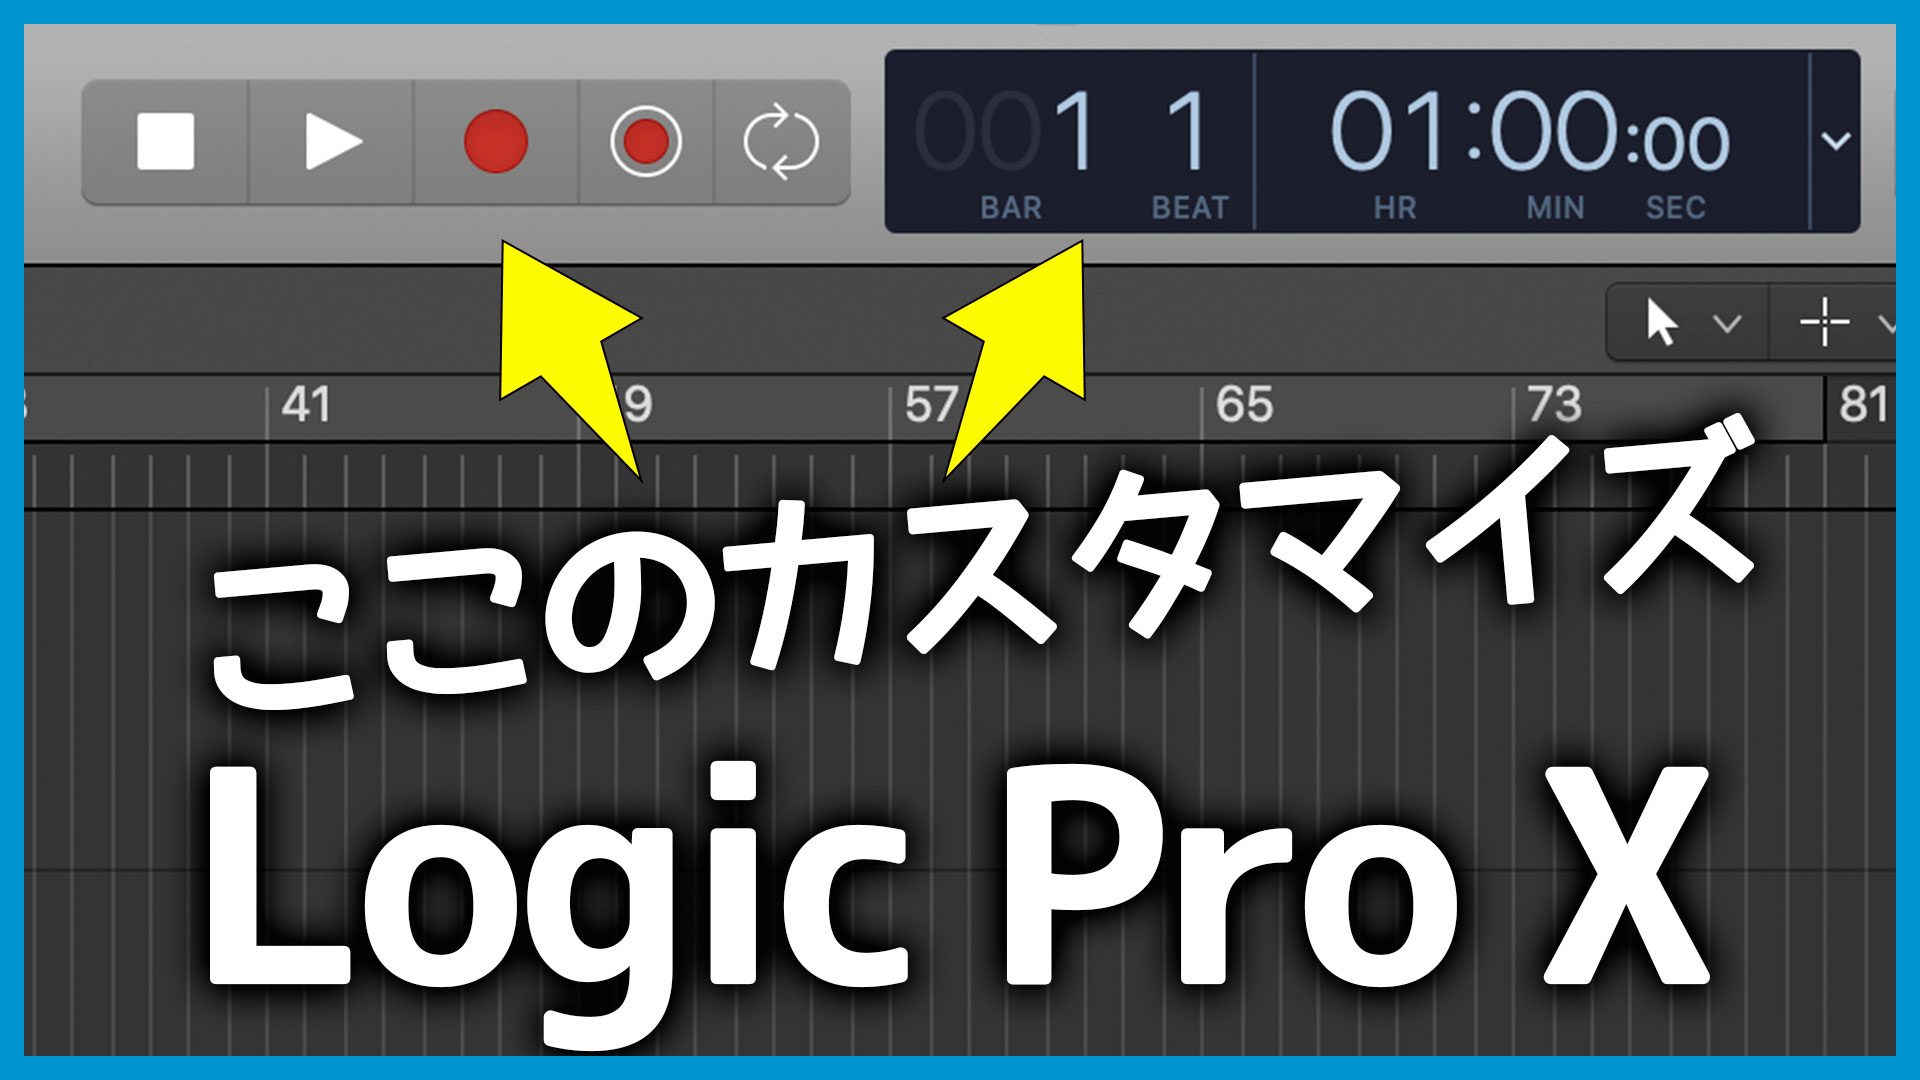
This guide explains how to customize the Control Bar and display at the top of Logic Pro, what options are available, and which ones I find useful.
My recommendations are entirely subjective, so choose whichever controls best suit the way you work.
How to Customize the Control Bar and Display
To customize the Control Bar and display, secondary-click the header area to open its menu, then choose “Customize Control Bar and Display.”

The following window will appear. Select the options you want to use here.
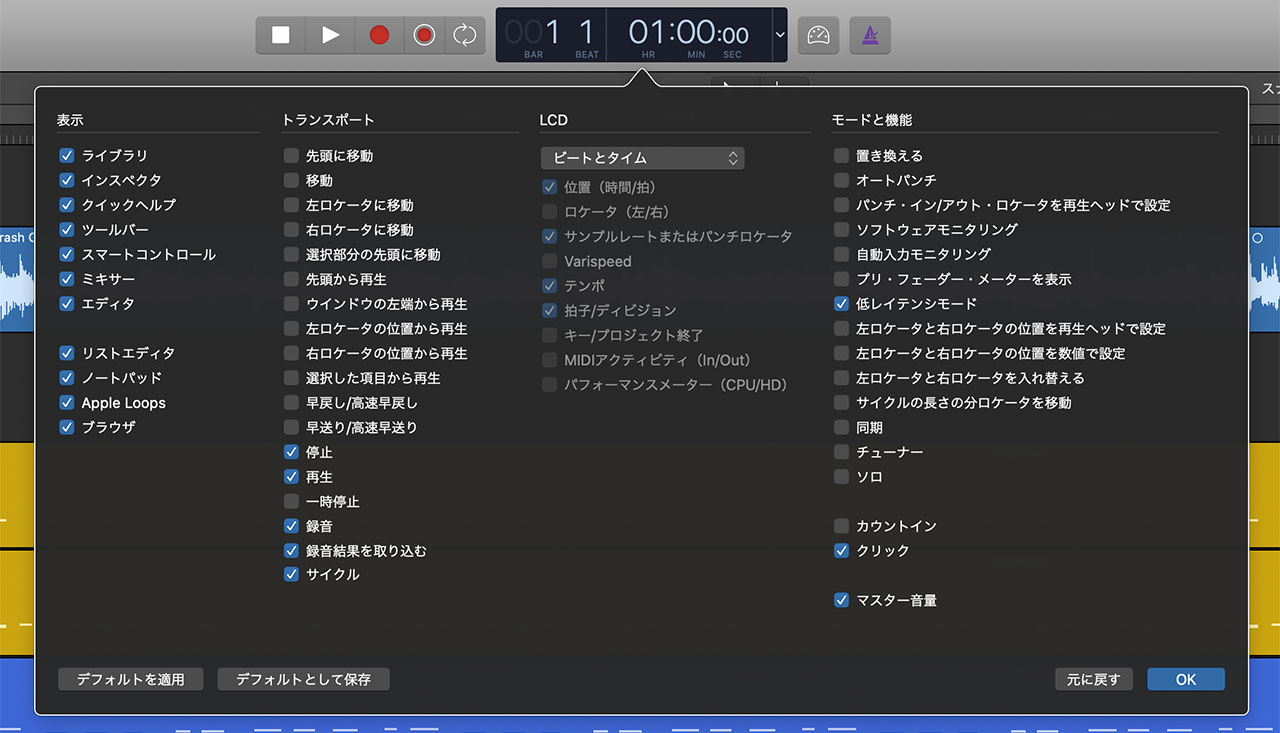
Customizing the View Controls
The first section on the left is “View.”
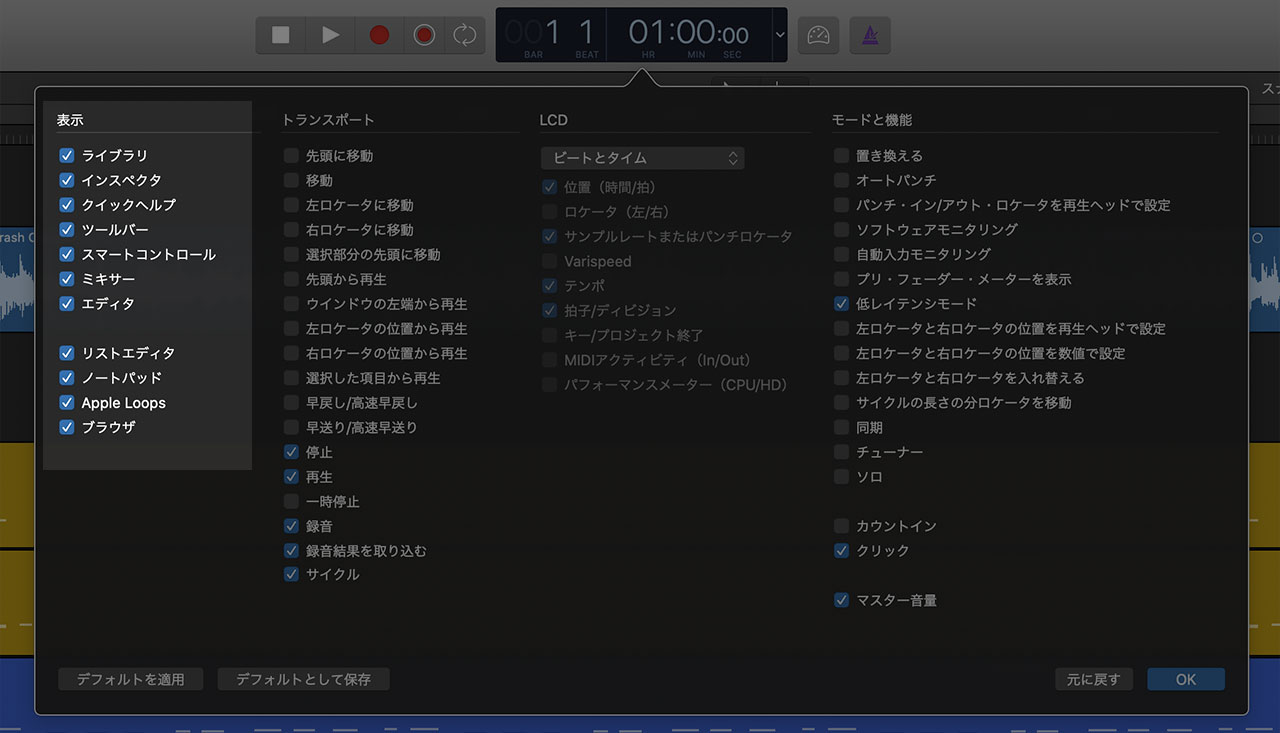
Here you can choose which buttons appear on the left and right sides of the Control Bar.

These controls rarely get in the way, so displaying all of them is a reasonable choice. If you never use Apple Loops or no longer need the Help button, for example, you can hide those items.
Customizing the Transport Controls
The second section from the left is “Transport,” which contains buttons for playback, stop, recording, and related functions.
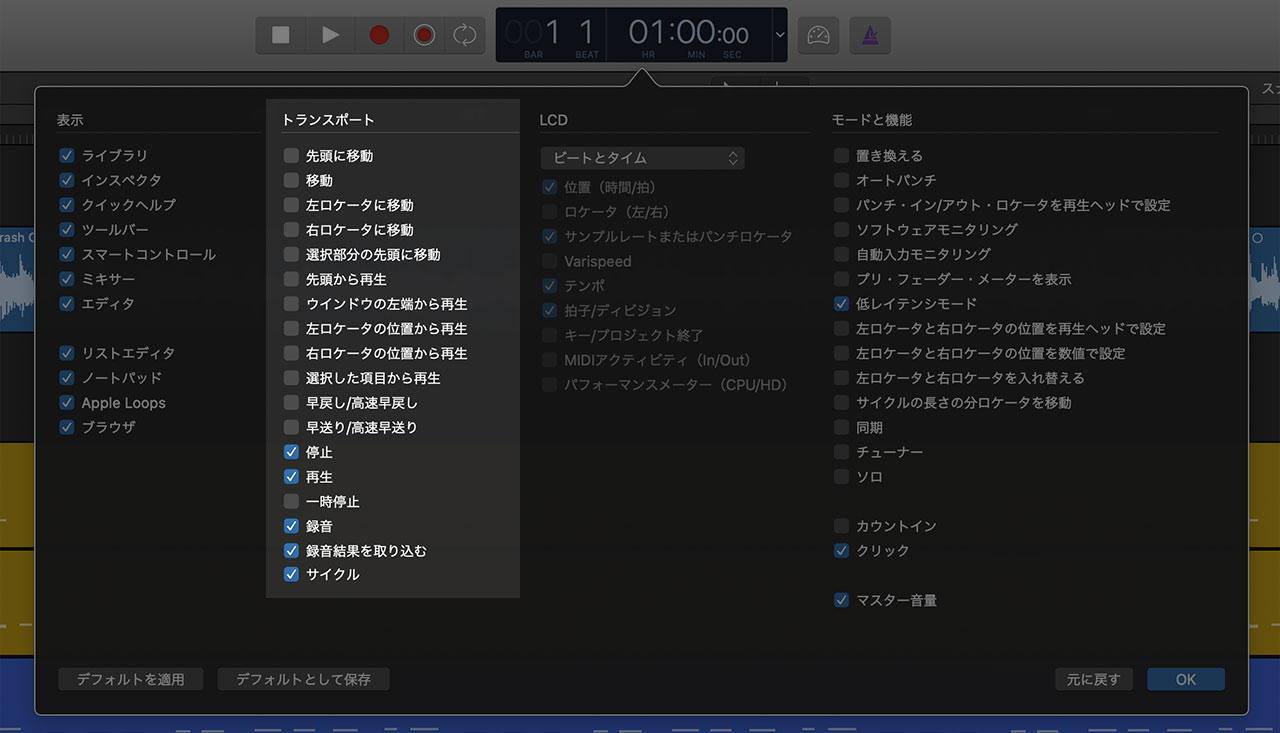
Here is what it looks like with every option enabled.
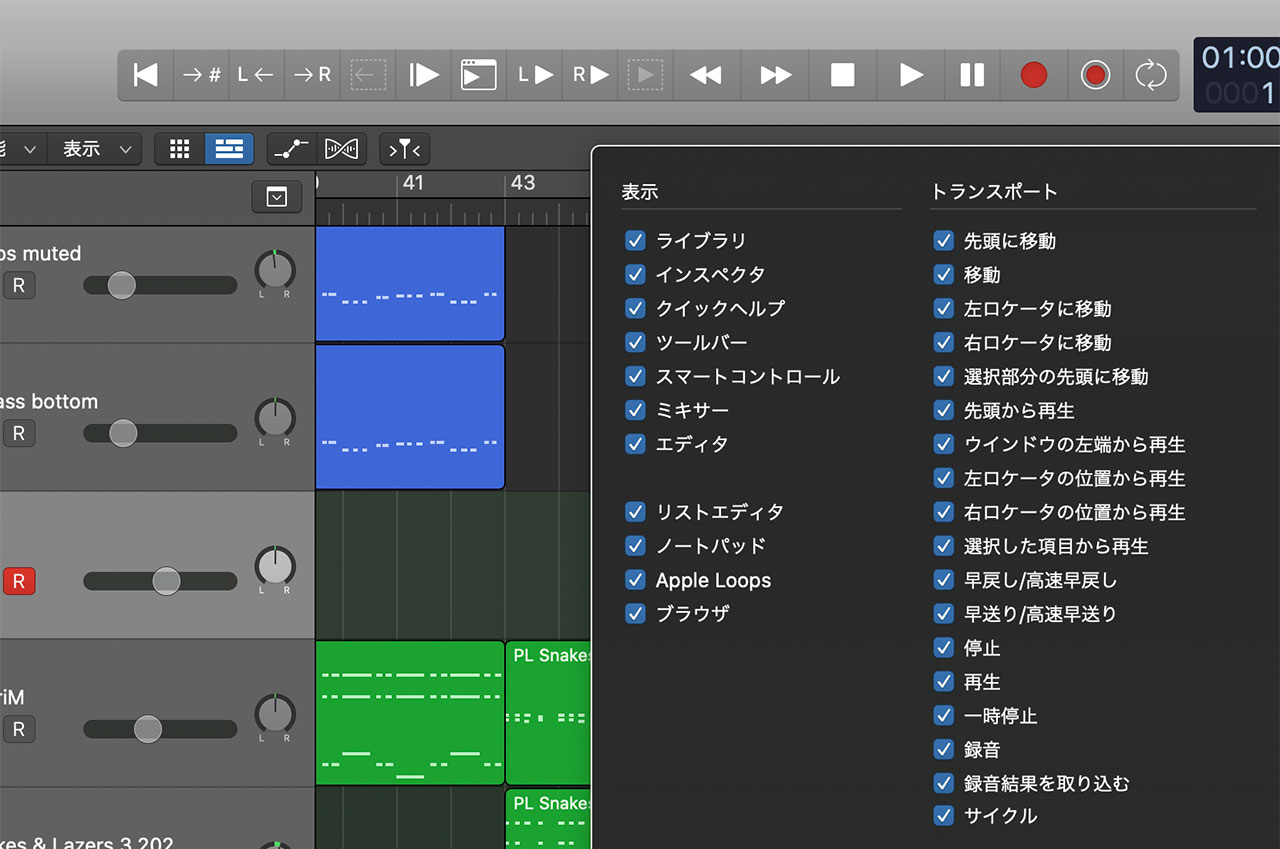
There are many useful functions here. I use “Go to Beginning of Selection” all the time, for example, but because I use it so often, I trigger it with a keyboard shortcut. Most of these functions are better assigned to key commands, so this is also a good opportunity to review your shortcuts.
“Capture Recording” is a useful feature, but it is available only from a button you add here or through a key command. If you want to use it, displaying the button can be convenient.
Customizing the LCD
The next section lets you customize the display.
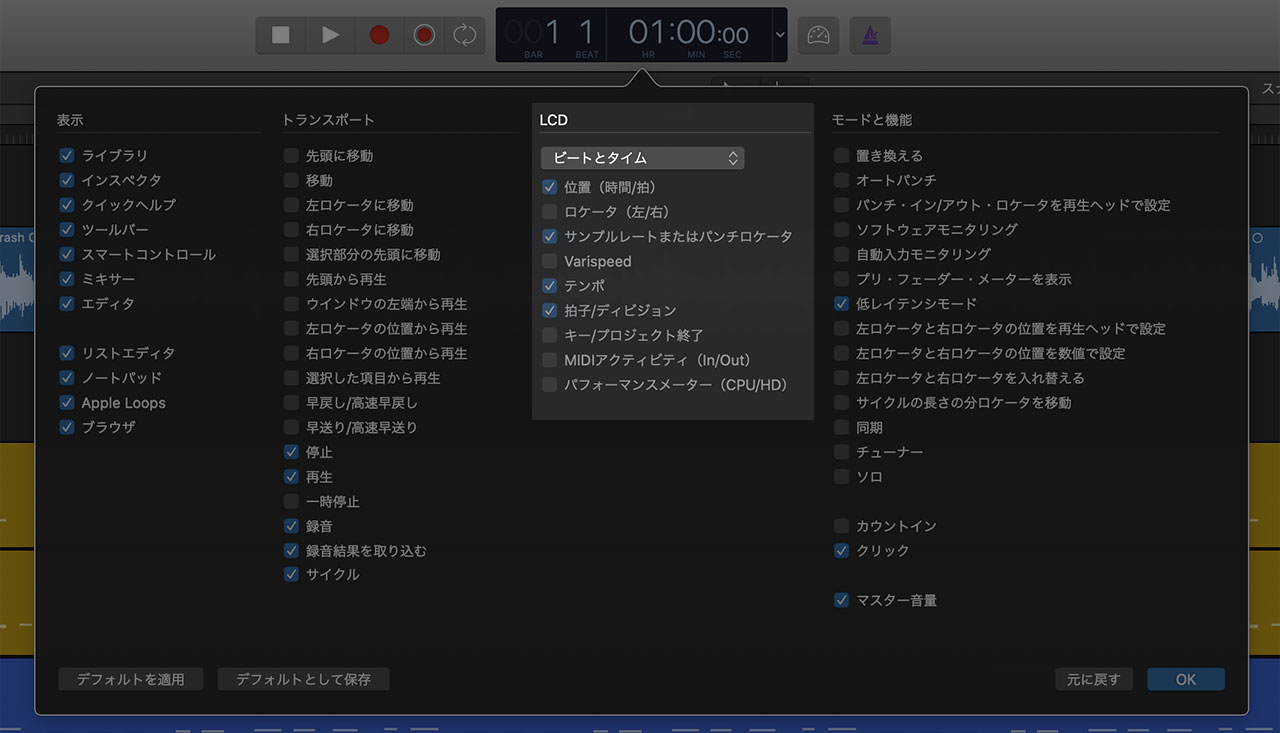
You can choose from several presets, but I recommend selecting “Custom” and configuring the details yourself.
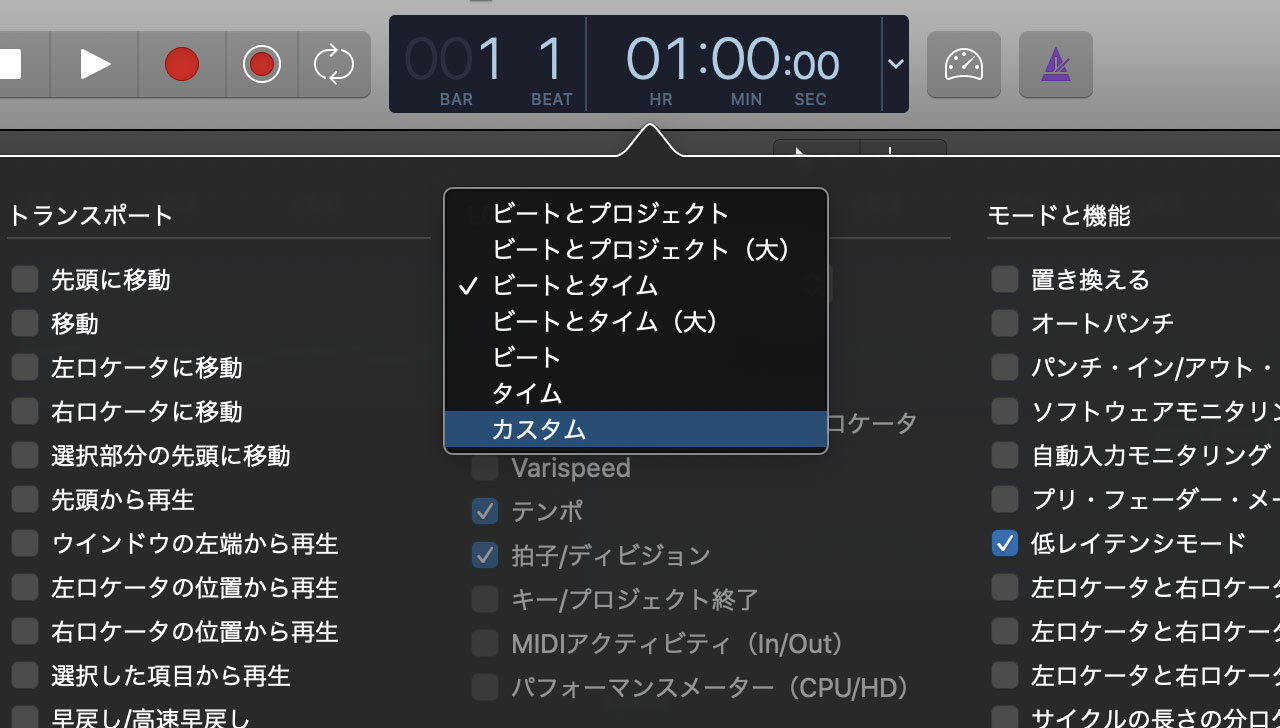
Here is the display with every option enabled.

These are the items I personally use most often:
- Position (Time/Beats)
- Tempo
- Signature/Division
When composing to picture, I want to use time as a reference, and I also change the BPM frequently.
I do not change the division very often, but reconfiguring the display in the middle of an arrangement is inconvenient, so I leave it visible. It comes in handy when, for example, I want to program a run of 32nd-note snare hits.
I have also started displaying the sample rate. If I intend to record at 48 kHz but accidentally create the project at 44.1 kHz, seeing it in the display helps prevent me from recording too far before noticing the mistake.
Customizing Modes and Functions
The final section is “Modes and Functions.”

Here is this section with every option enabled.
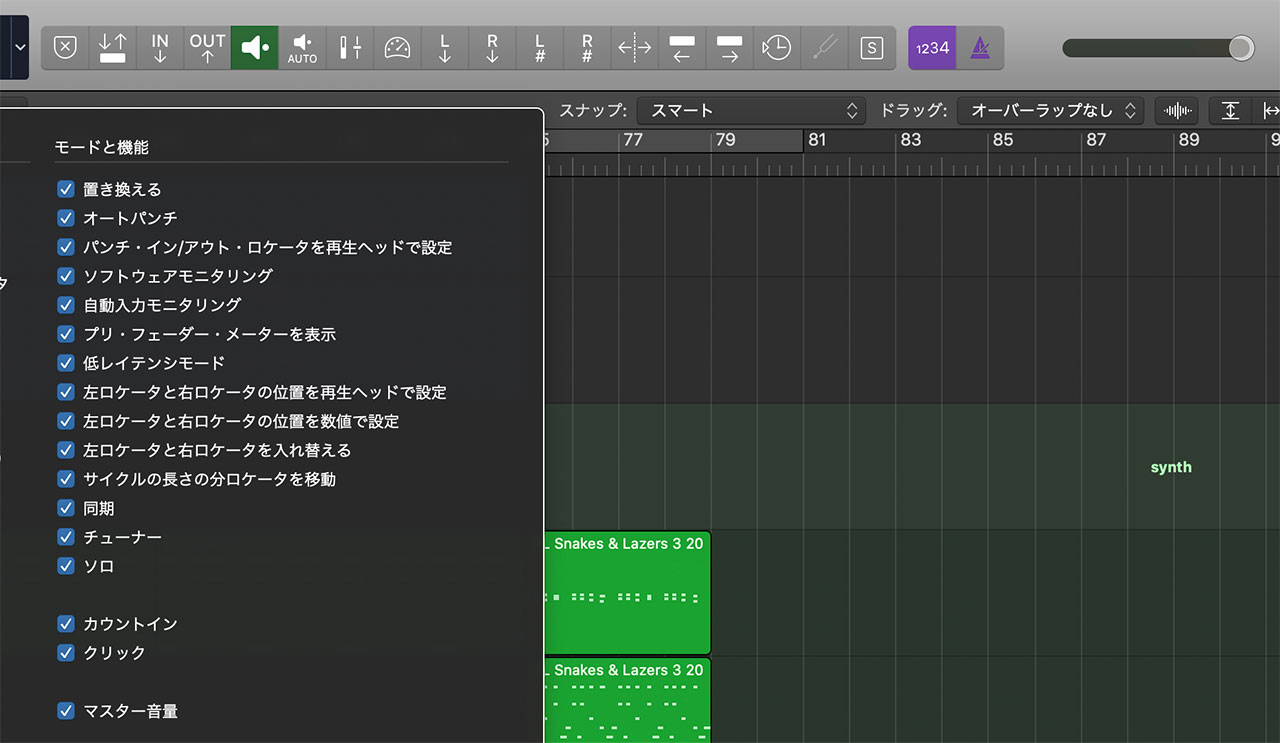
The functions you need here will depend on your preferences and the work you do, but Low Latency Mode is certainly useful to keep visible.
I use Solo frequently too, but I use it so often that I have assigned it to a keyboard shortcut.
