
As a production grows, adding more tracks and plug-ins can make Logic Pro increasingly sluggish. Logic’s Freeze feature can help solve this problem.
The Freeze button is hidden by default, so this guide explains how to display it and use it on a track.
Display the Freeze Button on Tracks
First, make the Freeze button visible.
Secondary-click anywhere in a track header to open its menu.
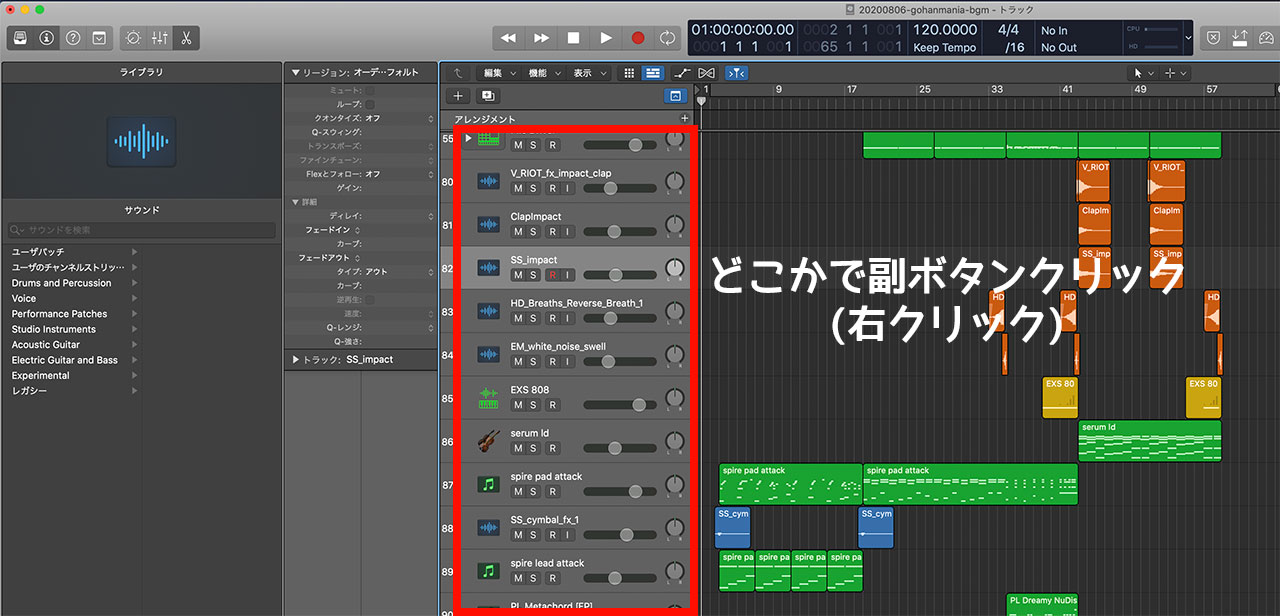
Choose Configure Track Header from the menu.

A window for choosing which controls appear on each track will open. Select Freeze.

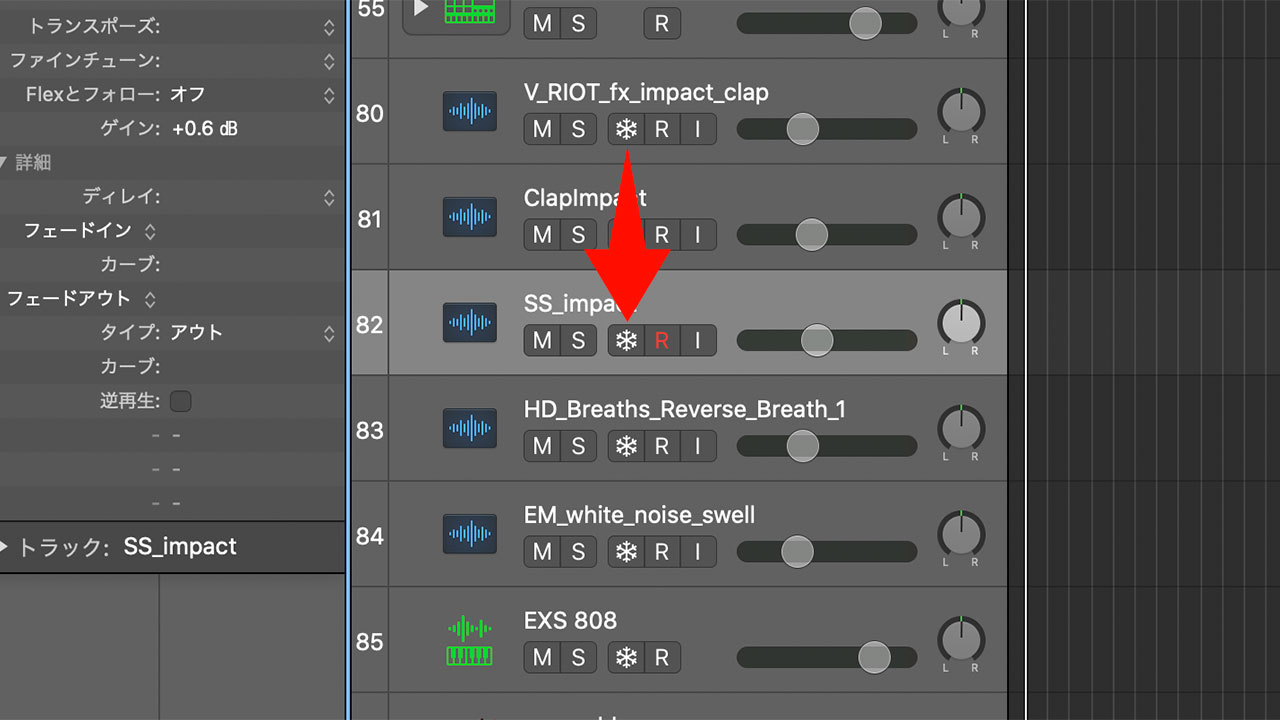
The Freeze button will appear to the right of the Mute and Solo buttons and to the left of Record Enable.
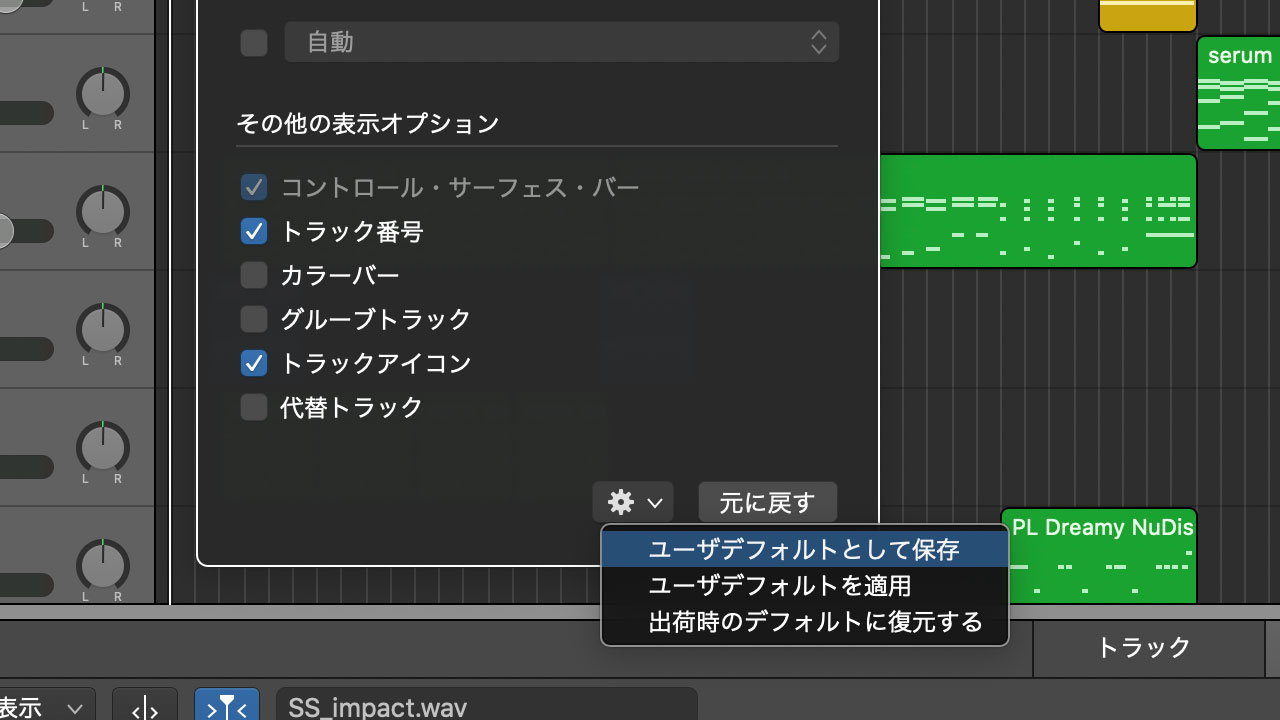
If you use Freeze frequently, open the gear menu at the lower right and choose Save as User Defaults.
How to Freeze a Track and Why It Helps
Once the button is visible, freezing a track is simple.
Click the Freeze button on the track you want to freeze so that it becomes active.
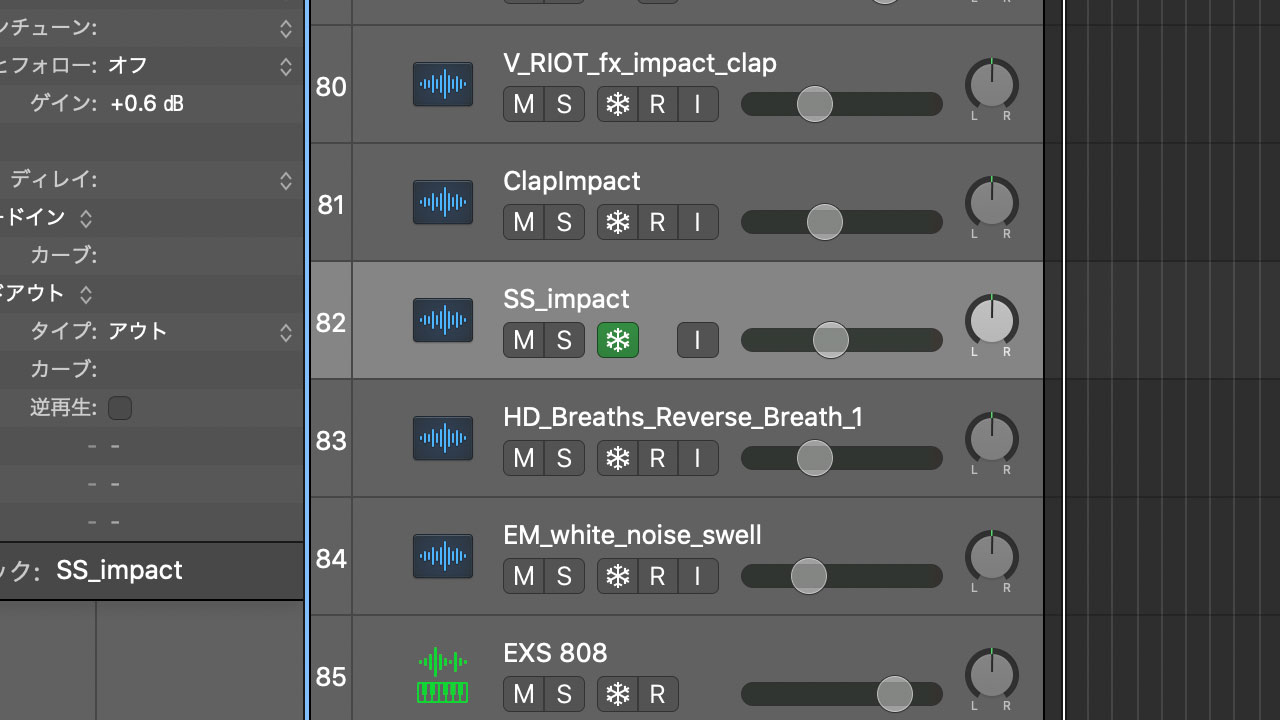
Start playback. Logic will process and freeze the track.
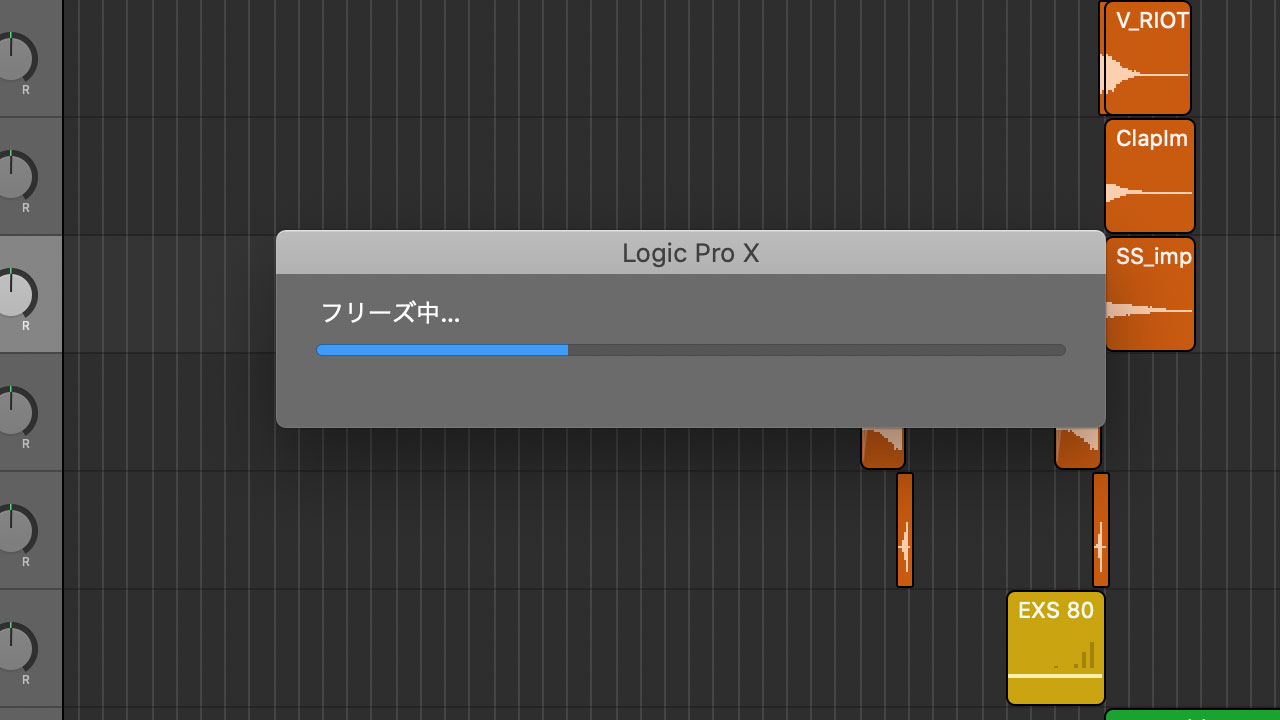
Freezing temporarily renders the sound of the track with its inserted plug-ins and then disables those plug-ins. Since plug-ins often place a heavy load on the CPU, freezing can improve performance when CPU usage is causing Logic to slow down.
If insufficient memory is the cause, freezing a track will not solve the problem.
Frozen Tracks Can Only Be Adjusted with Volume and Pan
Freezing reduces the processing load, but it has one drawback: you cannot change anything on the track except volume and pan.
You cannot adjust an effect after freezing the track or insert another effect on it.
Use Freeze only on tracks whose sound design is mostly finished or whose editing can safely wait until later.
