

There are several settings worth configuring as soon as you get Logic Pro. This guide walks through them.
I have used Logic for many years, but while researching this article I still found a few things I did not know. Even experienced users may want to check these settings.
Enable 24-Bit Recording
The first thing to do is enable 24-bit recording.
There is no real advantage to recording at 16-bit from the outset, so make sure this checkbox is selected.
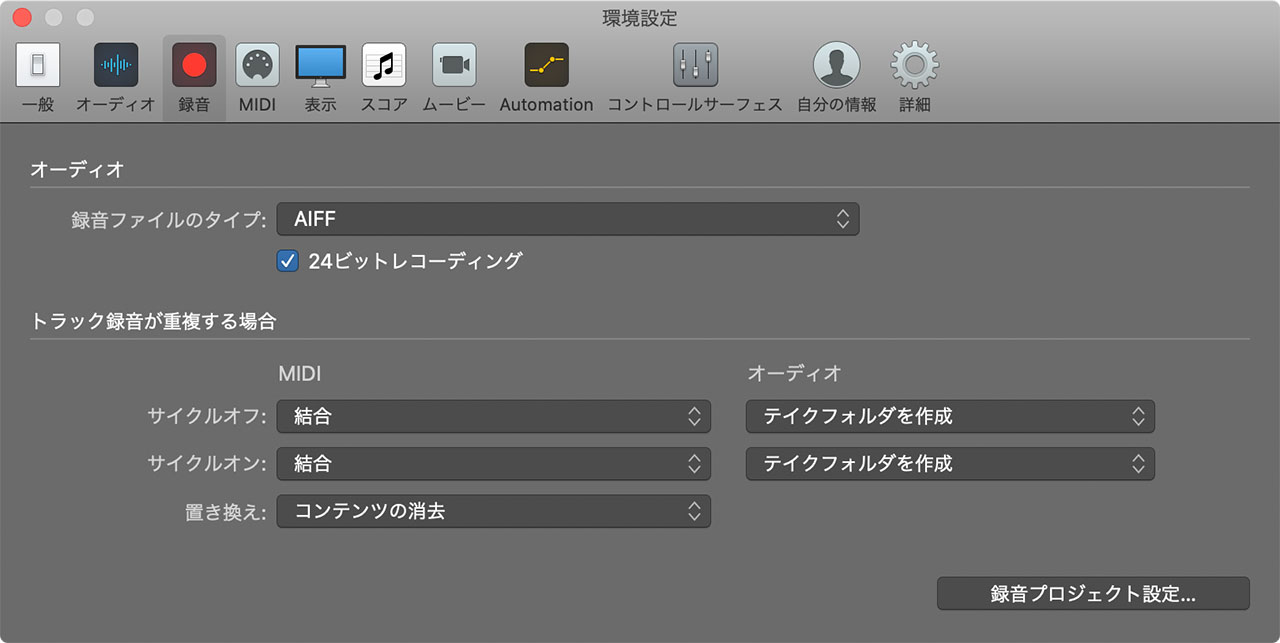
The sample rate is set separately for each project, so check it whenever you start a song. I have chosen the wrong setting more than once and had to record my guitar again.
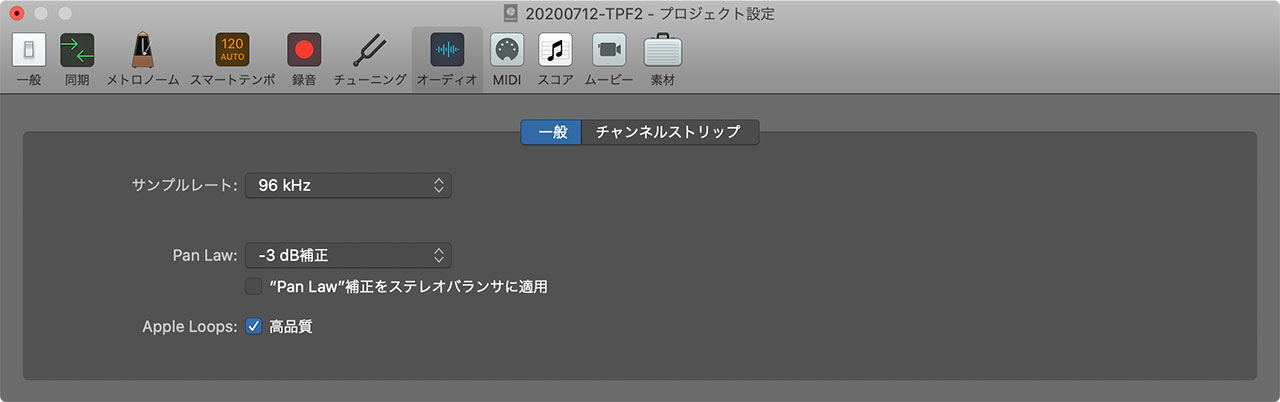
The following article explains how to configure both settings in detail.
Choose What Secondary-Click Does
Open Logic Pro > Preferences > General and select the Editing tab. Here you can choose the menu assigned to a secondary-click (right-click).
There are not many choices for the secondary-click action, but the setting has a meaningful effect on your workflow.
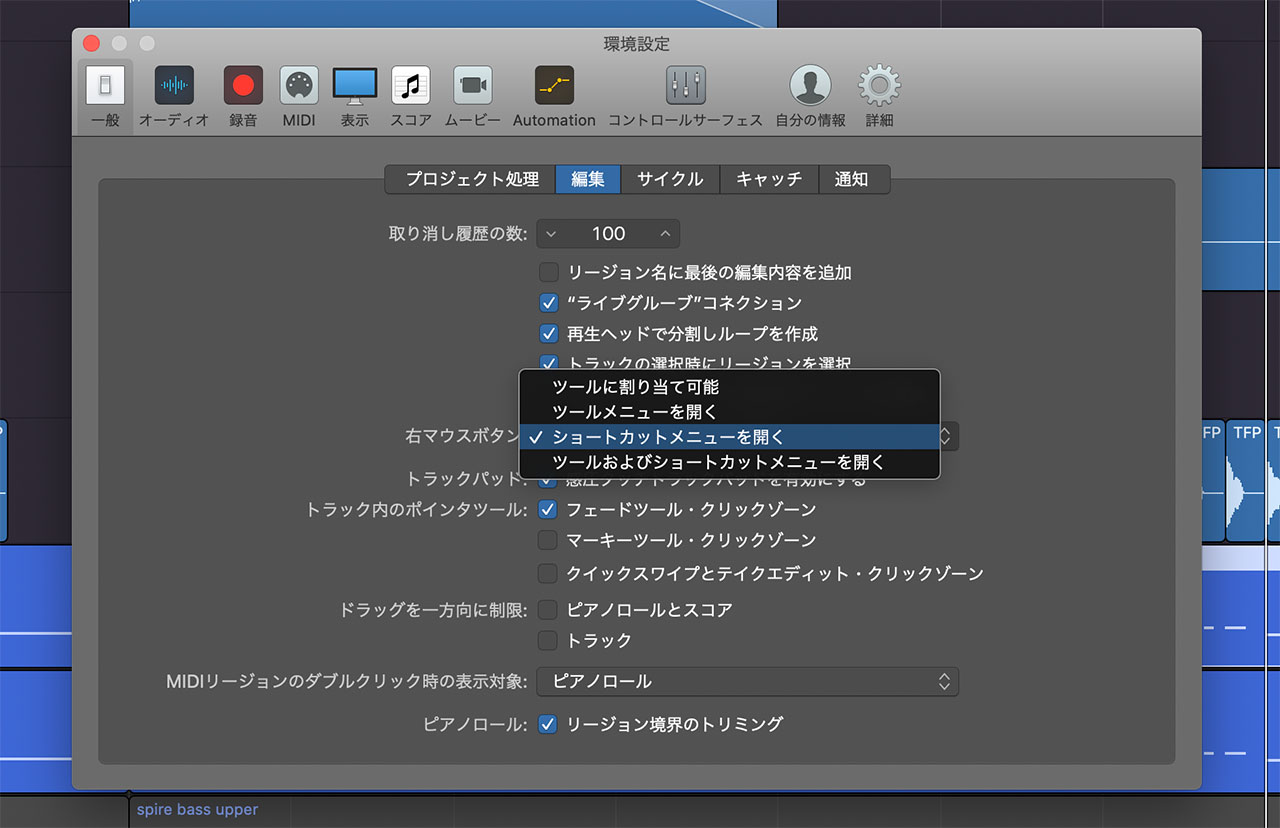
Choose whichever option helps you work most efficiently. I display the shortcut menu, though many people may find the tool menu more convenient.
Customize the Undo History
Open Edit > Undo History and look for “Mixer/Plug-in” at the upper right.
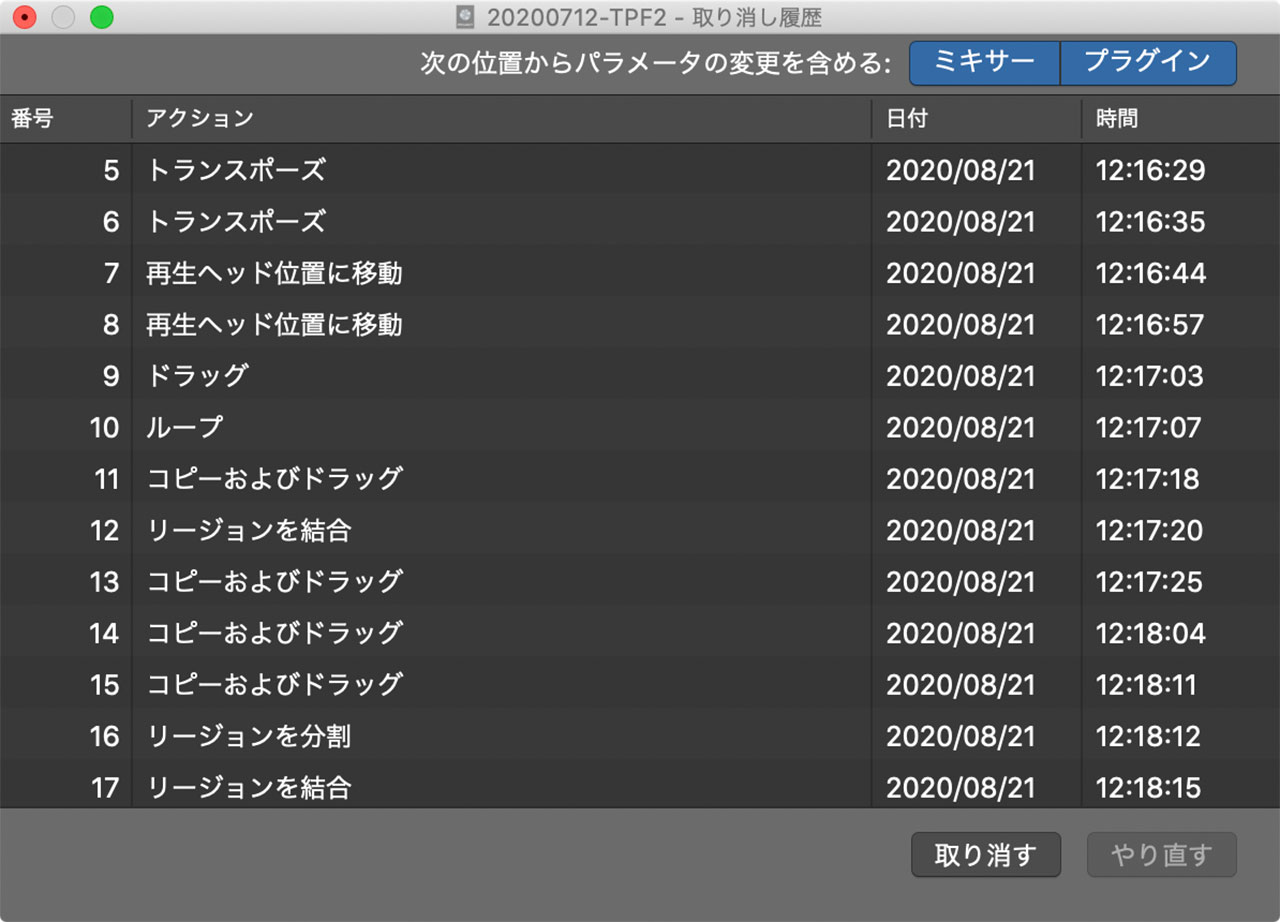
If this option is not active, Undo (Command-Z) cannot reverse fader moves or plug-in parameter changes.
Make sure Mixer/Plug-in is selected.
Another approach is to leave it off while concentrating on composition, then enable it when you begin mixing.
Set Up Screensets
Screensets let you save combinations of window layouts.
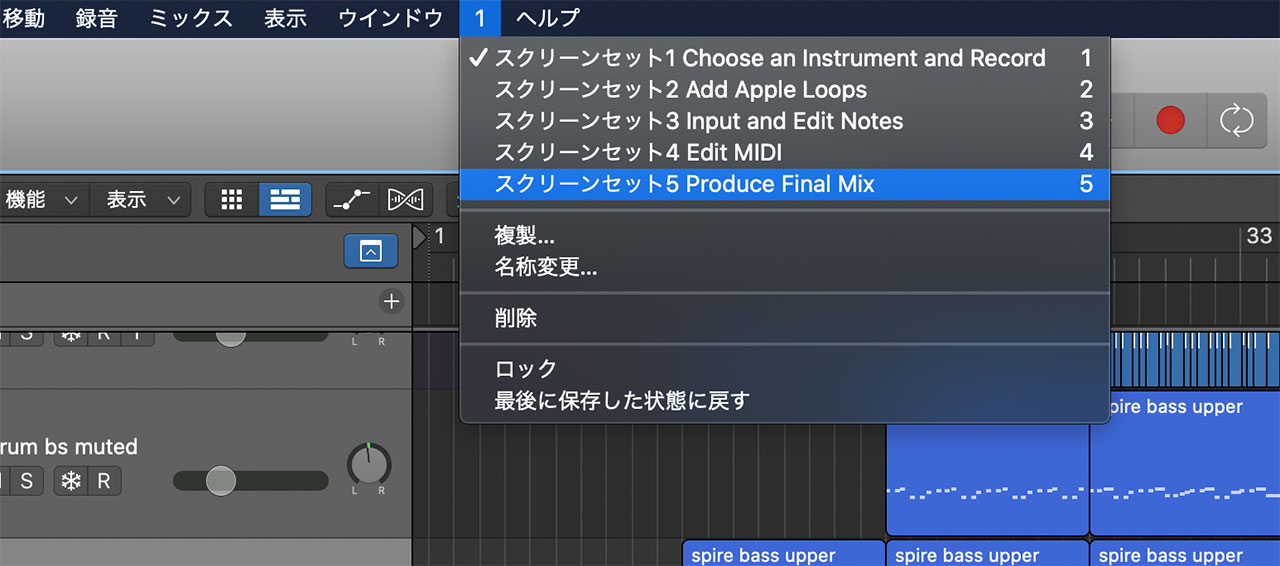
For example, you can create one screenset with the main window filling the display,
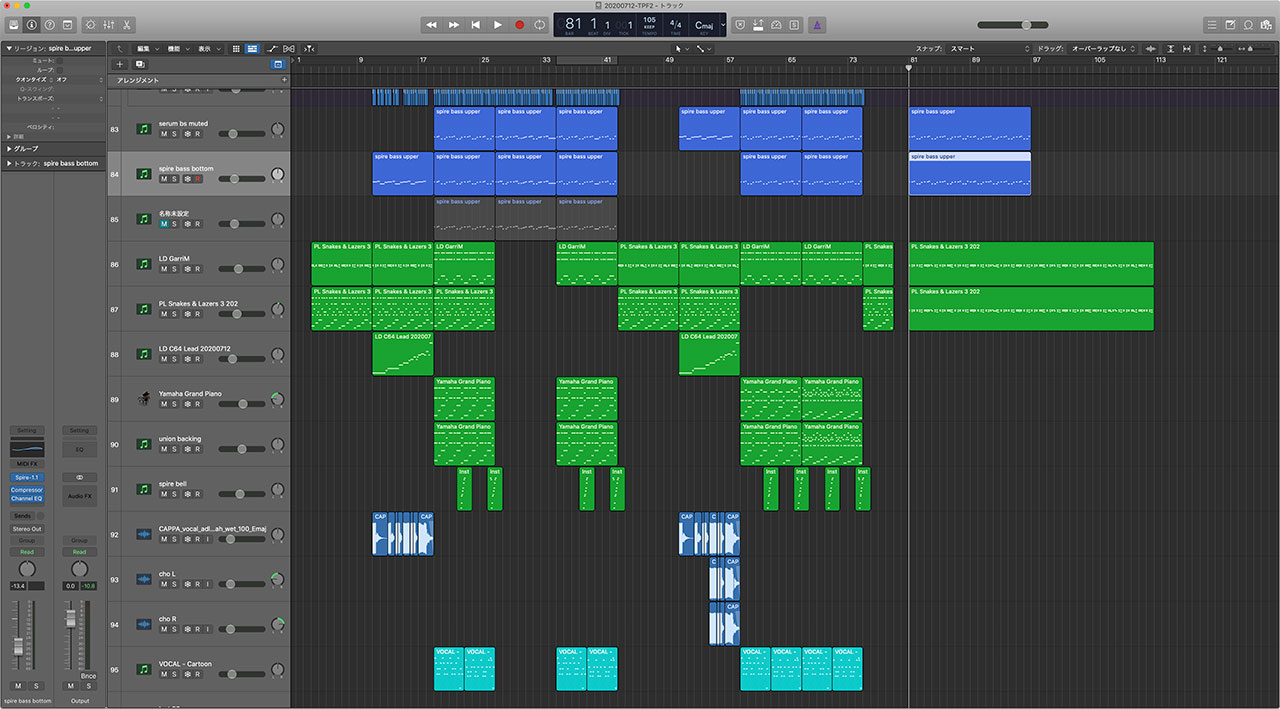
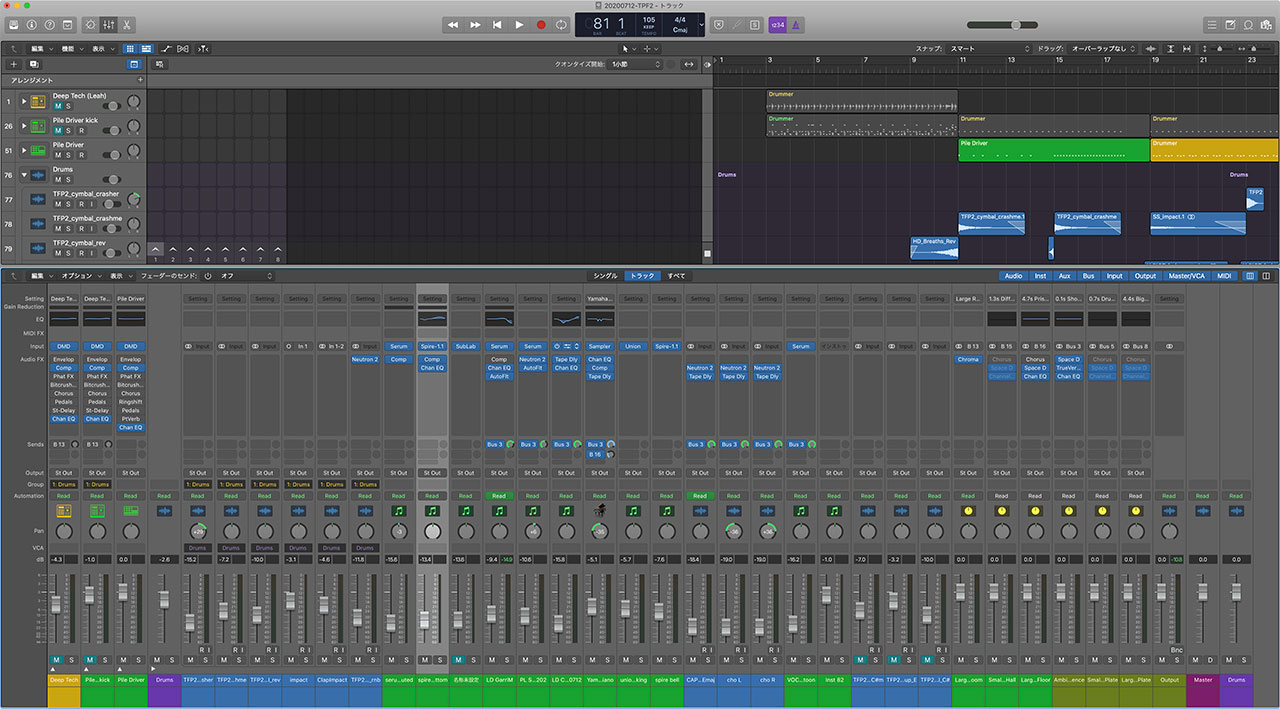
and another with an expanded Mixer. Switching between them makes working on a smaller display, such as a MacBook Air screen, much more comfortable.
Configure Keyboard Shortcuts
Logic Pro calls keyboard shortcuts “key commands.” Configuring them is essential if you want Logic to feel efficient.
The following article covers the shortcuts I use most often.
関連記事のIDを正しく入力してください