
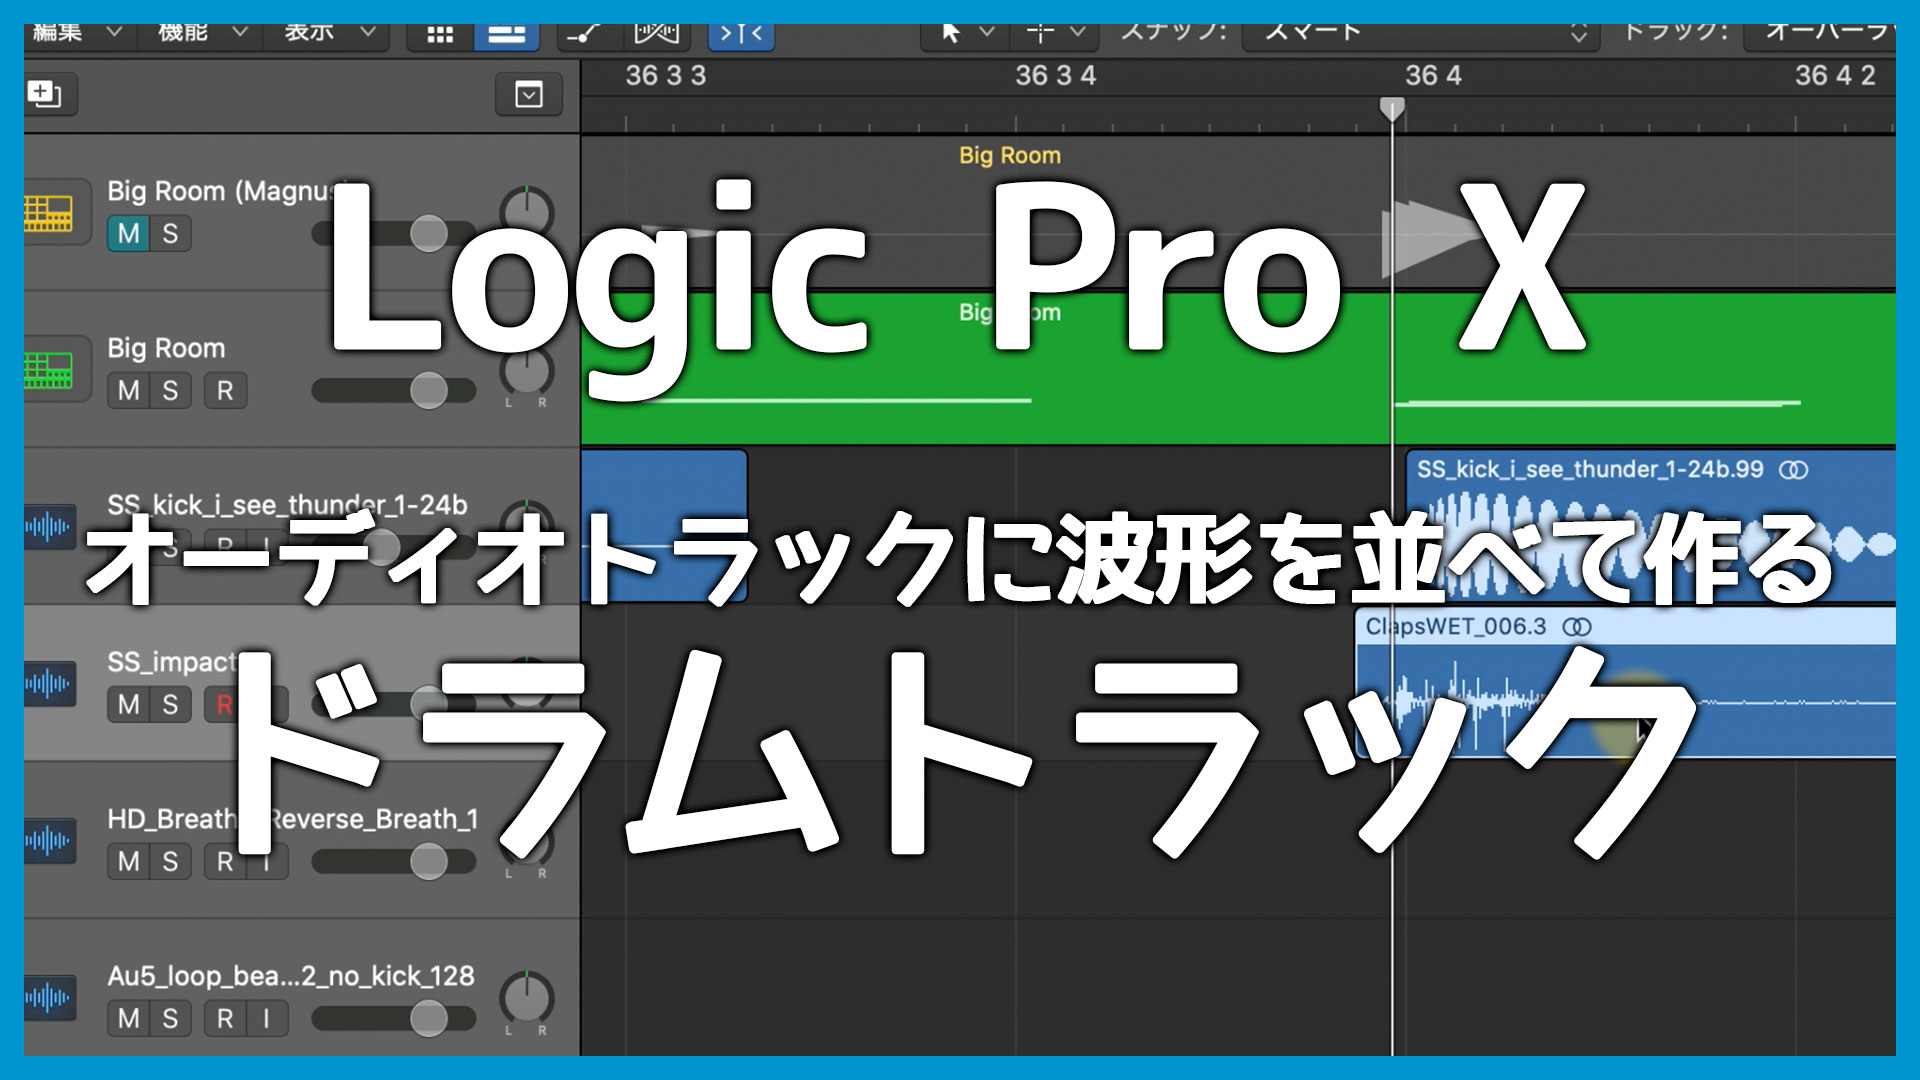
I often program drums with MIDI, but I also build many drum tracks by arranging audio files directly.
This guide explains why and offers tips for doing it in Logic Pro.
Advantages of Arranging Audio Instead of Programming MIDI Drums
Logic Pro includes Drummer, which makes drum tracks easy to create.
The following article explains Drummer in detail and includes a video.
関連記事のIDを正しく入力してくださいSince Drummer can build a complete part, arranging audio may initially seem like extra work. It has some important advantages, however.
The biggest is that using a sound that is already well produced lets you skip much of the sound-design process.
Shaping a software instrument can take time. If you find a kick sample that already sounds perfect, arranging copies of it gets you most of the way there. You may still need to fit it into the mix, of course.
This works especially well in genres such as EDM, where kicks, snares, and claps often follow regular patterns that are easy to copy and paste.
For a rock-style drum performance requiring detailed velocity variation, a software instrument controlled by MIDI may be better. Use whichever approach suits the part.
Why Arrange Waveforms Instead of Loading a Sampler?
Once you find an ideal kick or other one-shot, you could load it into a sampler and program it with MIDI.
I sometimes do that, but usually prefer placing waveforms directly on audio tracks.
One reason is that I may use the sound in only one song, making a sampler setup unnecessary.
Audio waveforms are also easier to recognize when zoomed out. You can quickly see where the kick, crash, or reverse effect occurs.
Finally, I increasingly used samples from Splice. Dragging them directly from the Splice app into the project made separate sampler management even less necessary.
I found Splice extremely useful; the following article explains why.
関連記事のIDを正しく入力してください